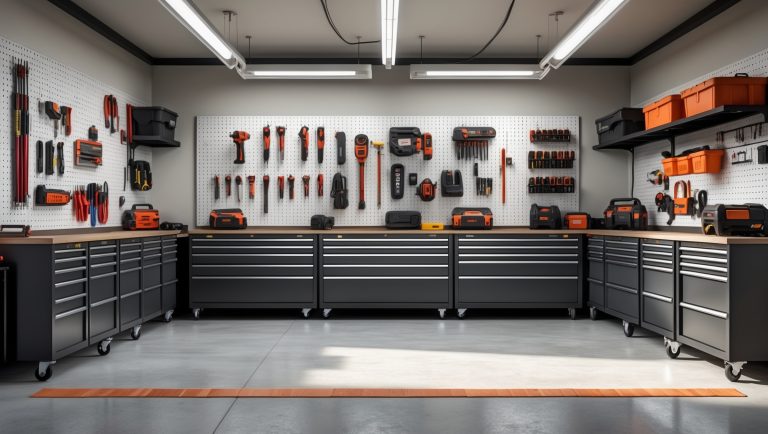


Introduction: Why DIY Circuit Tracing Matters for Homeowners
Tracing electrical circuits in your home may sound intimidating, but it’s a crucial skill for anyone taking repairs, upgrades, or maintenance into their own hands. Whether you’re planning to install a new light fixture, troubleshoot a dead outlet, or map out your home’s wiring for future projects, a reliable circuit tracer can save you time, reduce guesswork, and dramatically improve safety. Yet, many DIYers overlook this essential tool, relying on trial-and-error or outdated wiring diagrams that don’t reflect current conditions. In this guide, we’ll demystify circuit tracing for homeowners—covering the best tools, setup procedures, troubleshooting common issues, and tips for staying safe while navigating your home’s electrical maze. Instead of calling an electrician for every mystery circuit, you’ll gain the confidence and know-how to trace wires accurately, identify breakers, and avoid the frustration (and hazards) of accidental shorts or miswiring. Let’s dive in and empower your next DIY electrical project!
Understanding Circuit Tracers: What They Are and How They Work
What Is a Circuit Tracer?
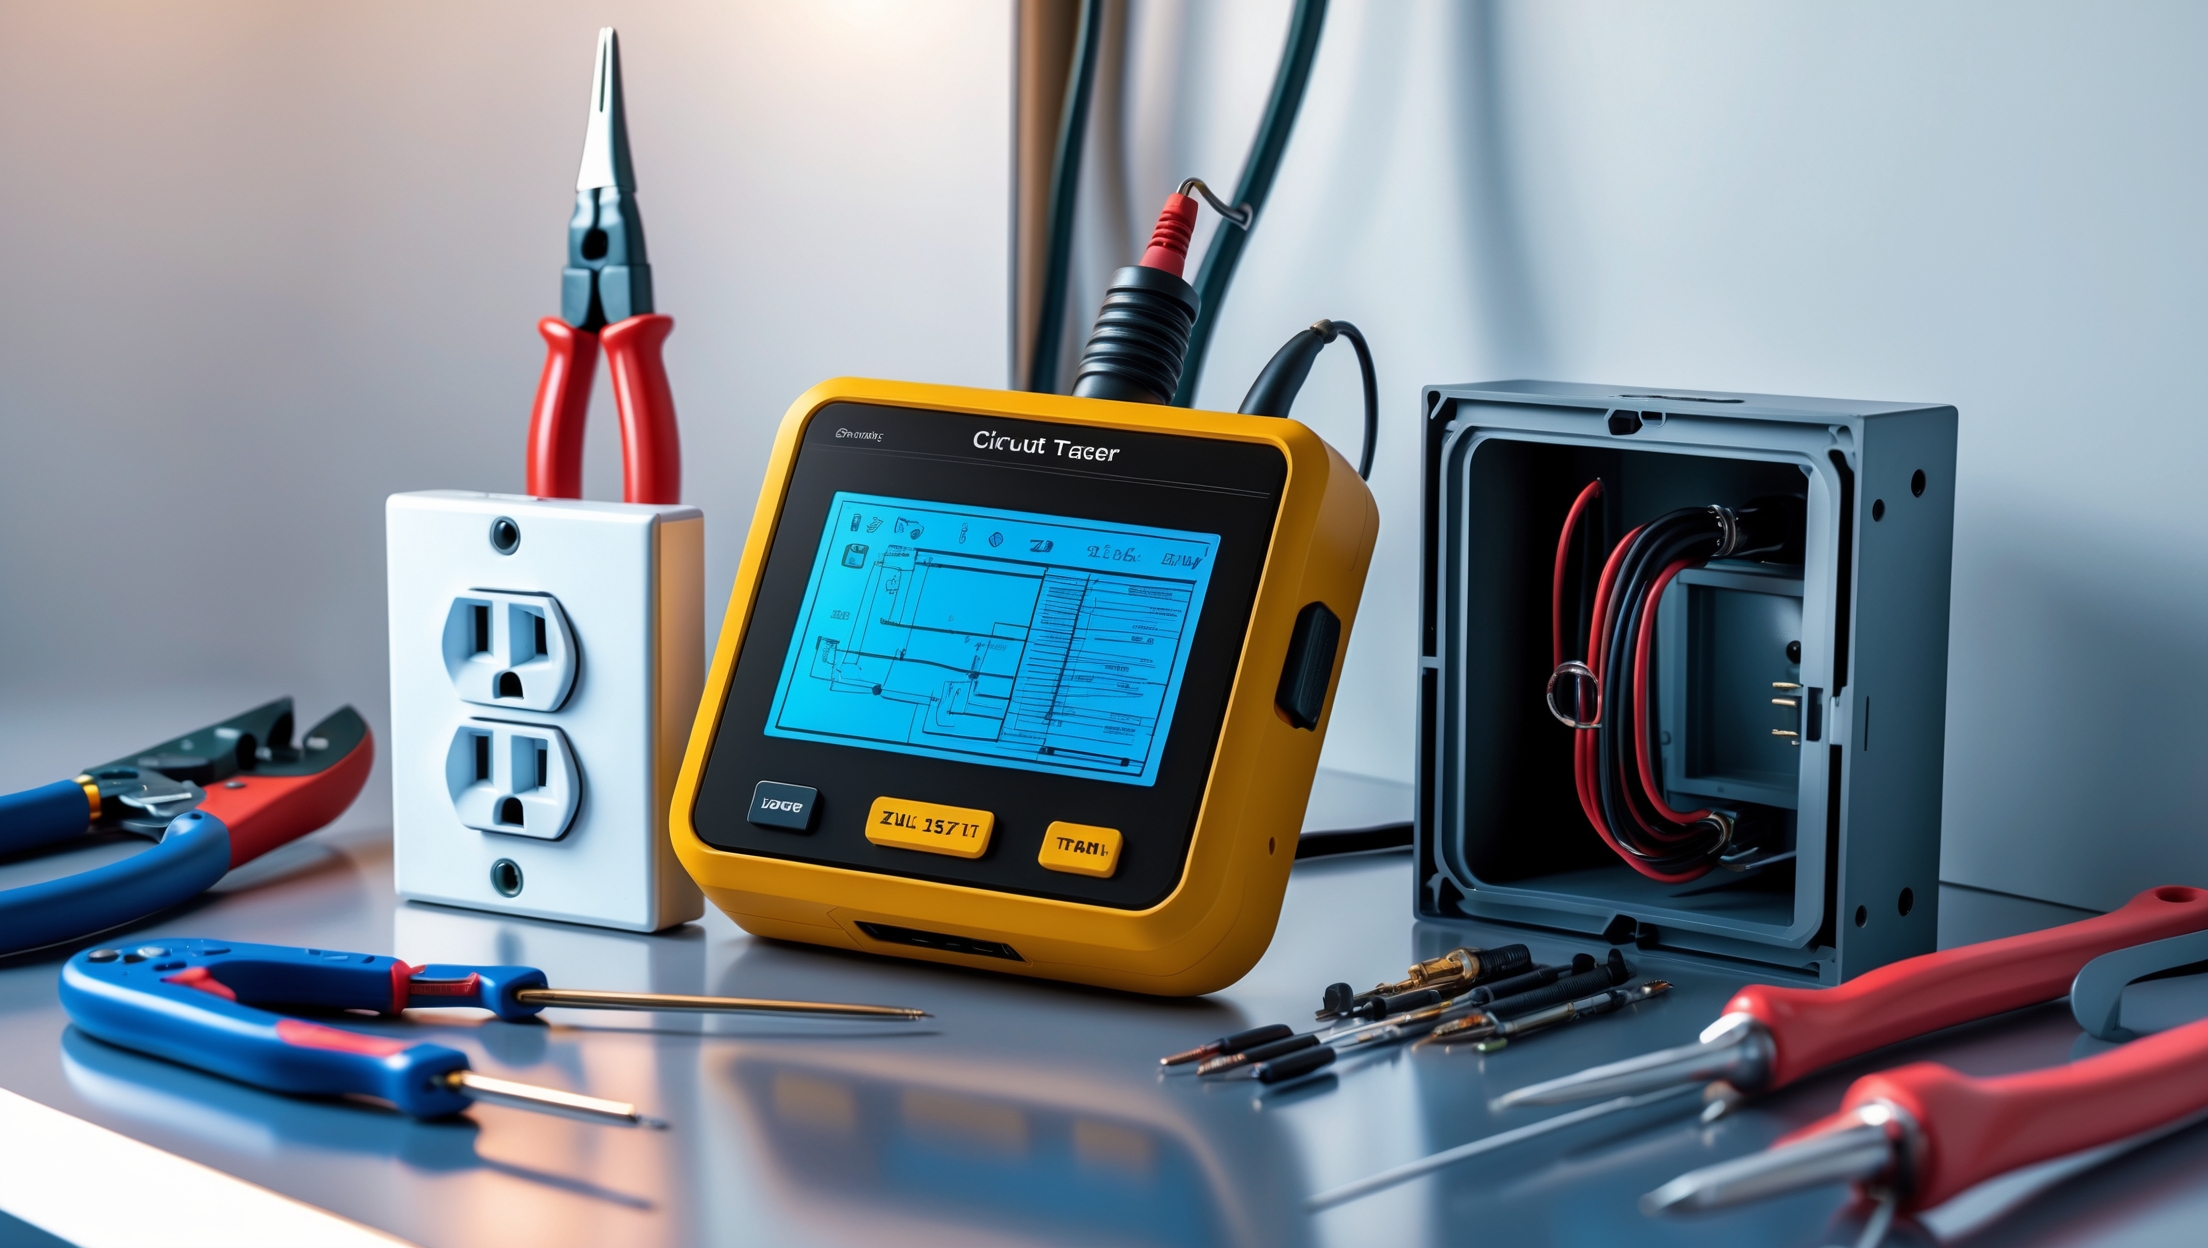
A circuit tracer, sometimes called a wire tracer or circuit identifier, is a diagnostic tool designed to help you locate and follow electrical wires or circuits from one point to another without direct contact. These tools are invaluable for mapping unknown circuits, identifying which breaker controls a specific outlet, or finding a hidden junction box behind drywall.
How Circuit Tracers Work
Most circuit tracers operate in two parts: a transmitter and a receiver. The transmitter injects a signal into the circuit in question—this can be done at an outlet, switch, or panel. The receiver then detects this signal along the wire’s path or at the opposite end, often providing visual or audible cues to indicate proximity or signal strength. Some advanced models can even trace through walls and ceilings, making them particularly useful for finished spaces where wire access is limited.
Types of Circuit Tracers
- Basic Circuit Breaker Finders: Designed to identify which breaker controls a specific outlet. These are ideal for quick jobs but limited in tracing wire paths.
- Wire Tracers: Capable of following wires through walls, ceilings, or conduits. These are more versatile and suitable for complex tasks like mapping entire circuits.
- Advanced Multi-Function Tracers: Offer tone generation, voltage detection, and advanced signal filtering for challenging environments or commercial-grade work.
Choosing the Best Circuit Tracer for Home Use
Key Features to Consider
- Signal Strength and Range: Essential for tracing wires behind walls or across long distances.
- Ease of Use: Look for intuitive controls, clear displays, and ergonomic designs—especially if you’re new to electrical work.
- Compatibility: Ensure the tracer works with both energized (live) and de-energized (dead) circuits, depending on your needs.
- Safety Certifications: Tools rated for household voltage (typically 120V/240V in North America) and UL-listed for safety.
- Accessories: Some kits include multiple adapters, alligator clips, or carrying cases, adding versatility and convenience.
Recommended Models for DIYers
- Klein Tools ET300 Circuit Breaker Finder: Affordable, accurate, and ideal for identifying breakers at the panel. Simple plug-and-play operation.
- Extech CB10 Circuit Breaker Finder: Offers clear LED indicators, works with standard outlets, and includes a socket adapter.
- Greenlee CS-8000 Advanced Circuit Tracer: Premium choice for tracing wires through walls and floors, with adjustable sensitivity and tone generation.
- Ideal Industries SureTrace Circuit Tracer: Professional-grade with advanced filtering for challenging environments—suitable for ambitious DIYers or those with older homes.
Budgeting for Your Circuit Tracer
Prices vary widely—from $40 for basic breaker finders to $400+ for advanced tracers. For most homeowners, a mid-range model ($80–$150) offers the best balance of features and value. Consider how often you’ll use the tool: if you’re planning multiple electrical upgrades, investing in a quality tracer pays off in accuracy and time saved.
Step-by-Step: How to Use a Circuit Tracer Safely and Effectively
Preparation
- Read the manufacturer’s instructions for your specific circuit tracer model.
- Gather basic safety gear: insulated gloves, safety glasses, and a non-contact voltage tester.
- Ensure you have access to both ends of the circuit (e.g., the outlet and the breaker panel).
- Clear the area around outlets, switches, or panels for easy tool access.
Step 1: Identify Your Target Circuit
Determine which outlet, switch, or fixture you need to trace. Unplug any appliances, and ensure the device is not drawing power if possible. For tracing live circuits, confirm the voltage matches your tracer’s rating.
Step 2: Connect the Transmitter
- Plug the transmitter into the outlet or connect it using alligator clips if tracing from a bare wire or terminal.
- For dead circuits, connect the transmitter directly to the exposed wires (turn off power first).
- Activate the transmitter—most emit a tone or indicator light to confirm operation.
Step 3: Scan with the Receiver
- At the breaker panel, slowly scan each breaker with the receiver. The correct breaker will trigger a beep or indicator.
- For wire tracing, move the receiver along the wall, ceiling, or conduit to follow the wire’s path. Adjust sensitivity as needed to distinguish closely spaced wires.
- Mark the traced path with masking tape or a note for future reference.
Step 4: Double-Check Results
- Confirm the correct breaker by toggling it off and verifying the outlet loses power (use a voltage tester).
- For multi-wire circuits, repeat the process for each wire to avoid confusion.
Step 5: Disconnect and Store Tools
- Turn off and unplug the transmitter and receiver.
- Store the tracer in its case, keeping accessories organized to prevent loss or damage.
Troubleshooting Common Circuit Tracing Challenges
Signal Interference
Homes with lots of electronics or complex wiring may create background noise that interferes with tracing. Reduce interference by turning off unnecessary appliances, lights, or electronics during testing. Use tracers with adjustable sensitivity or advanced filtering for best results.
Old or Damaged Wiring
Knob-and-tube, aluminum, or degraded insulation can make tracing unreliable. If your home has vintage wiring, use a tracer rated for such conditions and proceed carefully—when in doubt, consult a licensed electrician.
Tracing Through Walls or Ceilings
Dense materials (plaster, concrete, brick) weaken signal strength. Position the receiver as close as possible to the wire’s expected path and use higher-sensitivity settings. For multi-story homes, trace each level separately for accuracy.
False Positives
Multiple parallel wires or circuits on the same breaker can confuse even sophisticated tracers. Always cross-check results by toggling breakers and testing outlets with a voltage tester.
Best Practices for Safe and Accurate Circuit Tracing
- Never work on live wires unless the tracer is designed for energized circuits and you’re comfortable with electrical safety.
- Always verify power is off before opening junction boxes or working on exposed wires.
- Use insulated tools and wear protective gear.
- Label traced circuits and breakers for future reference—this saves time on future projects.
- Document your findings (photos of breaker panels, wire paths, etc.) for your own records or future homeowners.
- Practice on simple circuits before tackling complex or concealed wiring.
Maintaining Your Circuit Tracer
Cleaning and Storage
- Wipe the tracer’s contacts and body with a dry, soft cloth after use.
- Store in a dry, dust-free environment; avoid extreme temperatures.
- Keep batteries fresh—replace annually or as needed to ensure reliable operation.
Calibration and Testing
- Test the tracer on a known circuit before each use to verify accuracy.
- Some models require periodic calibration—refer to the manufacturer’s guidelines.
When to Call a Professional
While circuit tracers empower DIYers to handle many electrical tasks, there are limits. Call a licensed electrician if you encounter:
- Confusing or undocumented wiring (especially in older homes).
- Evidence of damaged, scorched, or overheating wires.
- Unexplained circuit loss or persistent electrical issues.
- Any situation where you feel unsafe or unsure.
Conclusion: Empower Your DIY Repairs with Smart Circuit Tracing
Mastering circuit tracing is a game-changer for anyone tackling home repairs, upgrades, or troubleshooting. By investing in the right circuit tracer, understanding its features, and following safe, systematic procedures, you’ll unlock a new level of control and confidence over your home’s electrical system. No longer will you guess which breaker controls a stubborn outlet or wonder where a hidden wire leads—your tracer provides answers quickly and safely. Always remember to cross-check your findings, label circuits for the future, and prioritize safety above all else. As your DIY skills grow, so does your ability to maintain and improve your home on your terms. If you ever hit a snag or suspect hidden electrical hazards, don’t hesitate to call a professional—your safety is paramount. With the knowledge and tips in this guide, you’re well-equipped to make smarter, safer, and more efficient repairs for years to come. Happy tracing!