Introduction: Elevate Your DIY Skills with Ladder Know-How
When it comes to home improvement, repairs, or upgrades, few tools are as indispensable—and as misunderstood—as the humble ladder. Whether you’re changing a ceiling light, cleaning gutters, painting a wall, or trimming backyard trees, choosing the right ladder and using it safely can mean the difference between an efficient, successful project and a potentially dangerous mishap. Despite their everyday presence in garages and sheds, ladders are a leading source of home injuries, with thousands of accidents reported each year due to improper use, poor selection, or neglected maintenance. This comprehensive guide is here to change that. We’ll walk you through the nuts and bolts of ladder types, features, safety protocols, and maintenance best practices. You’ll learn how to match the right ladder to any DIY job, prevent the most common mistakes, and keep your equipment in top condition for years of reliable service. Whether you’re a seasoned DIYer or just starting to build your tool collection, mastering ladder safety and selection is a crucial skill set that pays dividends every time you work above ground level.
Understanding Ladder Types: Matching the Tool to the Task
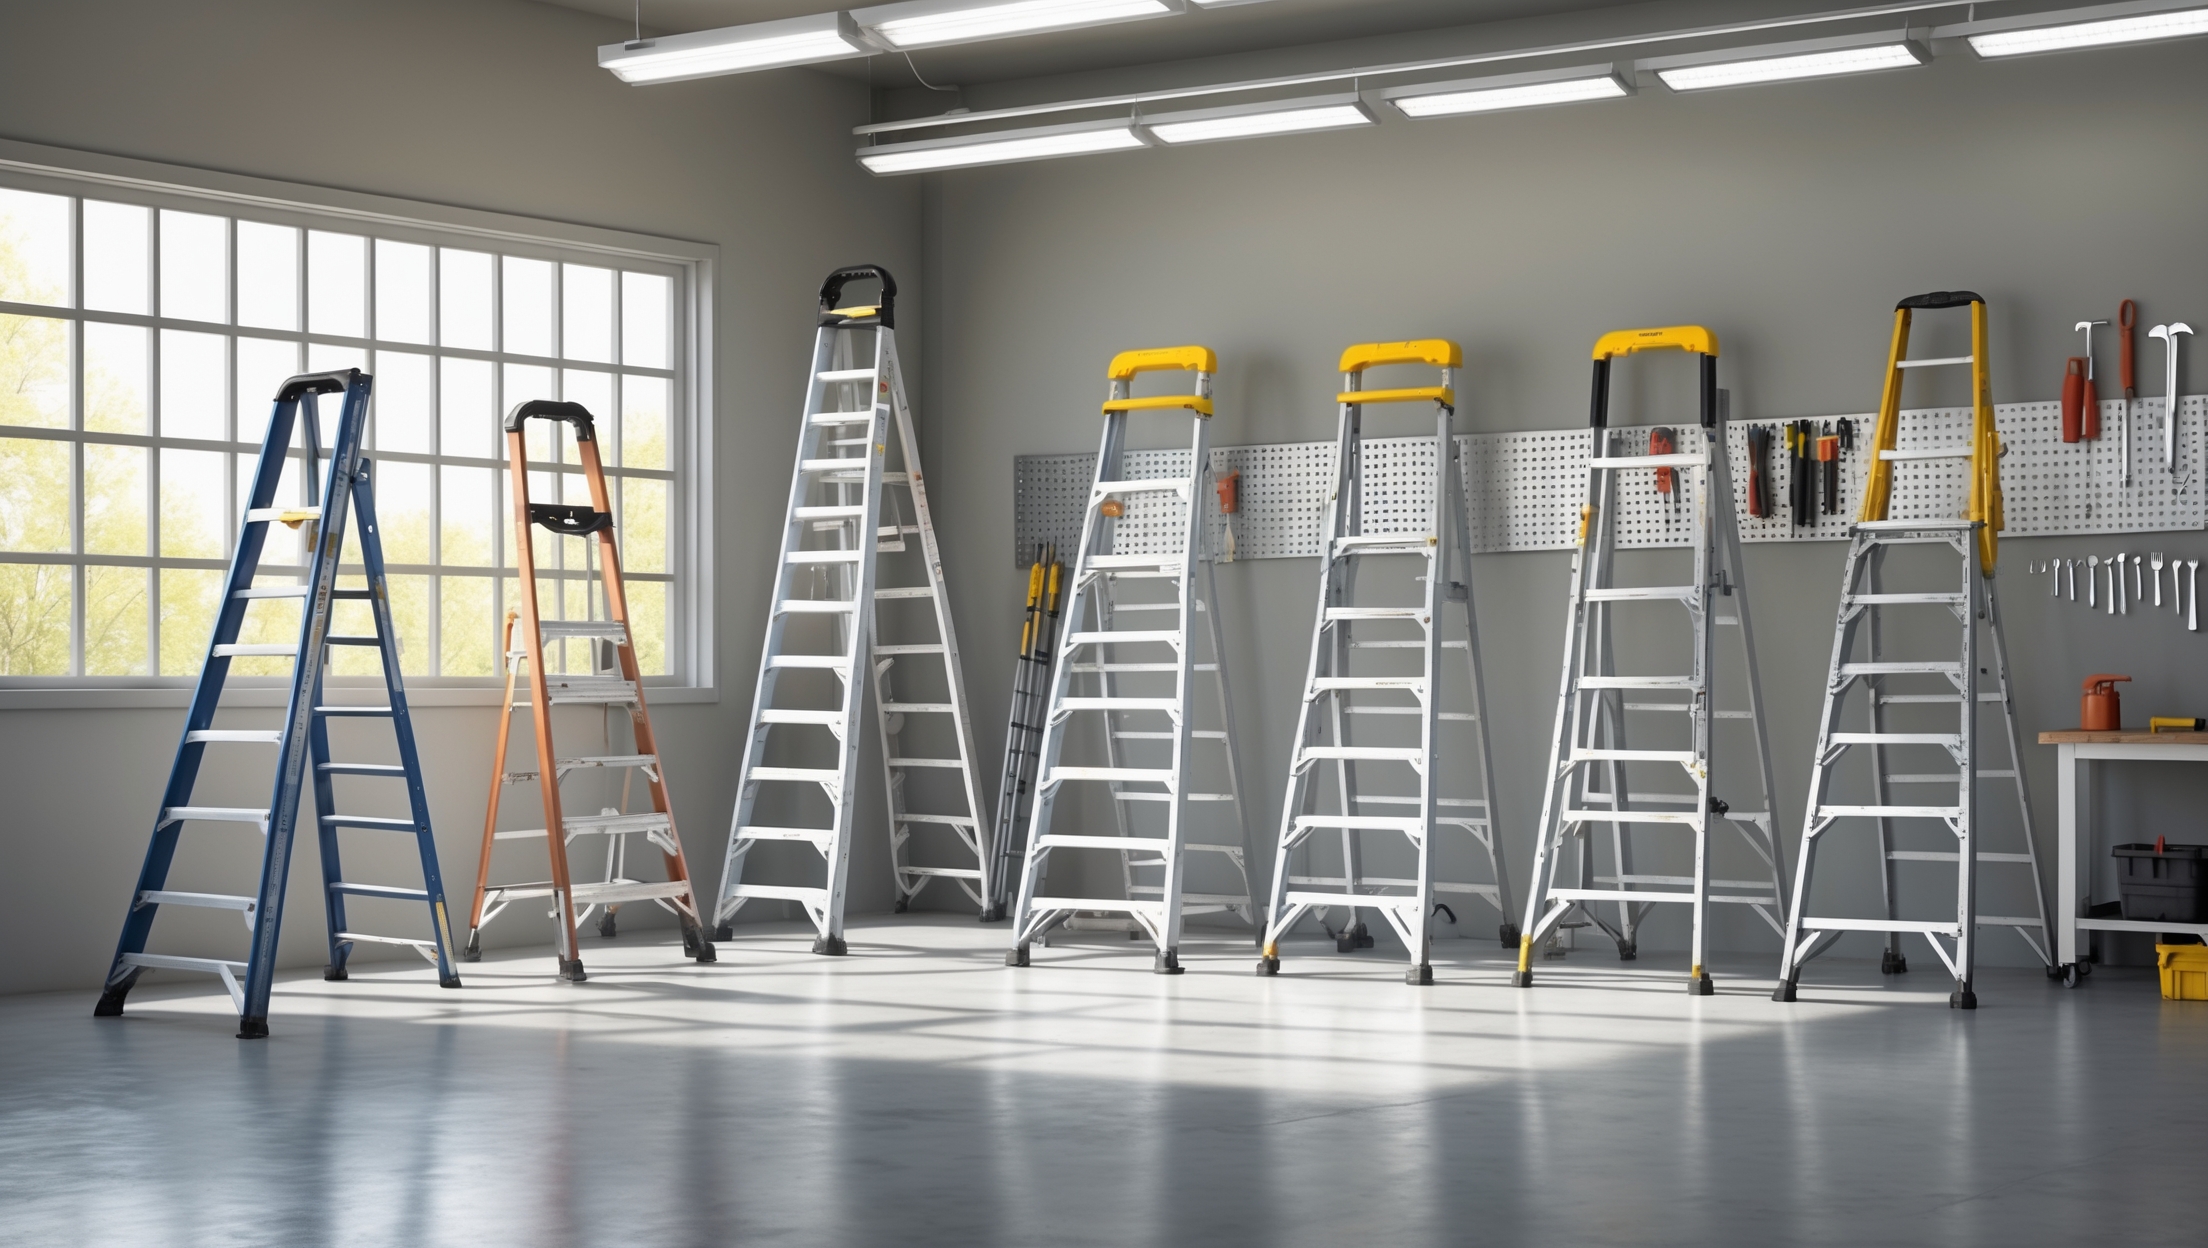
Before you can climb safely, it’s essential to pick the ladder that best fits your job. Ladders come in a surprising variety of forms, each tailored for different environments and heights. Using the wrong ladder can not only make your work harder but also significantly increase your risk of injury or property damage. Here’s a breakdown of the most common home ladder types and when to use each:
Step Ladders
- Best for: Indoor projects, changing bulbs, painting, or reaching shelves
- Features: Freestanding A-frame design, typically 4–8 feet tall, with a flat platform at the top
- Pros: Stable, portable, doesn’t require wall support
- Cons: Limited reach; not suitable for high exterior work
Extension Ladders
- Best for: Exterior work, gutters, roof access, tall ceilings
- Features: Two or more sliding sections, extends up to 40 feet or more
- Pros: Maximizes reach, lightweight aluminum options available
- Cons: Requires wall or solid surface for support; bulkier storage
Multi-Position (Articulated) Ladders
- Best for: Versatile tasks, uneven surfaces, staircases
- Features: Hinged joints allow multiple configurations: step, extension, scaffold
- Pros: Highly adaptable, compact storage
- Cons: Heavier, more expensive, steeper learning curve
Platform Ladders
- Best for: Tasks requiring stability and comfort, such as painting or electrical work
- Features: Wide standing platform, guardrails, typically 4–12 feet tall
- Pros: Comfortable for long periods, added safety features
- Cons: Bulky, less portable
Tall Folding Stools
- Best for: Quick indoor reach jobs, kitchen, closets
- Features: Compact, lightweight, often with anti-slip steps
- Pros: Easy storage, perfect for small spaces
- Cons: Not for heights above 3–4 feet
Key Ladder Features: What Matters for Home Use?
Beyond basic ladder types, certain features and specs can dramatically improve both safety and usability. Here’s what to consider before you buy:
1. Material: Aluminum vs. Fiberglass vs. Wood
- Aluminum: Lightweight, rust-resistant, affordable. Note: Conducts electricity—never use near exposed wiring.
- Fiberglass: Heavier but non-conductive; ideal for electrical work. More expensive but highly durable.
- Wood: Traditional, non-conductive (when dry), but heavier and prone to weather damage. Generally less common today.
2. Weight Rating (Duty Rating)
- Type III (Light Duty): Up to 200 lbs. (for light household tasks)
- Type II (Medium Duty): Up to 225 lbs. (painting, light repairs)
- Type I (Heavy Duty): Up to 250 lbs. (general contractors and serious DIYers)
- Type IA (Extra Heavy Duty): Up to 300 lbs.
- Type IAA (Special Duty): Up to 375 lbs. (rare for home use)
Always factor in your weight plus clothing, tools, and materials you’ll carry.
3. Height and Reach
- Allow for a 3-foot overlap on extension ladders for safety.
- Never stand on the top rung or cap—subtract two steps from the total height for your actual safe standing height.
- For roof access, the ladder should extend 3 feet above the roofline.
4. Anti-Slip Feet and Steps
Look for slip-resistant feet and tread patterns on steps or rungs. Rubberized or spiked feet improve grip on different surfaces.
5. Locking Mechanisms
Make sure hinges and rung locks snap firmly into place. On multi-position ladders, audible clicks and visual indicators are essential for safety.
6. Built-in Tool Trays and Holders
Some ladders include trays, hooks, or even magnetic strips for holding tools, paint cans, or hardware at the top. These features boost productivity and reduce risky up-and-down trips.
Beginner Mistakes and How to Avoid Them
- Overreaching: Never lean out sideways. Instead, climb down and move the ladder. Overreaching is the most common cause of ladder falls.
- Poor Placement: Set up on a firm, level surface. Use ladder levelers outdoors or on uneven ground. Avoid soft soil, gravel, or any unstable surface.
- Ignoring Weight Limits: Exceeding your ladder’s duty rating can cause collapse. Factor in your weight plus any carried items.
- Using Metal Ladders Near Power Lines: Always use fiberglass when working near electricity. Never risk a shock.
- Improper Angle (Extension Ladders): Follow the 4-to-1 rule: for every 4 feet of ladder height, set the base 1 foot out from the wall.
- Standing on the Top Rung: This is never safe, no matter the ladder type.
- Skipping Pre-Use Checks: Inspect for cracks, loose bolts, or bent rungs before every use.
- Carrying Tools in Hand: Use tool belts or hoist tools up after climbing.
Step-by-Step: Safe Ladder Setup and Use
1. Inspect Before You Climb
- Check for cracks, splits, corrosion, or missing parts.
- Test all locks and hinges.
- Ensure feet are clean and intact.
2. Positioning Your Ladder
- Set on flat, stable ground.
- Keep at least 10 feet away from power lines.
- For extension ladders, use the 4-to-1 rule for angle.
3. Climbing and Working
- Face the ladder, maintain three points of contact (two hands and one foot, or two feet and one hand).
- Keep your body centered between the rails.
- Don’t carry heavy or bulky items; use a tool belt or rope hoist.
- Move the ladder rather than overreaching.
- Never allow more than one person on a single-user ladder.
Maintenance Best Practices: Keeping Your Ladder Safe
A well-maintained ladder can last decades and perform safely every time. Here’s how to care for your ladder:
- Clean After Use: Wipe down dirt, paint, and debris—especially from steps and feet for maximum traction.
- Store Indoors: Keep ladders in a dry, sheltered area to prevent rust, rot, or UV damage.
- Lubricate Moving Parts: Use a silicone spray on hinges and locks for smooth operation.
- Check Fasteners: Tighten bolts and screws periodically, especially after heavy use or transportation.
- Label for Safety: Mark weight limits and usage instructions for family members or helpers.
- Retire and Replace: Discard ladders with visible cracks, significant bends, or missing components. Never attempt major structural repairs—replace instead.
Comparing Top Ladder Brands and Models for Home Use
The ladder market is filled with options, but a few brands consistently deliver on safety and durability. Here’s a side-by-side comparison of leading models for popular DIY tasks:
| Brand & Model | Type | Material | Height (ft.) | Weight Rating | Best For |
|---|---|---|---|---|---|
| Werner 6 ft. Fiberglass Step Ladder | Step | Fiberglass | 6 | Type I (250 lbs) | Indoor/outdoor, electrical safety |
| Louisville 20 ft. Extension Ladder | Extension | Aluminum | 20 | Type II (225 lbs) | Gutters, roof access |
| Little Giant Velocity 17 | Multi-Position | Aluminum | 17 | Type IA (300 lbs) | Versatile, stairways |
| Gorilla Ladders 3-Step Pro | Step Stool | Steel | 3 | Type II (225 lbs) | Kitchen, closets |
| Rubbermaid RM-P2 2-Step Stool | Folding Stool | Aluminum | 2 | Type III (200 lbs) | Quick indoor reach |
Consider your most frequent tasks and storage space when selecting a ladder. For most homeowners, a combination of a 6-foot step ladder and a 16–20 foot extension ladder covers 90% of needs. Multi-position ladders are ideal for those with limited storage or diverse project types.
Essential Ladder Accessories for Safer, Easier DIY
- Ladder Levelers: Attachments that adjust for uneven ground, ideal for outdoor use.
- Stabilizer Bars: Wide arms that spread load and prevent sideways movement on extension ladders.
- Paint Trays & Tool Caddies: Snap-on or hanging trays to keep supplies within reach.
- Ladder Mats: Non-slip mats for added grip on slick surfaces.
- Roof Hooks: Secure ladders to roofing edges for safe roof access.
When to Rent vs. Buy a Ladder
- Buy: If you use a ladder multiple times per year, or need quick access for routine tasks.
- Rent: For rare, one-off projects requiring extra-tall or specialty ladders (24+ ft., scaffolds, etc.). Renting can save storage space and upfront costs.
Local hardware stores and tool rental centers offer daily and weekly rates. Always inspect rental ladders for damage before accepting.
Safety Checklist: Never Climb Without These Steps
- Inspect ladder for damage, cleanliness, and secure locks.
- Ensure ground is stable—use mats or levelers if needed.
- Check weather—avoid outdoor use in wind, rain, or lightning.
- Wear sturdy, non-slip shoes.
- Have a spotter for tall or awkward jobs.
- Keep work area clear of obstacles and clutter.
- Plan tool and material placement—minimize repeated climbs.
Conclusion: Climb Smarter, Work Safer
Ladders may be one of the most common tools in home workshops, but their safe, effective use is all about knowledge and preparation. By carefully selecting the right ladder for each task, investing in quality equipment, and committing to smart safety protocols, you can dramatically reduce the risk of falls and injuries—while making your DIY projects faster and more enjoyable. Remember that the best ladder is one that matches your needs, supports your weight and tools, and is always in excellent working condition. Don’t overlook basic maintenance, and never improvise with damaged or inadequate ladders. The time you invest in ladder education pays off every time you tackle jobs both big and small, from hanging holiday lights to major repairs. With the tips and insights from this guide, you’ll approach every project with confidence and peace of mind, knowing you’re set up for success from the ground up. Happy (and safe) climbing!


When selecting a step ladder for indoor projects like changing bulbs or painting, is there a guideline for how tall the ladder should be relative to the user’s height and the ceiling? I want to make sure I’m not overreaching.
To choose the right step ladder, the top standing level should be about 2 steps down from the very top for safety. Ideally, your maximum safe reach height is about 4 feet higher than the ladder’s height. For 8-foot ceilings, most people are comfortable with a 4- or 5-foot step ladder, as this allows you to safely reach the ceiling without stretching or overreaching.
Are there any specific maintenance tips for keeping my ladders in good condition, especially if they’re stored in a damp garage? The article mentions keeping equipment in top shape, but I’d love more detail on what regular upkeep should include.
To keep your ladders in good shape, especially in a damp garage, regularly check for rust on metal parts and mildew on wooden ones. Wipe ladders down after use, and dry them before storing. Lubricate hinges or locks as needed. Store ladders off the ground on wall hooks or racks to improve air circulation and avoid moisture buildup. Inspect all rungs, feet, and locking mechanisms every few months for wear or damage.