Introduction: Why Smart Water Valve Controllers Are a Game Changer for DIYers
Water leaks are among the most expensive and disruptive issues a homeowner can face. From silent drips under sinks to catastrophic pipe bursts, water damage can lead not only to costly repairs but also to irreplaceable losses. Traditional shutoff valves require immediate manual intervention—a challenge if you’re not home or if the leak goes unnoticed. Enter smart water valve controllers. These devices automatically shut off your home’s water supply when leaks are detected, often integrating seamlessly with sensors and smart home systems. For DIYers, the appeal is clear: proactive protection, peace of mind, and the satisfaction of tackling a high-impact upgrade on your own terms. But with a rapidly growing market, choosing the right valve controller—and understanding its installation, compatibility, and maintenance—can be daunting. This guide compares today’s most DIY-friendly smart water valve controllers, explains how they work, outlines installation steps, and offers practical advice to help you prevent costly water damage, all while staying hands-on and in control.
How Smart Water Valve Controllers Work
Core Functionality and Key Components
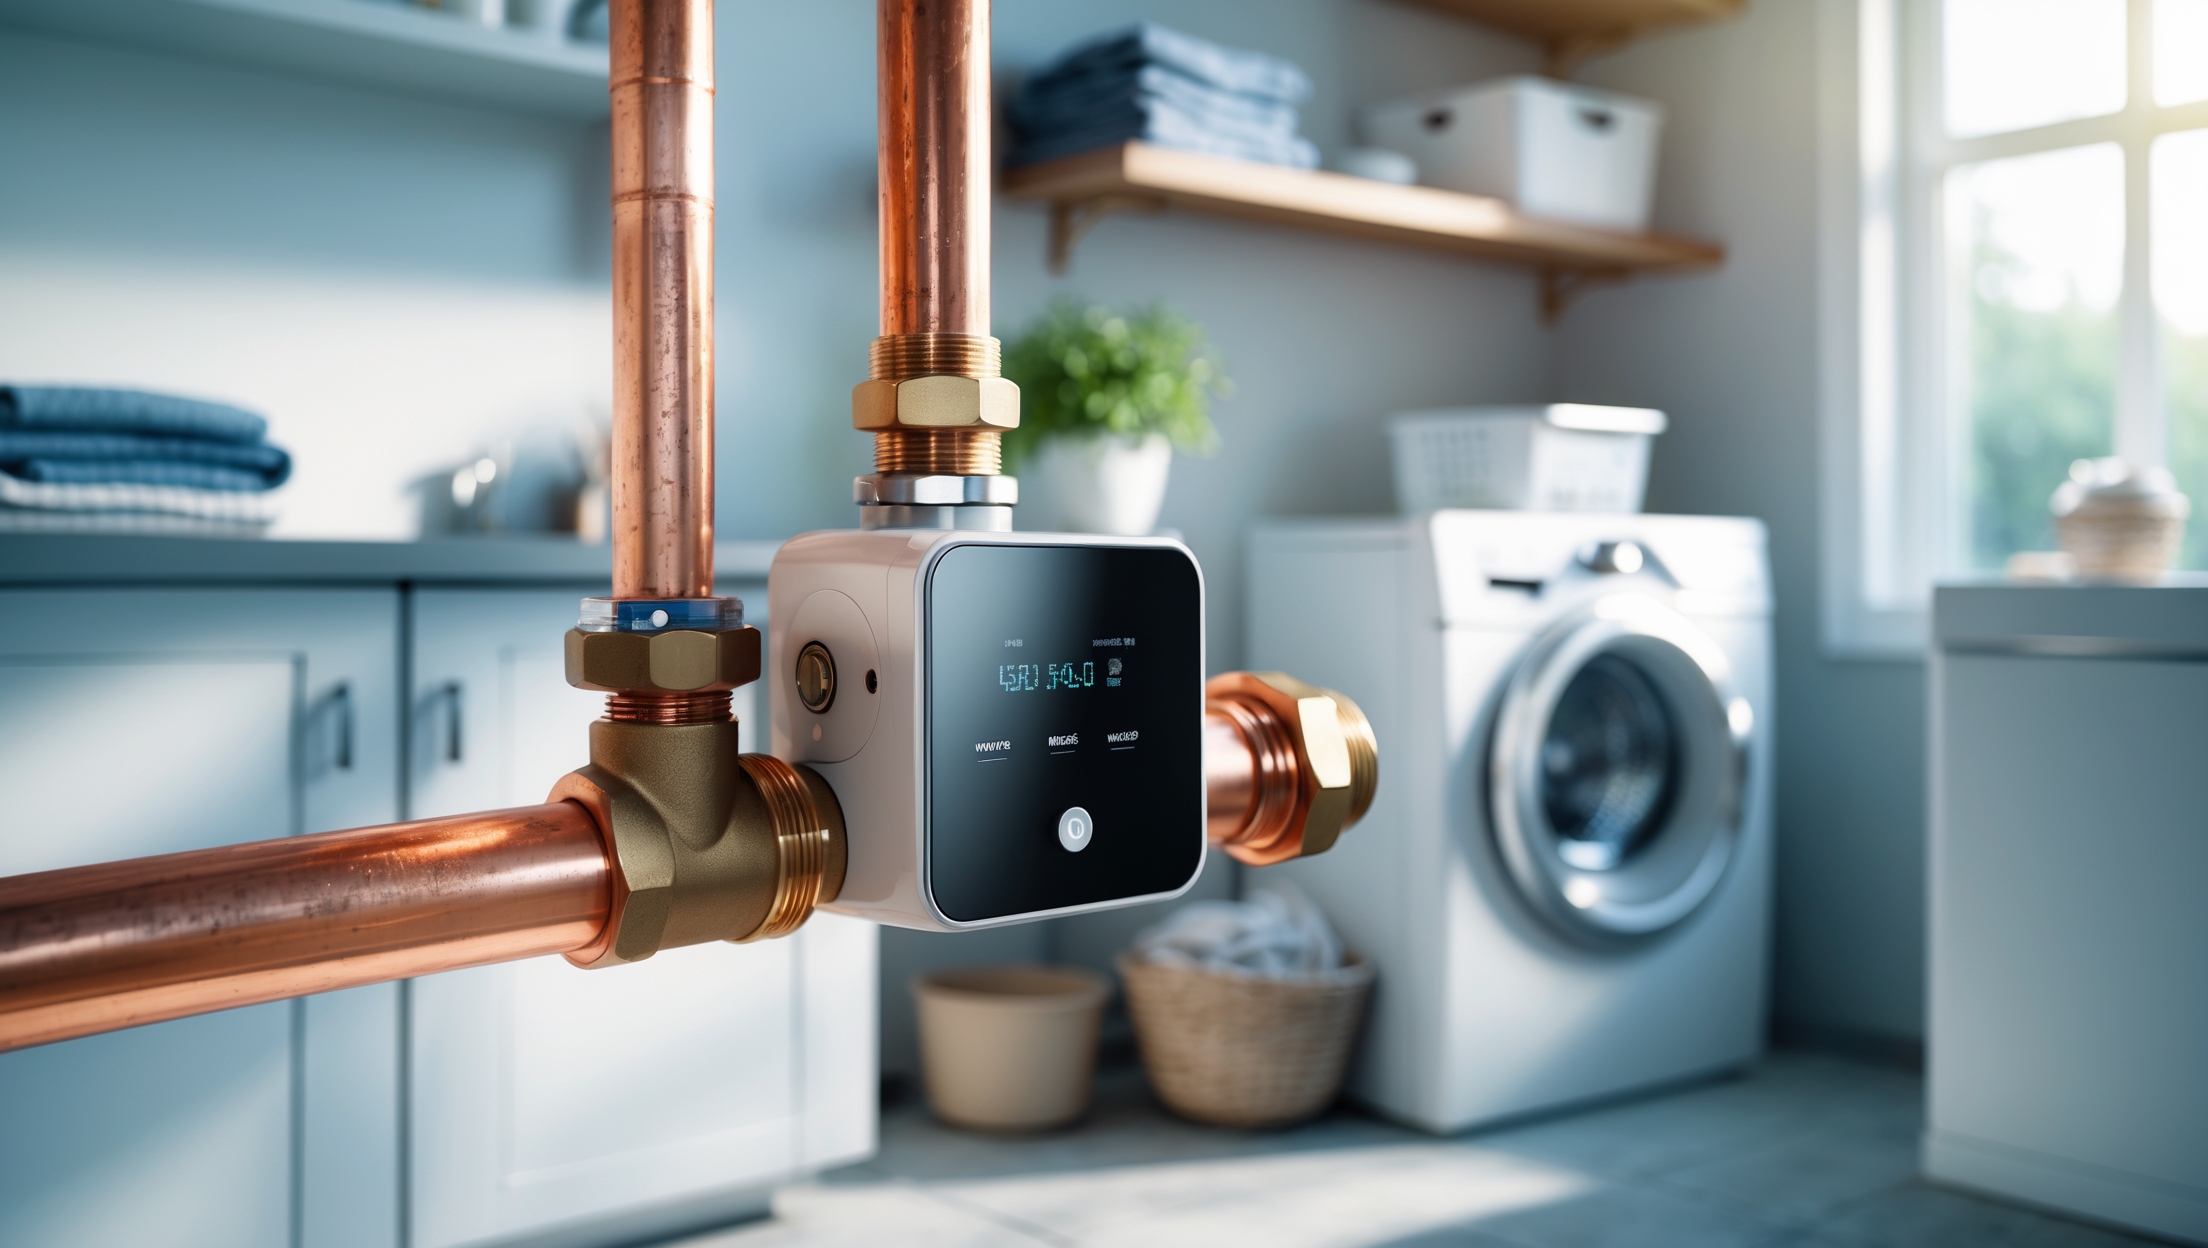
Smart water valve controllers are motorized devices that attach to your existing water main shutoff valve or, in some cases, replace it entirely. Connected to Wi-Fi or a smart home hub, they can be activated remotely via app, voice commands, or automatically by leak sensors placed around your home. The core components typically include:
- Motorized Actuator: Turns the valve handle to open or close the water supply.
- Controller Unit: Houses the electronics and connects to your network.
- Sensor Integration: Works with wired or wireless leak sensors to detect water and trigger shutoff.
- Manual Override: Allows manual operation in case of power or network failure.
Types of Smart Valve Controllers
- Add-On Actuators: Clamp onto your existing ball or gate valve—no pipe cutting required. Ideal for most DIYers.
- In-Line Smart Valves: Replace a section of your pipe with a new smart valve. Installation is more involved and may require some plumbing skills.
Benefits of Installing a Smart Water Valve Controller
- Immediate Leak Response: Automatic shutoff limits damage from leaks, even when you’re away.
- Remote Control: Turn your water on or off from anywhere using your smartphone.
- Integration with Smart Home Ecosystem: Connect to Alexa, Google Assistant, or Apple HomeKit for voice and automation triggers.
- Insurance Discounts: Some insurers offer lower premiums for homes with smart leak prevention systems.
- Peace of Mind: Prevents the nightmare of coming home to a flooded basement or ruined flooring.
Key Factors to Consider When Choosing a Device
Compatibility with Your Existing Valve
Before choosing a controller, inspect your main water shutoff valve. Most DIY-friendly actuators are designed for standard 1/2″–1 1/4″ ball valves with a lever handle, but some work with gate valves. Measure the diameter, check clearance around the pipe, and note the valve’s orientation.
Connectivity and Smart Home Integration
- Wi-Fi Only: Easiest to set up but may lose function if your network goes down.
- Zigbee/Z-Wave: Integrates with smart home hubs for more robust automation.
- Voice Assistants: Look for compatibility with Alexa, Google Assistant, or Apple HomeKit.
Power Source
- Plug-In: Reliable but requires an outlet nearby.
- Battery Backup: Ensures operation during power outages—essential for true peace of mind.
Leak Sensor Options
Some controllers include leak sensors; others require you to buy them separately. Consider where leaks are most likely (under sinks, near water heaters, in basements) and count how many sensors you’ll need.
Ease of Installation
Look for clear instructions, video guides, and customer support. DIY-friendly models often use tool-free clamps and minimal wiring.
Top DIY-Friendly Smart Water Valve Controllers Compared
Below is a side-by-side comparison of four popular models favored by DIYers for their ease of installation, reliability, and integration features.
| Model | Valve Compatibility | Power | Sensors Included | Smart Home Integration | Installation | Approx. Price (USD) |
|---|---|---|---|---|---|---|
| Flo by Moen Smart Water Shutoff | In-line (replaces section of pipe) | Plug-in + Battery backup | Optional | Alexa, Google, HomeKit | Moderate (some plumbing required) | $400 |
| Dome Water Main Shut-Off | Ball / Gate (add-on actuator) | Plug-in | No | Z-Wave (SmartThings, Hubitat) | Easy (no pipe cutting) | $120 |
| Ecolink Smart Water Shut-Off Valve | Ball (add-on actuator) | Plug-in | No | Z-Wave | Easy | $180 |
| Phyn Smart Water Assistant + Shutoff | In-line | Plug-in | No | Alexa, Google | Moderate (plumbing required) | $500 |
| YoLink Smart Valve Controller | Ball (add-on actuator) | Plug-in + Long-life battery | Optional | Alexa, Google (via YoLink hub) | Easy | $99 |
Model Highlights and Suitability for DIYers
- Dome & YoLink: Best for hands-off installation. No pipe cutting, tool-free mounting, and integration with popular smart home hubs. Ideal for renters or those wary of plumbing work.
- Flo by Moen & Phyn: Offer advanced leak analytics and in-line water monitoring but require pipe cutting and fitting. Suited for experienced DIYers or as part of a larger plumbing upgrade.
Step-by-Step DIY Installation: Add-On Smart Valve Actuator
For most homeowners, an add-on actuator is the most approachable project. Here’s a practical walkthrough using a typical device like the YoLink or Dome actuator.
Tools and Materials Needed
- Smart valve actuator kit
- Phillips and flathead screwdrivers
- Adjustable wrench (if mounting bracket requires tightening)
- Wi-Fi or Smart Home hub (as required by your device)
- Optional: Leak sensors, zip ties, extension cord
Preparation
- Locate your main water shutoff valve. Ensure you have at least 4 inches of clearance on all sides.
- Test the valve manually to confirm it moves freely. If it’s stuck or overly stiff, lubricate or replace the valve before proceeding.
- Clean the valve and surrounding pipe to ensure the actuator mounts securely.
Installation Steps
- Unbox the smart actuator and review the instructions. Watch the manufacturer’s video guide if available.
- Attach the mounting bracket to the pipe and valve body, ensuring the actuator arm aligns with the valve handle.
- Tighten brackets or clamps. Double-check that the actuator has a full range of motion.
- Connect the actuator to power—plug it in or insert batteries as needed.
- Pair the device with your Wi-Fi network or smart hub. Follow the app prompts to calibrate open/close positions.
- Test the system: Open and close the valve using the app or voice command. Confirm manual override is functional.
- If using leak sensors, place them in high-risk areas and pair them with the controller per instructions.
Troubleshooting Tips
- If the actuator struggles to turn the valve, check for obstructions or excessive valve stiffness.
- Ensure your Wi-Fi signal is strong at the installation site. Consider a mesh extender if needed.
- Label the manual override lever for quick access during power or network outages.
Maintenance and Best Practices
Regular Testing
Test your smart valve and leak sensors monthly. Open and close the valve using both the app and manual controls to ensure smooth operation. Replace batteries in sensors and actuator (if equipped) annually or as indicated by low-battery alerts.
Cleaning and Inspection
- Wipe down the actuator and sensors to prevent dust buildup.
- Inspect for signs of corrosion or leaks at the valve. Address plumbing issues promptly.
Firmware and App Updates
Keep your smart device firmware and app up to date for security, new features, and integration improvements.
Cost Breakdown and Budgeting Tips
The cost of protecting your home with a smart water valve controller varies by system complexity and features. Here’s a typical budget breakdown for a DIY install:
- Smart actuator (add-on): $100–$200
- Leak sensors (per unit): $15–$40
- Wi-Fi or smart hub (if needed): $40–$100
- Tools/materials (if not already owned): $0–$20
For in-line systems, expect $400–$600 plus possible plumbing labor if you’re not comfortable with pipe cutting and fitting. Weigh these costs against potential water damage, which can easily exceed $5,000 for a single incident.
Common Myths and Misconceptions
- “Smart water shutoff is only for tech experts.” Most popular models are designed for typical homeowners and require only basic tools.
- “These devices void home insurance.” On the contrary, many insurers encourage or incentivize their use.
- “Add-on actuators are unreliable.” Today’s models are robust and tested for thousands of cycles—just ensure your valve is in good working order first.
- “You need to remodel your plumbing.” Add-on actuators mount to existing valves with no pipe modifications.
Safety Considerations
- Always turn off your water supply before installing or adjusting the actuator.
- Unplug electrical devices before working in wet areas.
- If you must cut pipe for an in-line valve, follow local plumbing codes and use proper safety gear.
- Keep the actuator’s power cord clear of any potential water leaks.
Real-World Success Stories
Case 1: Quick Response, Major Savings
One DIY homeowner in the Midwest installed a smart valve actuator paired with sensors near their washing machine and water heater. When a hose burst while they were on vacation, the system automatically shut off the main water, limiting damage to a small puddle. Their insurance adjuster estimated savings of over $7,000 in avoided repairs.
Case 2: Integrating with a Whole-Home Smart System
Another user combined a smart water valve with an existing smart home hub, creating automation routines for travel mode, pipe freeze alerts, and even voice-activated water shutoff for emergencies. The family enjoys daily convenience and increased confidence in their home’s resilience.
Conclusion: Protect Your Home the Smart Way—DIY Style
Water damage is one of the most preventable threats to your home’s value and your peace of mind. Smart water valve controllers, once a luxury for tech enthusiasts, are now accessible and practical for DIYers of all skill levels. Whether you choose a simple add-on actuator or invest in an advanced in-line monitoring system, the benefits are clear: instant response to leaks, remote control from anywhere, and seamless integration with the rest of your smart home. With straightforward installation, regular testing, and the right sensors in place, you can dramatically reduce your risk of costly water disasters. Ultimately, the best system is the one you’ll use—and maintain. Take the time to assess your plumbing setup, select a device that fits your needs and budget, and invest a few hours in installation. The result is a safer, smarter home that’s protected even when you’re miles away. Stay proactive, stay hands-on, and enjoy the confidence that comes with true DIY leak prevention.




I’m curious about how tricky the installation step really is for a typical DIYer, especially with older existing ball valves. Are there certain smart valve controllers that work better with older plumbing setups, or is replacement usually necessary?
Installation can be a bit more challenging on older ball valves, mainly if there’s corrosion or tight clearances. Some smart valve controllers, like those with adjustable universal clamps or more flexible mounting brackets, tend to work better with older setups. However, if the valve is seized or non-standard, replacement might still be needed. It’s a good idea to check the compatibility recommendations from the manufacturer before purchasing.
Are there any lower-cost smart valve controllers that still offer reliable leak detection and app notifications, or do you generally have to pay a premium to get good sensor integration and remote shutoff features?
You don’t always have to pay a premium for solid leak detection and app notifications. Some lower-cost smart valve controllers focus on the basics and still offer reliable app alerts and remote shutoff. However, advanced sensor integration and compatibility with smart home systems are typically found in mid- to higher-priced models. If you’re open to simple, standalone solutions, budget-friendly options can do the job for basic leak prevention needs.
When integrating these smart valve controllers with leak sensors around the home, how reliable is the automatic shutoff feature if the Wi-Fi network is spotty or fails during an emergency? Are there models with stronger offline safeguards?
Many smart water valve controllers rely on Wi-Fi for real-time alerts and remote control, but some do offer offline safeguards. Certain models can directly pair with compatible leak sensors using local protocols like Zigbee or Z-Wave, allowing automatic shutoff even if Wi-Fi fails. When choosing a system, look for those supporting direct sensor-to-valve communication or ones that operate via a dedicated hub, which boosts reliability during connectivity issues.
Can you elaborate on how challenging it is for someone with minimal plumbing experience to install the add-on actuators versus fully replacing the main shutoff valve? Are there particular tools or skills required for each approach?
Installing add-on actuators is generally much easier for someone with minimal plumbing experience. You usually just need a screwdriver or wrench to attach the device to your existing valve—no cutting or pipe work involved. Fully replacing the main shutoff valve is more advanced, often requiring shutting off water, cutting pipes, and using plumbing tools like pipe wrenches or soldering equipment. If you’re not comfortable with those skills, you might want to stick with an actuator or hire a plumber for a full valve replacement.
I’m interested in understanding the difference between add-on actuators that attach to my existing shutoff valve versus replacing the whole valve entirely. Can you explain if one option tends to be more reliable or DIY-friendly over the long term, particularly for someone without prior plumbing experience?
Add-on actuators are generally more DIY-friendly, as they clamp onto your existing shutoff valve and require minimal plumbing skills—most people can install them with basic tools. Replacing the entire valve is more involved, often requiring you to cut pipes and deal with potential leaks, so it’s usually best left to a plumber. In terms of long-term reliability, both can work well, but a properly installed replacement valve may last longer since it eliminates moving parts clamped onto old hardware. For beginners, an add-on actuator is typically the safer and easier choice.