

Introduction: Why DIY Plumbing Leak Repairs Matter
Few household problems are as anxiety-inducing as the discovery of a plumbing leak. Whether it’s a dripping faucet, a slowly spreading water stain under the sink, or the unmistakable sound of running water where there shouldn’t be, leaks can drive up water bills, damage cabinets and floors, and even lead to mold or structural issues if left unaddressed. While many homeowners reach for the phone at the first sign of trouble, tackling minor plumbing leaks yourself is not only feasible—it’s often the fastest, most cost-effective solution. With the right tools, a clear understanding of repair steps, and a little confidence, you can resolve the most common household leaks without hiring a plumber. This guide focuses on practical, actionable details: the exact tools you’ll need, how much you can expect to spend, and step-by-step instructions for repairing leaks in sinks, toilets, and visible pipes. We’ll also highlight mistakes to avoid, safety tips, and maintenance best practices to keep leaks from returning. Whether you’re a DIY beginner or a seasoned home improver looking to streamline your approach, this is your go-to resource for home plumbing leak repairs.
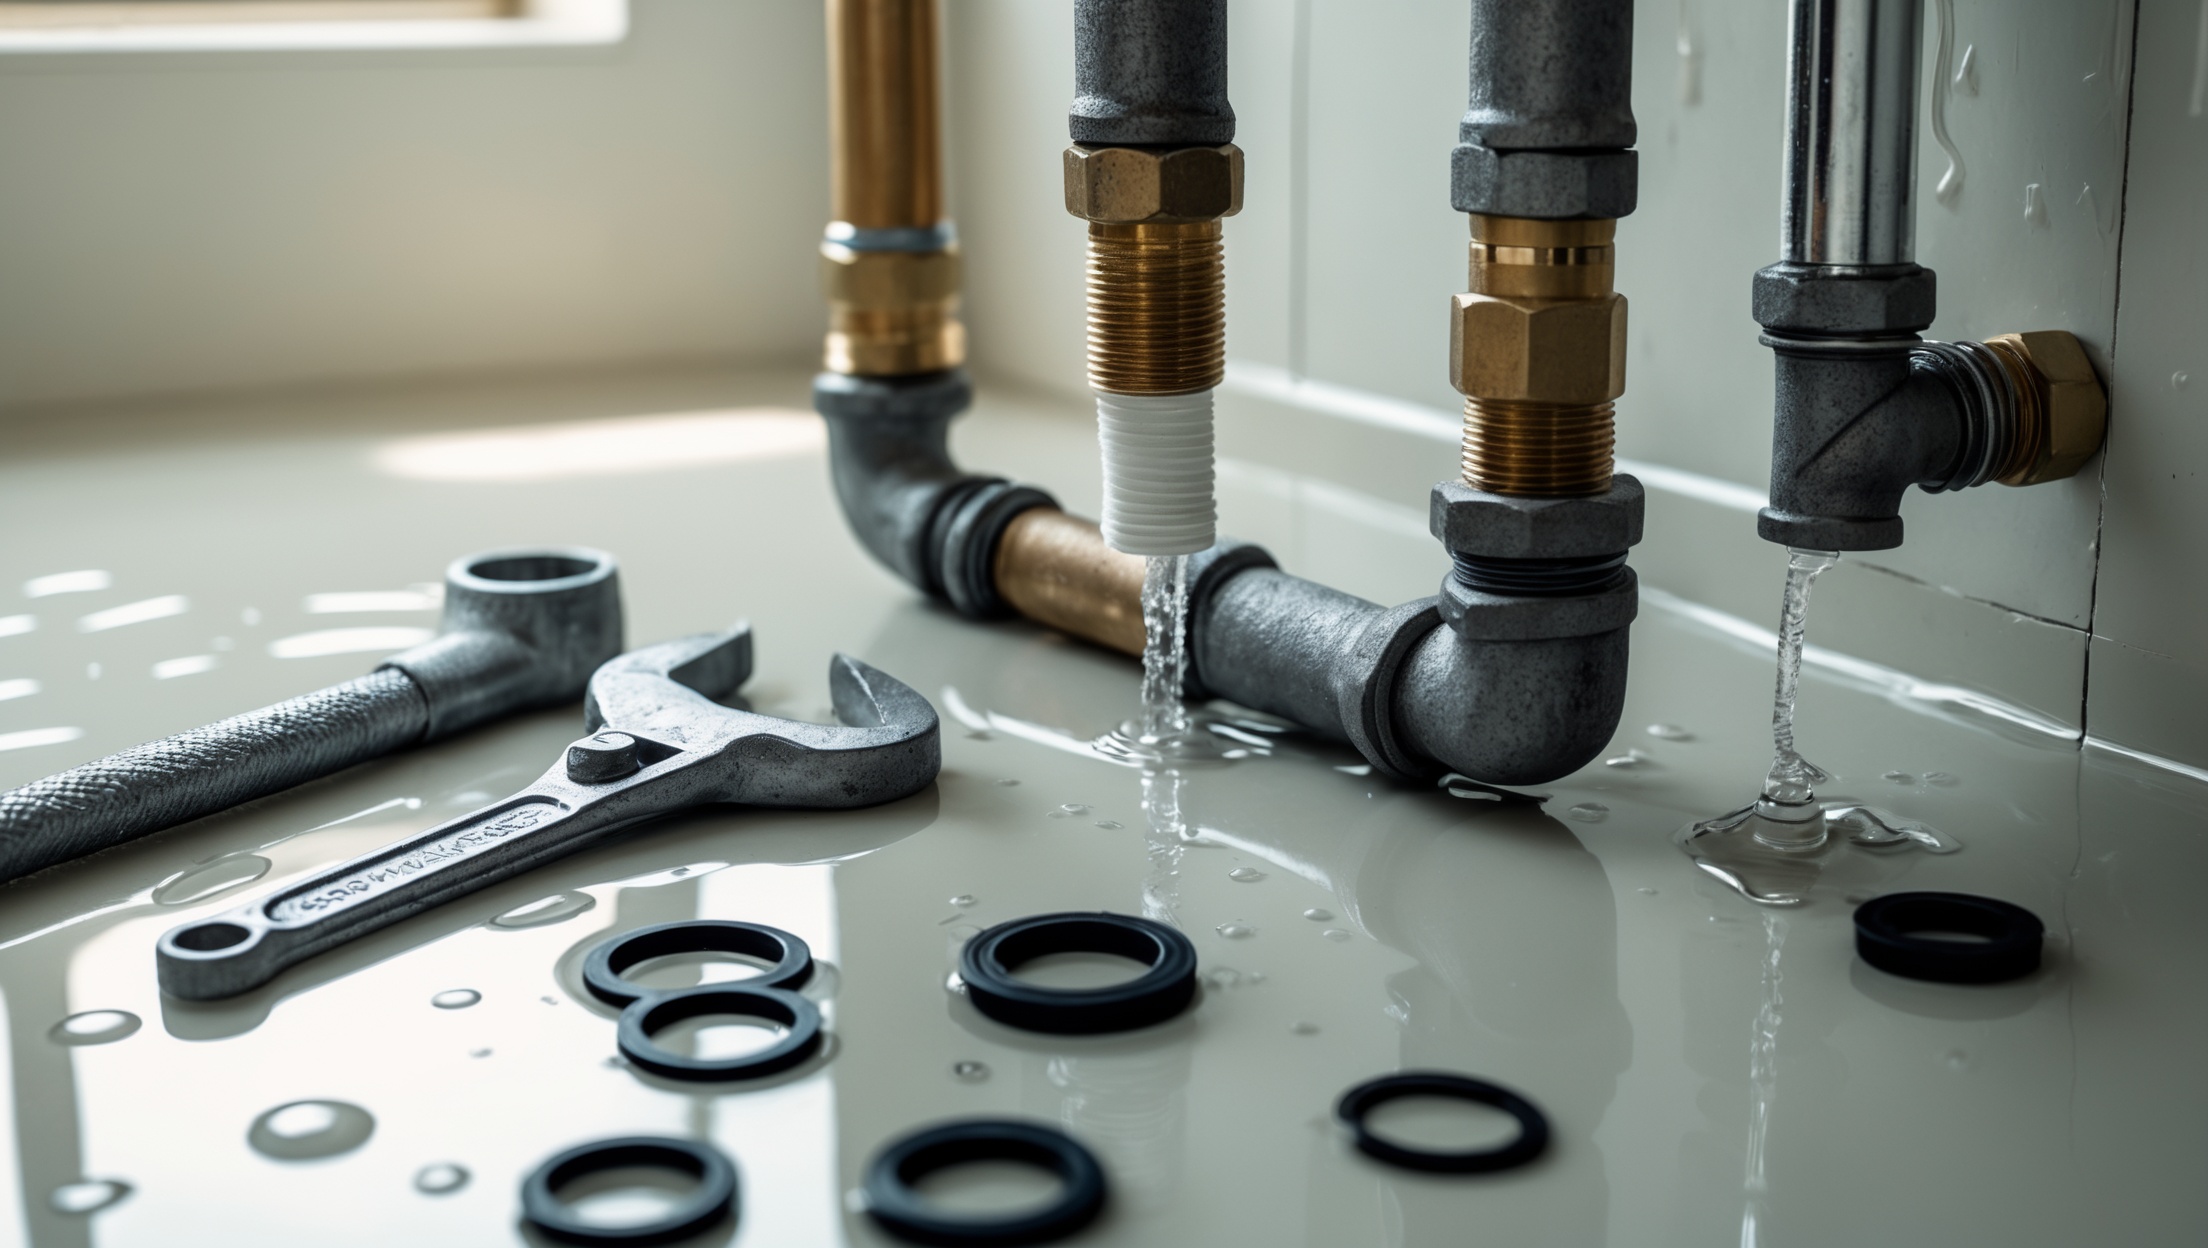
Essential Tools for DIY Plumbing Leak Repairs
Must-Have Hand Tools
- Adjustable Wrench: Versatile for tightening or loosening nuts and bolts on supply lines, shut-off valves, and faucet connections.
- Channel-Lock Pliers: Ideal for gripping pipes and fittings, especially when extra leverage is needed.
- Pipe Wrench: Useful for larger metal pipes, such as under sinks or in basements.
- Basin Wrench: Specially designed for hard-to-reach nuts under sinks and faucets.
- Screwdrivers: Both flathead and Phillips for removing covers, handles, or clamps.
- Utility Knife: For cutting old tape, caulk, or tubing.
- Plumber’s Tape (Teflon Tape): Essential for sealing threaded connections and preventing leaks.
- Plumber’s Putty: Used to create watertight seals around drains and fixtures.
- Buckets and Towels: Always have these on hand to catch water during repairs and minimize mess.
Consumables and Replacement Parts
- Replacement Washers and O-Rings: For fixing drips in faucets and hose bibs.
- PVC Pipe and Fittings: For replacing damaged sections of drain or supply pipe.
- Flexible Supply Lines: For toilets and faucets where the old line is leaking or corroded.
- Pipe Clamps or Repair Tape: Temporary fixes for small pinhole leaks until a permanent repair can be made.
Optional but Helpful Tools
- Mini Hacksaw: For cutting metal or PVC pipe.
- Flashlight or Headlamp: Illuminates dark cabinet interiors and tight spaces.
- Inspection Mirror: Useful for spotting leaks in hard-to-see places.
- Wet/Dry Shop Vacuum: For cleaning up any water left behind after a leak.
Cost Breakdown: DIY vs. Professional Leak Repairs
Upfront Tool Investment
- Basic Tool Kit (Wrench, Pliers, Screwdrivers): $40–$70
- Basin Wrench: $10–$20
- Plumber’s Tape/Putty: $5–$10
- Replacement Washers/O-Rings: $5–$15 per pack
- PVC Pipe/Fittings (as needed): $5–$20
- Flexible Supply Line: $8–$15 each
- Total Initial Investment: $60–$130 (most tools are reusable for future repairs)
Typical Repair Costs
- DIY Faucet Leak Repair: $5–$30 (replacement parts and consumables)
- DIY Toilet Leak Repair: $8–$25 (flapper, fill valve, or supply line)
- DIY Pipe Leak (Minor): $10–$30 (fittings, clamps, or patch kits)
Professional Plumber Costs (for Comparison)
- Service Call/Minimum Fee: $100–$175 (just to show up)
- Faucet Leak Repair: $120–$250
- Toilet Leak Repair: $120–$200
- Minor Pipe Repair: $150–$350
Even after the initial tool investment, most DIYers save hundreds of dollars per leak by handling repairs themselves.
Step-by-Step Guide: Repairing Common Plumbing Leaks
1. Diagnosing the Source of the Leak
- Start by drying the suspected area with a towel.
- Turn on the water and observe carefully. Look for drips, slow moisture accumulation, or stains.
- Check connections, joints, and seals. For hidden leaks, run your fingers along pipes to feel for moisture or use an inspection mirror.
2. Shutting Off the Water Supply
- Always shut off the local valve (under sink/toilet) before disassembly. If unavailable, use the main water shutoff.
- Turn on the faucet or flush the toilet to relieve pressure and drain remaining water.
3. Fixing a Leaky Faucet
- Remove the faucet handle (usually secured by a screw under a cap).
- Unscrew the packing nut with an adjustable wrench.
- Extract the stem or cartridge. Inspect washers and O-rings for wear, cracks, or flattening.
- Replace with an identical new washer or O-ring. Apply plumber’s grease if included.
- Reassemble in reverse order. Do not overtighten.
- Turn water supply back on, and check for drips.
4. Repairing a Leaky Toilet Tank
- Remove the tank lid and inspect for water trickling into the bowl (flapper leak) or from tank bolts.
- To replace the flapper, disconnect the chain and unclip the old flapper. Clean the seat, install the new flapper, and reattach the chain with minimal slack.
- If the fill valve leaks, unscrew the supply line, remove the old valve, and install a replacement following manufacturer instructions.
- For leaks at the base, tighten the bolts or replace the wax ring (requires removing the toilet).
- Turn water back on and test for leaks by flushing several times.
5. Fixing Under-Sink Pipe Leaks
- If leaking at a joint, tighten slip nuts by hand, then give a quarter-turn with pliers. Do not overtighten plastic nuts.
- If the leak persists, disassemble the joint, inspect washers, and replace if cracked or compressed.
- For cracks in PVC pipe, cut out the damaged section with a hacksaw. Dry-fit a new piece with couplings, then cement in place following instructions.
- For pinhole leaks in metal pipe, use an epoxy putty or pipe repair clamp as a temporary fix until replacement.
6. Replacing Leaky Flexible Supply Lines
- Turn off the water, unscrew both ends of the supply line (wrench may be needed).
- Clean the threads and apply plumber’s tape to ensure a watertight seal.
- Install the new supply line, tightening just until snug.
- Turn on water and check for leaks at both ends.
Beginner Mistakes to Avoid
- Overtightening Fittings: Damages threads or cracks plastic nuts, leading to new leaks.
- Mixing Up Parts: Always lay out parts in removal order. Take photos before disassembly.
- Skipping Plumber’s Tape: Threads without proper sealing are prone to slow leaks.
- Using Wrong Replacement Parts: Bring the old part to the store or double-check model numbers.
- Ignoring Water Damage: Dry and disinfect all areas after a leak to prevent mold growth.
- Forgetting to Test: Always check for leaks after repair, including running water for several minutes.
Maintenance Best Practices to Prevent Future Leaks
- Periodically inspect all visible pipes and supply lines for corrosion, stains, or moisture.
- Hand-tighten slip nuts and supply line connections annually.
- Replace washers and O-rings at the first sign of drips.
- Avoid chemical drain cleaners, which can weaken pipes and seals.
- Address slow drains or water pressure issues promptly to reduce stress on pipes.
Safety Checklist for DIY Plumbing Repairs
- Wear gloves to protect against sharp edges and exposure to water or chemicals.
- Use a flashlight in dark spaces to avoid accidental injuries.
- Keep the area dry and free of clutter to prevent slips.
- Never use excessive force—if a fitting won’t budge, apply penetrating oil or consult a professional.
- Shut off water supply before any repair work.
When to Call a Professional
- Leak persists after repeated DIY attempts.
- Multiple leaks or rapidly worsening water damage.
- Leaks behind walls, in ceilings, or in main supply lines.
- Signs of mold, structural damage, or electrical hazards.
- Unfamiliarity or discomfort with the repair process.
Conclusion: Confidence Through Preparation
Plumbing leaks can be stressful, but with the right tools, parts, and know-how, most minor leaks are well within reach for a capable DIYer. By investing once in a comprehensive set of plumbing hand tools and learning to identify and repair the most common leaks, you’ll not only save hundreds of dollars per incident—you’ll also gain peace of mind and greater control over your home’s maintenance. Remember to work methodically, avoid common mistakes like overtightening or using incorrect parts, and always test your repairs thoroughly. Routine inspections and preventative maintenance further reduce the likelihood of leaks reoccurring or causing costly damage. However, know your limits: persistent, hidden, or large-scale leaks should be addressed by a licensed plumber to prevent escalation. With preparation, practice, and a willingness to learn from each fix, you can transform plumbing repairs from a dreaded chore into a satisfying, empowering DIY routine. Your future self—and your wallet—will thank you.