


Introduction: Why DIY Faucet Replacement is Worth Learning
Swapping out an outdated or leaky faucet is one of the most satisfying DIY upgrades you can tackle in your kitchen or bathroom. The job is approachable for beginners and intermediate DIYers alike—yet it’s easy to underestimate the small details that can make or break your success. Whether you want to elevate your home’s style, eliminate persistent drips, or simply save on costly plumber fees, learning to replace a faucet yourself gives you control, confidence, and cost savings. However, a smooth faucet install isn’t just about buying a new fixture and hoping for the best. You need the right tools, an honest budget, and a clear, step-by-step process to avoid leaks, stripped fittings, or last-minute trips to the hardware store. In this detailed guide, we’ll walk through everything you need to know—from essential equipment and cost breakdowns, to practical tips for a hassle-free installation. Whether you’re upgrading a kitchen centerpiece or modernizing a bathroom vanity, you’ll finish with a faucet that works perfectly and looks great—plus the satisfaction of a job well done.
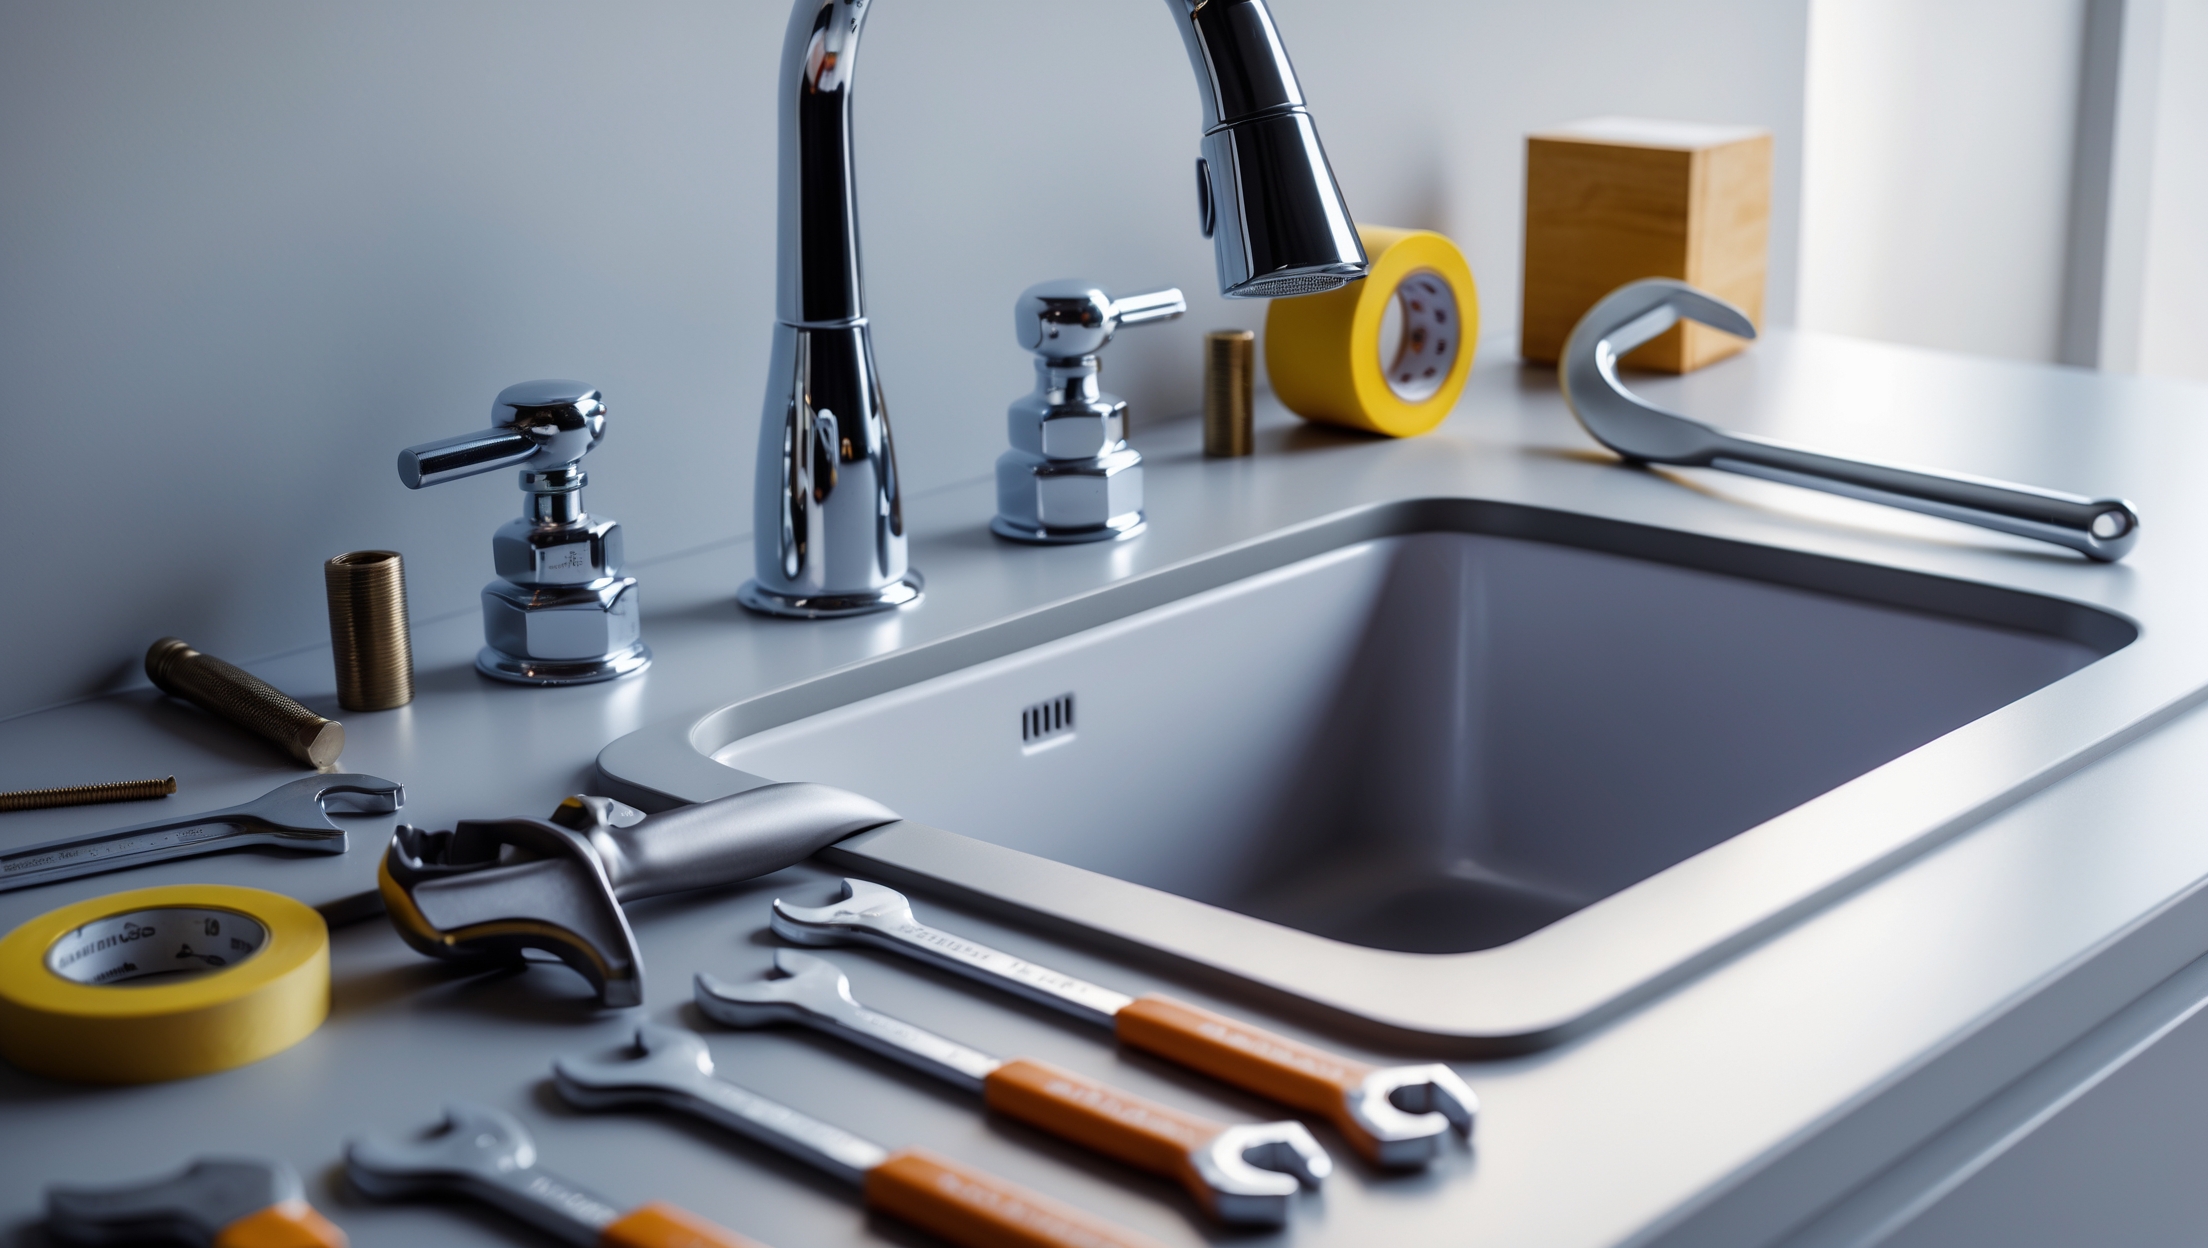
Essential Tools and Materials: What You Really Need (and What’s Optional)
Must-Have Tools for DIY Faucet Replacement
- Adjustable Wrench: For tightening and loosening supply line connections. Choose one that fits in tight spaces.
- Basin Wrench: Designed for hard-to-reach mounting nuts behind sinks—a lifesaver for most installations.
- Channel-Lock Pliers: Helpful for stubborn nuts or corroded fittings; use with care to avoid damage.
- Plumber’s Putty or Silicone Caulk: Crucial for sealing the faucet base to prevent leaks.
- Plumber’s Tape (Teflon Tape): Wrap this around threaded supply line connections for a watertight seal.
- Bucket and Towels: For catching residual water and cleaning up any drips during removal and installation.
- Phillips and Flathead Screwdrivers: Needed for removing mounting hardware or faucet handles.
- Flashlight or Headlamp: Sinks are notorious for poor lighting—see what you’re doing to avoid mistakes.
Helpful Extras and Optional Tools
- Socket Wrench Set: Some faucet mounting nuts require specific sockets for easier removal.
- Utility Knife: For cutting old caulk or sealant cleanly around the old faucet base.
- Old Toothbrush or Small Brush: Great for cleaning grime from the mounting area before installing the new faucet.
- Mini Hacksaw: In rare cases, corroded mounting nuts may need to be cut off.
Materials Checklist
- New Faucet: Make sure it matches your sink’s hole configuration (single-hole, center-set, widespread, etc.).
- New Supply Lines: Highly recommended if your old lines show wear or corrosion—most faucets don’t include them.
- Mounting Hardware: Usually included with new faucets, but double-check the box.
- Deck Plate (Escutcheon): Needed if your new faucet doesn’t cover all existing holes in your sink.
Cost Breakdown: Realistic Budgeting for DIY Faucet Replacement
Faucet Price Ranges
- Entry-Level Faucets: $40–$75 (basic models, good for utility sinks or rentals)
- Mid-Range Faucets: $80–$200 (stylish finishes, better hardware, brand names)
- High-End Faucets: $200–$500+ (designer looks, advanced features, touchless or pull-down sprayers)
Other Materials and Supplies
- Plumber’s Putty or Caulk: $3–$8 (one small tub or tube is plenty for several installs)
- Plumber’s Tape: $1–$3 per roll
- Flexible Supply Lines: $7–$15 each (most sinks require two; measure length before buying)
Tool Costs (If You Need to Buy)
- Basin Wrench: $10–$20
- Adjustable Wrench: $10–$25
- Channel-Lock Pliers: $12–$25
- Screwdriver Set: $8–$20
If you already have most tools, expect to spend $60–$250 for a faucet upgrade (including supplies). If you’re starting from scratch, a one-time tool investment of $50–$80 covers most DIY plumbing jobs. Hiring a pro typically adds $120–$250 in labor alone, making DIY an attractive option for budget-conscious homeowners.
Step-by-Step DIY Faucet Replacement
1. Prepare the Area and Shut Off Water
- Clear out the cabinet below the sink for tool access and to avoid water damage to stored items.
- Locate the hot and cold water supply valves under the sink. Turn both clockwise to shut off.
- Open the faucet to relieve pressure and drain any residual water.
- Place a bucket and towels under the supply lines to catch drips.
2. Disconnect Supply Lines
- Use your adjustable wrench to loosen and detach the supply lines from the faucet shanks.
- If lines are corroded or stubborn, channel-lock pliers may be needed. Take care not to twist or damage the shutoff valves.
- Inspect the supply lines—replace them if they show signs of corrosion, stiffness, or leaking.
3. Remove the Old Faucet
- Locate the mounting nuts underneath the sink—usually at the base of the faucet.
- Use a basin wrench to loosen and remove these nuts. Some older faucets may have deeply recessed or rusted nuts; patience is key.
- Once nuts are off, lift the old faucet straight up and out from above.
- If the faucet is stuck, gently cut through old caulk or putty with a utility knife.
4. Clean the Mounting Surface
- Remove any old putty, caulk, or grime with an old brush and rag.
- Wipe the area dry for a clean, smooth surface—this ensures a leak-free seal for your new faucet.
5. Install the New Faucet
- Set the deck plate (if needed) and apply a bead of plumber’s putty or silicone caulk to the underside of the faucet base.
- Lower the faucet into the mounting holes, aligning it carefully.
- From below, thread the mounting nuts onto the faucet shanks. Hand-tighten first, then snug with a basin wrench. Do not overtighten—finger tight plus a quarter turn is usually sufficient.
- Wipe away any excess putty or caulk that squeezes out.
6. Attach Supply Lines
- Wrap plumber’s tape around the male threads of the faucet’s supply shanks.
- Connect the hot and cold supply lines, tightening with an adjustable wrench. Again, avoid overtightening.
- Double-check that the lines aren’t kinked or strained.
7. Check for Leaks and Reassemble
- Open both shutoff valves slowly and check for leaks at all connections.
- Open the faucet to flush out air and debris; let water run for 30 seconds.
- Inspect all joints—if you see any drips, gently tighten fittings as needed.
- Reinstall anything removed from under the sink and clean up the workspace.
Common Pitfalls and How to Avoid Them
1. Skipping the Basin Wrench
Trying to reach mounting nuts with standard wrenches can be a recipe for scraped knuckles and frustration. A basin wrench’s pivoting head and long handle make the job dramatically easier—even for tight or recessed sinks.
2. Reusing Old Supply Lines
Unless supply lines are nearly new and in perfect condition, replace them with flexible braided lines. Old lines are a common source of post-installation leaks, which can damage cabinets and flooring.
3. Over-Tightening Connections
It’s tempting to crank fittings as tight as possible, but this can strip threads or crack nuts—especially on plastic or brass. Snug is enough for most connections, especially when using plumber’s tape.
4. Forgetting to Clean the Sink Surface
Old sealant or debris can prevent a watertight seal. Take a minute to clean thoroughly for a longer-lasting, leak-free install.
5. Not Testing for Leaks Immediately
Always check for leaks while the area is still accessible. Small drips may not show up right away, so run water for a few minutes and inspect with a flashlight before putting everything away.
When to Call a Pro: Recognizing Red Flags
- Stuck or corroded shutoff valves: If valves won’t budge or leak when turned, call a plumber before proceeding.
- Damaged or rotted sink/countertop: Faucet upgrades can reveal hidden water damage—stop and assess before continuing.
- Unusual pipe materials: If you discover galvanized or very old plumbing, professional assessment is wise.
- Persistent leaks you can’t stop: Sometimes a fresh set of eyes (and tools) is the best solution.
Maintenance Tips for Long-Lasting Faucets
- Check for leaks monthly under the sink—catch issues early before they cause damage.
- Clean aerators every 3–6 months to prevent clogs and maintain water flow.
- Avoid harsh cleaners on faucet finishes; use mild soap and a soft cloth.
- Operate handles gently—don’t force or overtighten to extend the lifespan of internal parts.
Frequently Asked Questions
How long does it take to replace a faucet?
Most DIYers can swap a faucet in 1–2 hours, not counting time spent shopping for supplies. Stubborn old hardware may add time, but patience pays off.
Do I need to replace the drain assembly?
If your new faucet includes a matching drain and pop-up, it’s best to install it for a coordinated look and proper operation. Otherwise, existing drains can usually be reused if they’re in good condition.
Can I install a kitchen faucet in a bathroom (or vice versa)?
Generally, no. Kitchen faucets are larger with different mounting configurations. Always match the faucet style and size to your sink for best results.
Conclusion: Empower Your Home Upgrades With DIY Confidence
Replacing a faucet is one of the most approachable ways to make a visible, functional improvement in your home—no pro required. With the right tools, careful planning, and a step-by-step approach, you can tackle this project confidently, saving money and learning the basics of home plumbing along the way. Remember, most of the headaches associated with faucet swaps come from skipping essential prep, using the wrong tools, or rushing through the details. By following this guide and investing just a little extra time in preparation, you’ll sidestep the most common pitfalls and end up with a leak-free, beautiful new fixture.
The key to lasting results is not just a successful installation, but also regular maintenance—checking for leaks, keeping connections tight, and cleaning aerators to ensure smooth operation. And while faucet replacement is well within reach for most DIYers, knowing when to call in a pro can save you from bigger problems down the road. By mastering this practical upgrade, you’ll gain valuable skills and the satisfaction of a job well done—plus a refreshed kitchen or bathroom you’ll enjoy for years to come.