

Introduction: Why Pipe Insulation Matters in Home DIY Projects
If you’ve ever dealt with a freezing pipe or noticed higher-than-expected utility bills, pipe insulation is a home upgrade you can’t afford to overlook. Insulating your home’s water pipes isn’t just about preventing winter disasters—it’s also about energy savings, water conservation, and protecting your plumbing investment. Yet, many homeowners skip or rush this task, often due to uncertainty about which materials and tools to use, or how to achieve a professional finish. Whether you’re new to DIY or a seasoned weekend renovator, understanding the nuances of pipe insulation can save you money, prevent headaches, and even extend the life of your plumbing. In this comprehensive guide, we’ll break down the essential tools, compare the most popular insulation materials, walk you through a step-by-step installation, and highlight maintenance tips and common mistakes. Armed with this knowledge, you’ll be confident tackling pipe insulation in basements, crawl spaces, garages, and beyond, making your home more comfortable and energy-efficient year-round.
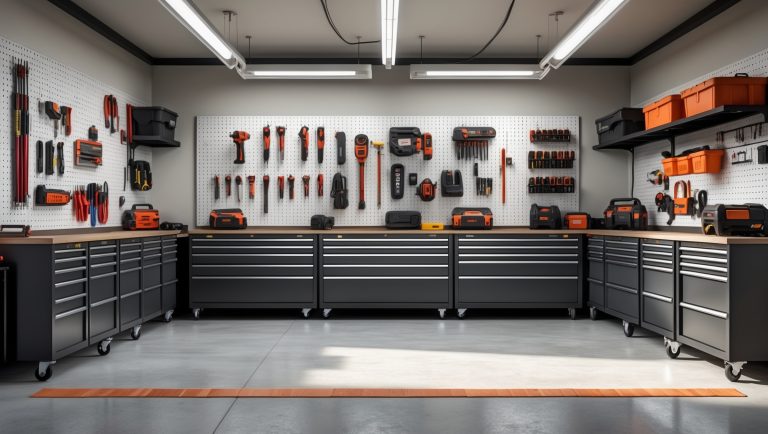
Essential Tools for DIY Pipe Insulation
Must-Have Tools for a Smooth Installation
- Measuring Tape: Accurately determine pipe lengths and diameters for a snug fit.
- Utility Knife or Insulation Cutter: For clean, precise cuts of foam or fiberglass insulation.
- Duct Tape or Insulation Tape: Secure joints, seams, and tricky sections.
- Gloves: Protect your hands, especially when handling fiberglass or mineral wool materials.
- Permanent Marker: Mark cut lines on sleeves and identify insulated sections.
- Zip Ties or Wire: Optional for extra security in areas where tape may not stick well (cold or damp environments).
- Step Ladder: For reaching pipes near ceilings or in crawl spaces.
- Cleaning Cloth: Remove dust and debris for better tape adhesion.
Specialty Tools (When to Consider Them)
- Pipe Caliper: For precise diameter measurements, especially with irregular or older pipes.
- Heat Gun: Useful if you opt for heat-shrink insulation or want to improve tape adhesion in cold weather.
- Insulation Hangers: For supporting insulation on horizontal runs in basements or crawl spaces.
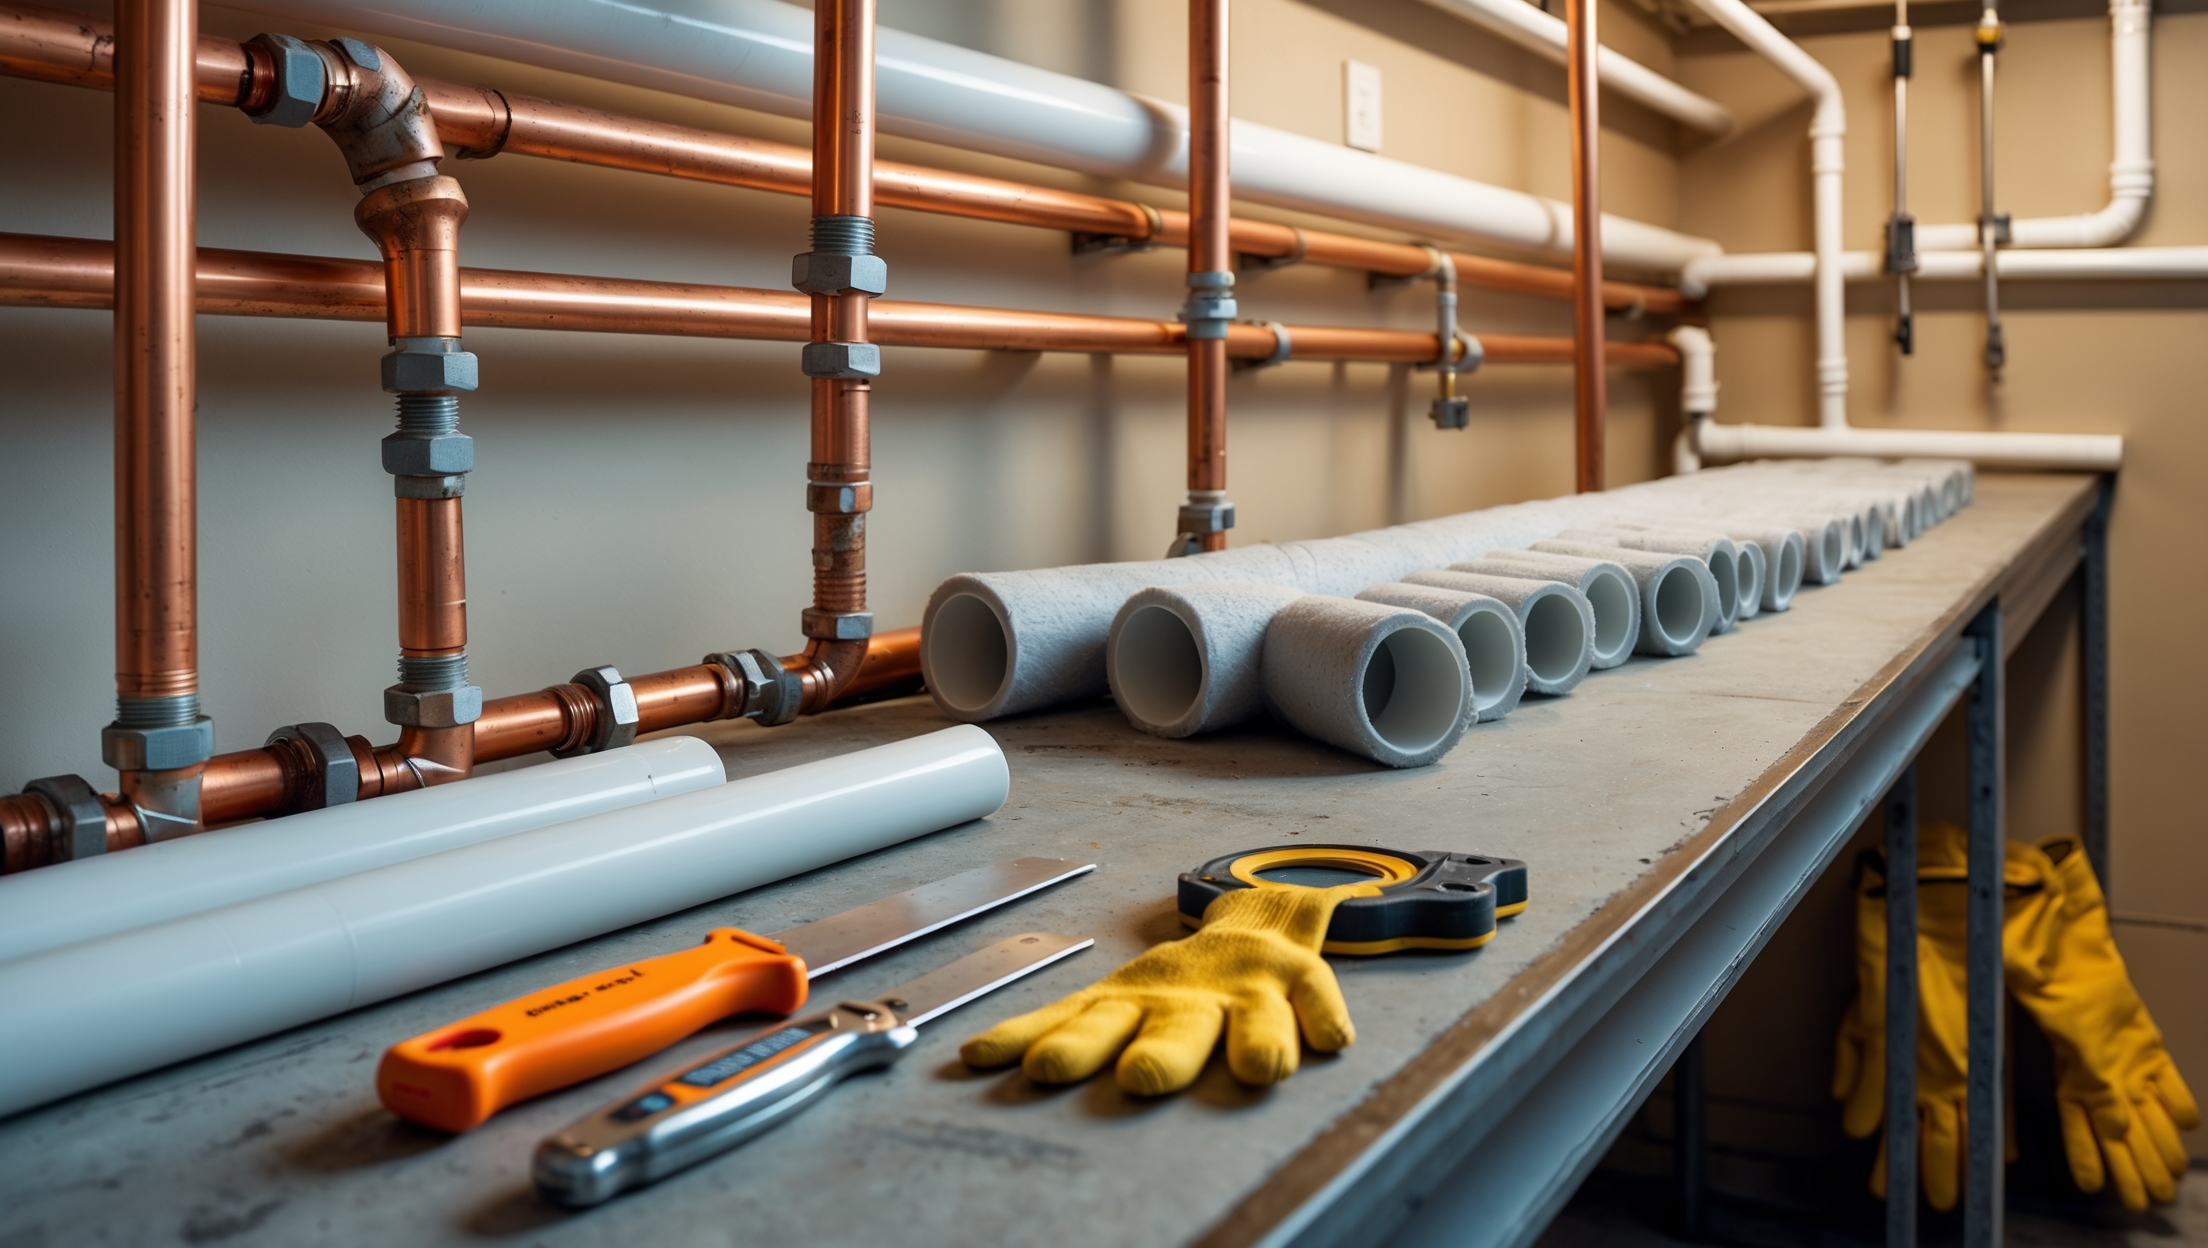
Pipe Insulation Materials: A Practical Comparison
Choosing the right insulation material is crucial for both performance and budget. Here’s a breakdown of the most popular options, their pros and cons, and best-use scenarios:
Foam Pipe Insulation
- Material: Polyethylene or rubber foam sleeves, pre-slit for easy installation.
- Pros: Lightweight, flexible, easy to cut and install. Good for both hot and cold pipes. Affordable and widely available.
- Cons: Can degrade with prolonged UV exposure (not suitable for outdoor use unless UV-protected). May be damaged by rodents in crawl spaces.
- Best For: Most indoor runs—basements, utility rooms, and accessible pipes.
Fiberglass Pipe Wrap
- Material: Fiberglass in roll or sleeve form, often with a foil or plastic vapor barrier.
- Pros: Excellent temperature resistance (up to 850°F), ideal for very hot pipes (like boiler lines). Good for irregular pipe shapes and outdoor use (when weather-protected).
- Cons: Itchy and irritating to skin—gloves and long sleeves recommended. Requires careful sealing to prevent moisture intrusion.
- Best For: High-temperature pipes, outdoor runs with protective jacketing, and pipes near furnaces or boilers.
Foil-Backed Pipe Wrap
- Material: Flexible foam or fiberglass with reflective foil backing.
- Pros: Reflects radiant heat, enhancing performance on hot water pipes. Thin profile fits tight spaces.
- Cons: Less effective for freeze protection on cold pipes unless layered. Some types can be tricky to keep in place without extra tape.
- Best For: Maximizing hot water energy efficiency, retrofits in cramped areas.
Rubber Pipe Insulation
- Material: Flexible elastomeric rubber, sold in tubes or sheets.
- Pros: Excellent durability, UV resistance, and flexibility. Withstands temperature fluctuations and is ideal for outdoor or exposed runs.
- Cons: Higher cost than polyethylene. May require adhesive for secure installation.
- Best For: Outdoor pipes, garages, and locations with temperature extremes.
Mineral Wool Wrap
- Material: Rockwool or mineral wool blanket, sometimes with foil facing.
- Pros: Fire-resistant, good sound dampening. Performs well at high temperatures.
- Cons: Bulky, and like fiberglass, can be irritating to handle. Needs secure wrapping and sealing.
- Best For: Boiler rooms, fire-prone areas, or where noise reduction is a bonus.
Material Quick Comparison Table
| Material | Best Use | Temperature Range | Ease of Install | Cost |
|---|---|---|---|---|
| Foam | Indoor, general | -200°F to 200°F | Easy | Low |
| Fiberglass | Hot pipes, outdoors | Up to 850°F | Moderate | Low-Mid |
| Foil-Backed | Hot pipes, tight spaces | Varies | Moderate | Mid |
| Rubber | Extreme temps, outdoors | -297°F to 220°F | Easy | Mid-High |
| Mineral Wool | Fire/noise control | Up to 1000°F | Moderate | Mid |
Step-by-Step Pipe Insulation Installation Guide
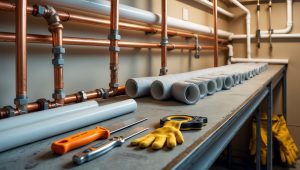
1. Preparation: Assessing and Measuring
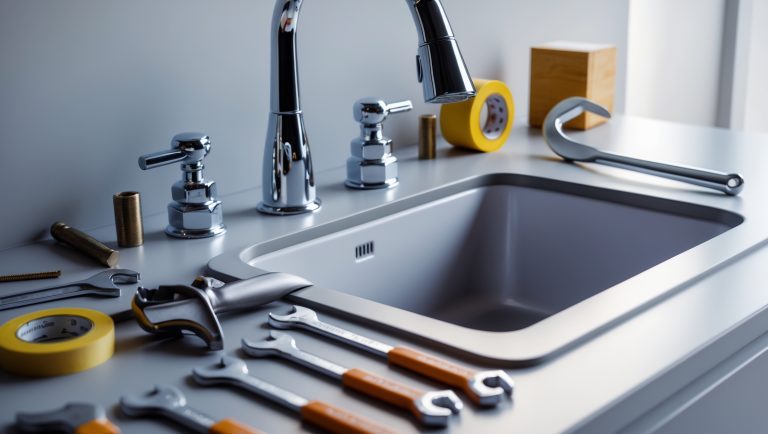
- Turn off water supply, if possible, for safety and convenience.
- Clean pipes with a dry cloth to remove dust, grease, or cobwebs for optimal adhesion.
- Use a measuring tape to record the length of each section of pipe you plan to insulate. Note pipe diameters for a snug fit—insulation that’s too loose or tight compromises performance.
- Inspect for leaks or corrosion. Address any issues before installing insulation.
2. Cutting and Fitting Insulation
- Lay out insulation sleeves or wraps. Mark cutting points with a permanent marker.
- Use a sharp utility knife for straight, clean cuts—especially important for foam and rubber tubes.
- Test-fit each piece before final installation, paying attention to elbows, tees, and valves where cuts or miter joints will be needed.
3. Installing Insulation: Straight Runs and Joints
- For foam or rubber tubes, open the pre-slit seam and slip over the pipe. For self-sealing types, remove the backing and press the seam together; otherwise, use insulation or duct tape along the seam every 12–18 inches.
- At joints, elbows, and tees, cut pieces at 45-degree angles (“miters”) to fit snugly. For complex shapes, use short sections and layer as needed.
- With fiberglass or mineral wool wraps, spiral the material around the pipe with a 1–2 inch overlap. Secure with tape or pre-attached vapor barrier flaps.
- On vertical pipes, work from the bottom up for gravity-assisted alignment. Secure the base with extra tape or a zip tie.
- For outdoor sections, use weatherproof tape and consider a UV-resistant jacket for foam or rubber insulation.
4. Sealing and Securing
- Seal all seams, joints, and cut ends with high-quality insulation tape. Pay extra attention to areas near valves or fittings where movement is common.
- On long horizontal runs, support insulation every 3–4 feet with hangers, zip ties, or wire—this prevents sagging and maintains a tight seal.
- Inspect for any gaps or exposed pipe—patch with extra material or tape as needed.
5. Final Inspection and Cleanup
- Double-check that all pipes are fully covered and seams are sealed.
- Restore water supply and check for leaks.
- Dispose of scraps and clean up tools for future projects.
Cost Breakdown and Budgeting for Pipe Insulation
DIY pipe insulation is one of the most cost-effective projects you can tackle, but costs can vary significantly based on material and coverage area.
- Foam tubes: $1–$2 per 6-foot length (½” diameter); budget $20–$50 for a typical home’s exposed pipes.
- Fiberglass wrap: $10–$20 per roll (covers up to 25 feet); slightly higher if you add vapor barrier or weatherproofing.
- Rubber tubing: $2–$4 per 6-foot length; total $30–$70 for a moderate-sized project.
- Tape, hangers, and accessories: $10–$30 depending on the scope and environment.
Pro Tip: Measure carefully before buying. Overestimating by 10% covers mistakes and odd-shaped sections without much waste.
Common DIY Pipe Insulation Mistakes and How to Avoid Them
- Poor Fit: Using insulation that’s too loose (lets cold air in) or too tight (may split or compress, reducing effectiveness).
- Skipping Seams: Failing to tape seams or joints lets air and moisture in, defeating the purpose.
- Neglecting Valves/Fittings: Exposed metal at valves and elbows is a weak point for freezing or heat loss. Always insulate these areas, even if it takes custom cuts.
- Overlooking Outdoor Exposure: Using basic foam insulation outdoors without UV/weather protection leads to rapid degradation. Use rated materials and proper jackets.
- Ignoring Maintenance: Damaged or missing insulation should be repaired promptly to maintain efficiency.
Maintenance Tips for Long-Lasting Pipe Insulation
- Inspect insulation annually—ideally before winter for cold climates or before peak heat for hot water lines.
- Look for gaps, tears, or signs of moisture. Address any issues immediately to prevent further damage.
- Replace tape or reseal seams that have loosened or degraded.
- For outdoor pipes, check for UV or weather damage every spring and fall. Add jackets or covers as needed.
- Keep insulation free of debris, spider webs, and pests to maintain maximum performance.
Safety Checklist: Protecting Yourself and Your Home
- Wear gloves and long sleeves when handling fiberglass, mineral wool, or other skin-irritating materials.
- Use a dust mask if cutting or handling materials that shed fibers.
- Work in well-ventilated areas, especially when using adhesives or tapes with strong odors.
- Ensure all pipes are cool before installing insulation—never insulate a hot pipe immediately after use.
- Secure ladders and use proper footing when accessing overhead pipes.
Conclusion: The Lasting Benefits of DIY Pipe Insulation
Insulating your home’s pipes is one of those rare DIY tasks that pays off in multiple ways: lower energy bills, reduced risk of burst pipes, improved hot water delivery, and peace of mind in every season. With the right tools and a thoughtful choice of materials, even a beginner can achieve professional results. The steps outlined here—from careful measurement and clean cuts to meticulous sealing and regular inspections—are designed to help you avoid the most common pitfalls and ensure your insulation stands the test of time. Remember that your choice of material matters: foam works for most indoor jobs, but don’t skimp on rubber, fiberglass, or mineral wool where conditions demand it. Prioritizing fit and finish, especially at valves and joints, means fewer cold spots and a more energy-efficient home.
Pipe insulation isn’t glamorous, but it’s foundational. Whether you’re prepping for winter or simply aiming to make your home more sustainable, this upgrade delivers real, measurable benefits. Take your time, follow each step, and you’ll enjoy greater comfort, savings, and confidence in your DIY abilities for years to come. So grab your tape measure and utility knife—your pipes (and your wallet) will thank you.