Introduction: The Overlooked Importance of DIY Tool Calibration
Most homeowners and DIY enthusiasts invest significant time and money in selecting the right tools and gadgets for their projects. Yet, one crucial aspect often slides under the radar—tool calibration. Accurate tools don’t just make your projects easier; they’re fundamental to safety, efficiency, and long-lasting results. Whether you’re hanging shelves, assembling furniture, or tackling home repairs, even slight inaccuracies in your measuring tape, torque wrench, or level can lead to costly mistakes, structural issues, or even personal injury. Professional calibration services exist, but did you know you can handle many calibration tasks at home using accessible devices and simple methods? This guide explores why calibration matters, the best home-use calibration gadgets, and detailed DIY calibration methods for the most common tools in a homeowner’s arsenal. By the end, you’ll know how to maintain tool accuracy, avoid hidden pitfalls, and ensure your equipment delivers reliable results for every project.
Why Home Tool Calibration Matters
Precision Drives Project Success
Every home improvement or repair project hinges on accurate measurements. A slightly misaligned level can result in uneven shelves, crooked picture frames, or doors that don’t close properly. Inaccurate torque wrenches may cause under-tightened bolts or stripped threads, compromising safety. Calibration ensures your tools perform as intended, protecting both your work and your investment.
Safety and Compliance
Incorrectly calibrated electrical testers or torque tools can result in safety hazards, from electrical shorts to loose structural fasteners. For certain DIY tasks—like minor electrical or plumbing work—precise measurements are not just helpful, but critical for code compliance and personal safety. Regular calibration reduces the risk of accidents and failed inspections.
Longevity of Your Tools
Tools that are checked and calibrated regularly are less likely to suffer from cumulative error or develop faults. This proactive maintenance extends their lifespan and keeps your toolkit reliable, saving money in the long run.
Common Home Tools That Need Calibration
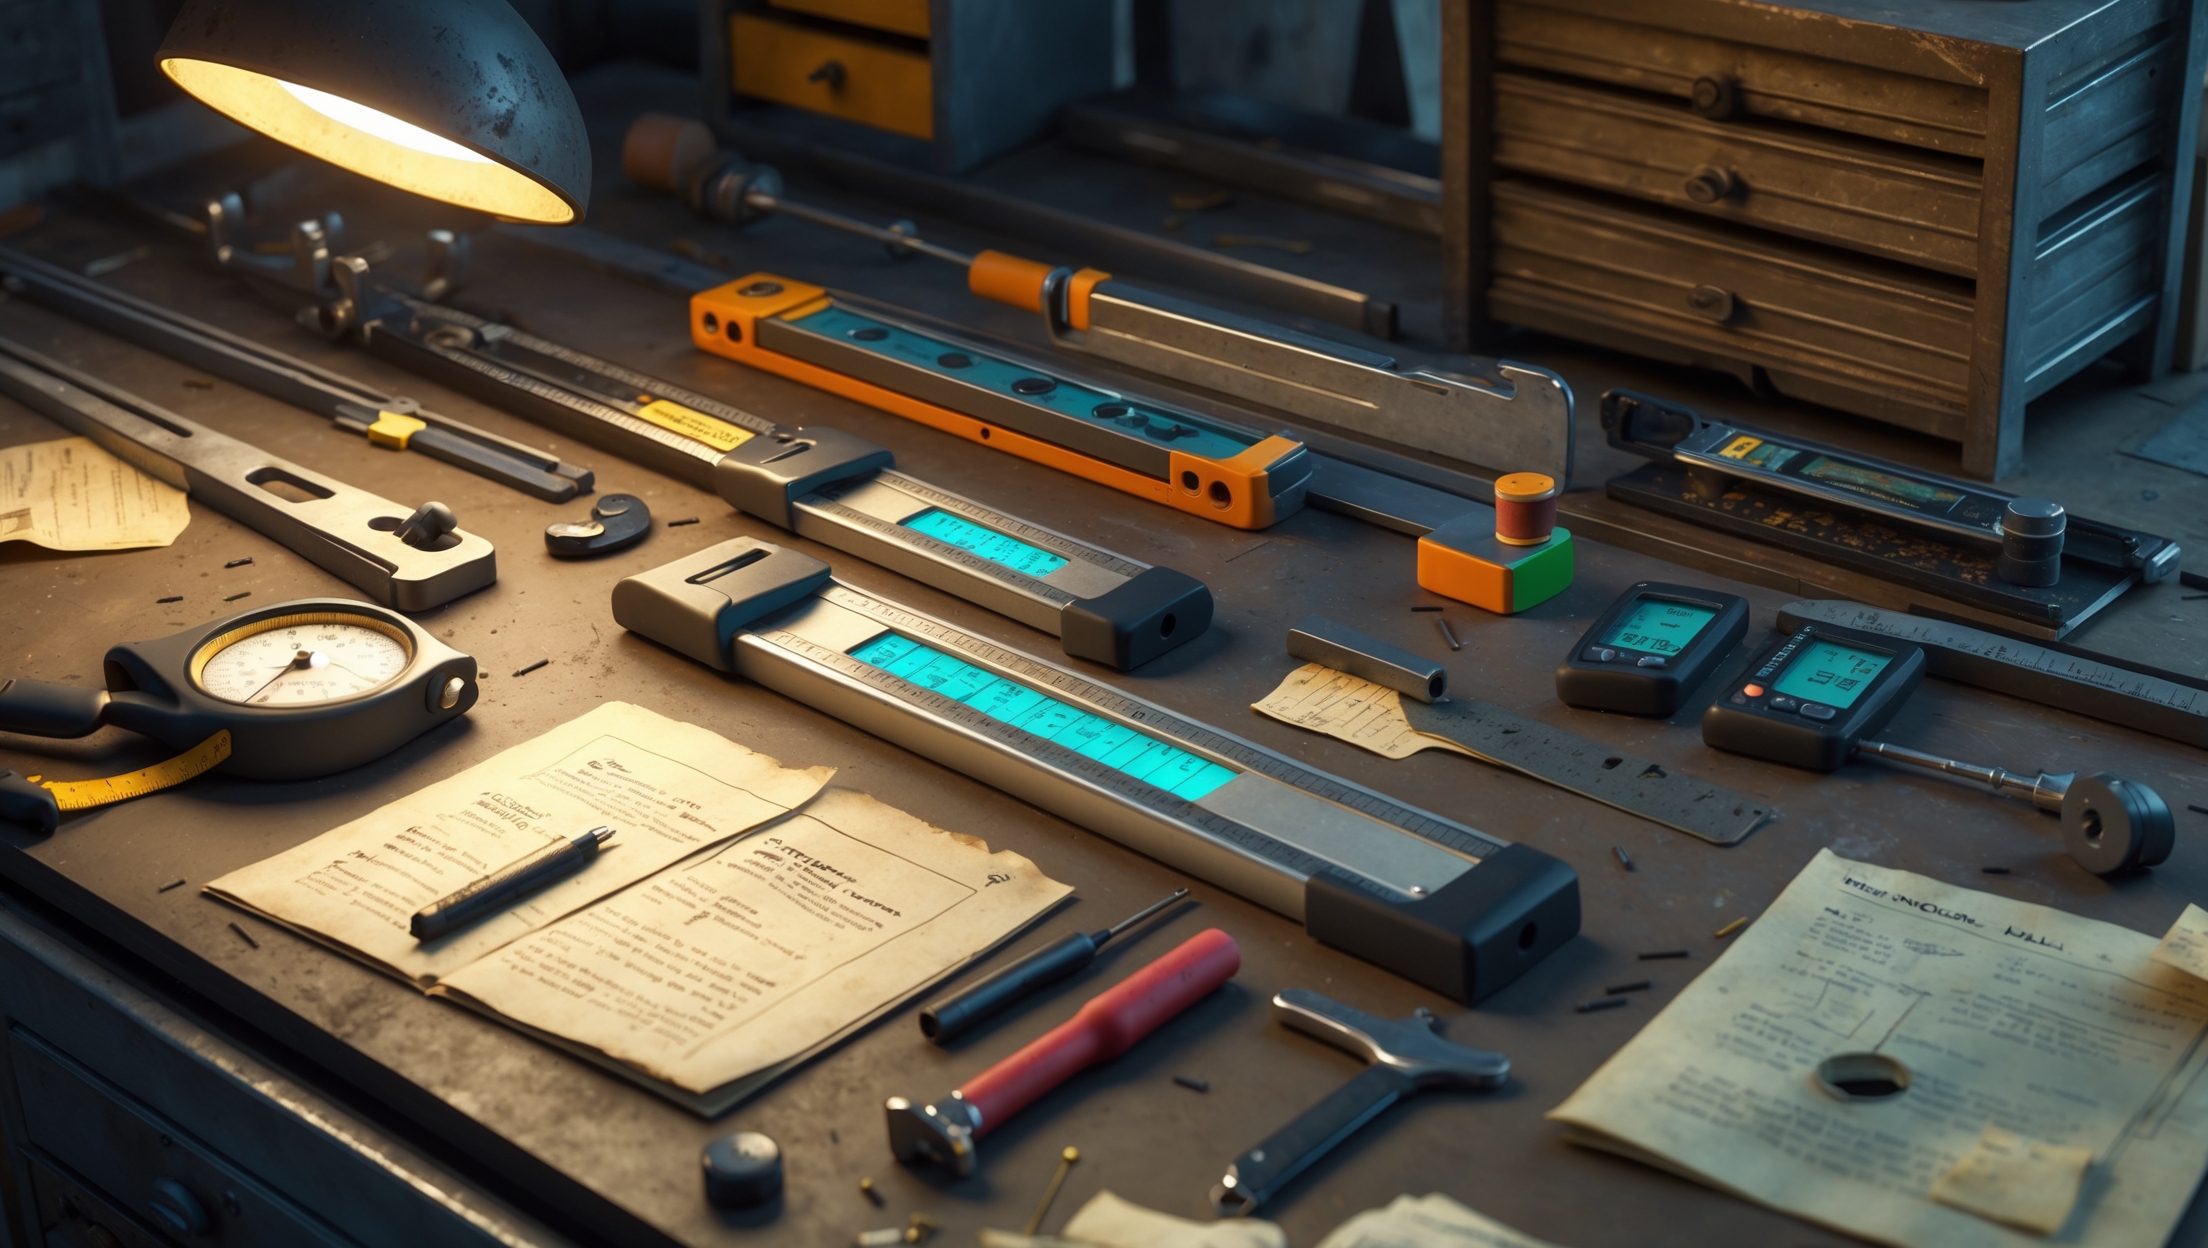
Not every tool in your kit requires calibration, but several do. Here’s a list of the most calibration-critical tools for homeowners and DIYers:
- Tape Measures and Rulers: Frequent use can cause stretching or wear, especially at the hook end.
- Spirit Levels and Laser Levels: Drops and knocks can throw off their accuracy.
- Torque Wrenches: Essential for any mechanical task where over- or under-tightening is a risk.
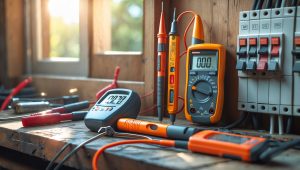
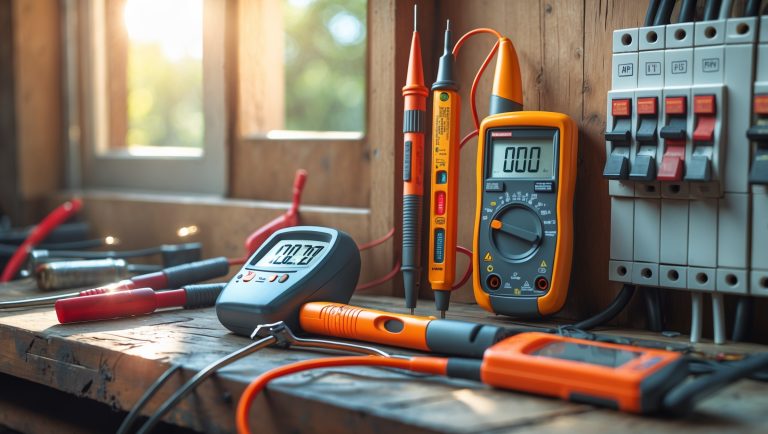
- Multimeters and Voltage Testers: Critical for safe, accurate electrical work.
- Pressure Gauges: Used on HVAC, bicycle, or car maintenance tools.
- Infrared Thermometers: Increasingly common for home energy audits and appliance checks.
DIY Calibration Methods for Common Tools
Calibrating Tape Measures and Rulers
- Reference Standard: Use a certified steel ruler or a known-length object (such as a new yardstick) as your baseline.
- Method: Place your tape measure alongside the reference. Check for discrepancies at the 1-inch, 12-inch, and 36-inch marks. Pay special attention to the play in the end hook—this should move only the thickness of the hook itself.
- Corrections: If the tape is off, you can sometimes adjust or replace the hook. For persistent issues, retire the tape from precision work.
Spirit and Laser Level Calibration
- Spirit Level: Place the level on a flat surface and note the bubble’s position. Rotate the level 180° and check again. If the bubble sits identically both times, your level is accurate. If not, adjust using the manufacturer’s screws (if provided) or note the offset for future use.
- Laser Level: Mark a wall at the laser line, rotate the laser 180°, and compare the new line to the first. Discrepancies indicate misalignment—refer to your device’s manual for recalibration instructions or use built-in adjustment screws.
Torque Wrench Calibration
- DIY Test: Use a known-weight object (like a dumbbell) attached at a measured distance from the pivot point to apply a specific torque. Compare your wrench’s reading to the calculated torque. Adjust if your tool allows for it, or send for professional calibration if not.
- Routine: Check calibration at least once a year or after any suspected drop/impact.
Multimeter Calibration
- Reference Source: Use a 9V battery (should read about 9.0 volts) or a plug-in voltage reference device.
- Procedure: Set your multimeter to DC voltage, measure the battery, and compare to the known value. For advanced users, voltage reference modules or resistor networks can check resistance and current modes.
- Adjustment: Some multimeters have calibration pots under the case, but many require professional tools. If readings are consistently off, consider professional recalibration or replacement.
Pressure Gauge Calibration
- Reference: Use a bicycle floor pump with a built-in gauge or a calibrated digital gauge.
- Method: Inflate a tire or chamber, compare readings between your gauge and the reference. Adjust if possible; otherwise, note any consistent offset.
Infrared Thermometer Calibration
- Reference Surface: Boiling water (212°F/100°C) or melting ice (32°F/0°C) provide known temperatures.
- Procedure: Point your infrared thermometer at the surface and compare to expected values. Adjust emissivity settings if available to match your reference surface.
Best Home Calibration Devices and Kits
1. Calibration Reference Rulers
High-precision stainless steel rulers (NIST-traceable) are available for around $20–$40. These tools provide an accurate baseline for tape measures, calipers, and other measuring devices.
2. Digital Level Calibrators
These platforms allow you to check and reset the accuracy of spirit and laser levels. Look for models with digital readouts and fine adjustment controls. Expect to pay $50–$100 for a quality device.
3. Voltage Reference Modules
Used for checking multimeter accuracy, these modules provide a stable, known voltage (such as 5V or 10V). Popular options include the DMMCheck Plus or similar, which cost $30–$60.
4. Torque Calibration Testers
While professional-grade testers can be expensive, smaller bench-top torque testers suitable for DIYers start at $100–$200. They’re a worthwhile investment for frequent mechanical projects.
5. Pressure Gauge Calibration Pumps
Handheld calibration pumps with reference gauges (often used in HVAC) are available for $50–$150. They allow you to set and compare pressures accurately.
6. Infrared Thermometer Reference Plates
Emissivity reference plates and temperature calibration blocks help validate infrared thermometer readings. Expect to pay $20–$50 for a simple kit.
Step-by-Step DIY Calibration Example: Tape Measure Accuracy Check
- Step 1: Gather Materials
Certified steel ruler, your tape measure, notebook, and pen. - Step 2: Check the Hook End
Place both devices side by side at the zero mark. Confirm the tape’s hook aligns precisely with the steel ruler’s start. - Step 3: Measure Key Points
Check at 12”, 24”, and 36” marks. Note any deviation. - Step 4: Assess Play in the Hook
Gently pull and push the hook. It should move only the thickness of the hook itself to compensate for inside/outside measurements. Excessive movement means inaccurate readings—replace the tape or hook if needed. - Step 5: Record and Adjust
Document your findings. For minor discrepancies, note the correction factor in your notebook for future reference.
Calibration Best Practices for Homeowners
- Regular Schedule: Set reminders to check calibration of critical tools every 6–12 months, or after a drop or suspected damage.
- Environmental Factors: Store tools in a dry, temperature-controlled area. Extreme heat, cold, or humidity can affect accuracy.
- Keep Records: Maintain a log of calibration dates and findings, especially for tools used in safety-critical applications.
- Know When to Seek Professional Help: If a tool’s calibration cannot be adjusted at home or deviation is significant, consult a professional service or consider replacement.
- Use Only Trusted Reference Standards: Homemade references can introduce error. Use certified rulers, weights, and voltage sources wherever possible.
Warning Signs Your Tools Need Calibration or Replacement
- Frequent measurement discrepancies between multiple tools
- Visible wear or damage, especially at critical points (e.g., tape measure hooks, level vials)
- Unexplained project failures—misaligned shelves, loose fasteners, repeated electrical issues
- Tools have not been checked in over a year, especially after heavy or professional use
Budgeting for Calibration: What to Expect
DIY calibration is surprisingly affordable. For most homeowners, a $50–$100 investment in reference tools is sufficient to keep key equipment accurate for years. More specialized calibration gadgets (like torque testers or digital level calibrators) make sense for frequent DIYers or those tackling advanced projects. Remember: the cost of calibration is far less than the price of ruined materials, safety risks, or failed repairs.
Conclusion: Reliable Repairs Start with Accurate Tools
Tool calibration isn’t just for professionals or perfectionists—it’s a practical, cost-effective way to guarantee safe, successful home projects. By understanding which tools need calibration, adopting simple DIY calibration methods, and investing in a few key reference devices, you can maintain the accuracy and reliability of your entire toolkit. This proactive approach prevents costly mistakes, extends the life of your equipment, and ensures that every repair, upgrade, or maintenance task meets your standards. Whether you’re a weekend DIYer or a seasoned home improver, making calibration a part of your routine means fewer surprises and more satisfying results. Start today by checking your most-used tools—your home (and your future self) will thank you.

Could you explain more about how often I should calibrate common tools like torque wrenches and levels at home? I want to make sure I’m not overlooking the maintenance schedule for accuracy, but I’m not sure what’s recommended for DIYers.
For DIY use, it’s generally recommended to calibrate torque wrenches about once a year if you use them regularly, or after around 5,000 cycles. For spirit or bubble levels, check them for accuracy every few months, especially if they’ve been dropped or subjected to rough handling. If you notice any discrepancies or your work demands high precision, calibrate more often to ensure reliable results.
When calibrating a measuring tape or level at home, how often should these checks be performed to stay accurate over time? Does frequent DIY use mean I need to recalibrate more often compared to occasional projects?
For tools like measuring tapes and levels, it’s wise to check their accuracy every few months if you use them regularly, such as for frequent DIY projects. Heavy use or drops can affect calibration, so inspect them after any rough handling or noticeable errors. If you only use your tools occasionally, calibrating once or twice a year is usually enough. More frequent use does call for more regular checks to ensure reliable results.
You mentioned accessible gadgets for home calibration—are there any affordable options that work well for people on a tight budget, or is it better to invest in professional calibration for certain tools?
There are definitely some affordable calibration tools that work well for basic home needs. For example, you can find budget-friendly digital calipers, spirit levels, and calibration weights that provide good accuracy for most DIY projects. However, for critical tools like torque wrenches or if you require very precise measurements, professional calibration might be a better investment to ensure safety and reliability.
You mentioned that inaccurate torque wrenches can cause safety issues, which has me a bit worried. Are there any easy tips for homeowners to know when it’s really time to calibrate a torque wrench, or is it something we should just schedule yearly?
If you use your torque wrench frequently or for critical tasks, it’s smart to calibrate it at least once a year. However, obvious signs like the wrench feeling loose, the indicator not returning to zero, or inconsistent results when tightening bolts mean it’s time for calibration sooner. Always store the wrench properly, and if it’s been dropped, have it checked before using it again.
Could you recommend any budget-friendly calibration devices for homeowners who mostly do occasional DIY projects, rather than heavy-duty home repairs?
For homeowners who do occasional DIY projects, a digital caliper and a basic laser distance measurer are both affordable and practical calibration tools. Brands like Neiko and Tacklife offer reliable digital calipers at reasonable prices, while Bosch and Atolla have budget laser distance measurers. These devices should cover most calibration needs for typical home projects without the cost of professional-grade equipment.
You mention using accessible devices for home tool calibration. For someone on a tight budget, which calibration gadgets offer the best value and reliability without sacrificing too much accuracy?
For budget-conscious calibration at home, digital calipers, basic bubble levels, and entry-level multimeters are solid choices. They’re affordable, widely available, and offer dependable accuracy for most DIY needs. When possible, choose reputable brands even at the lower price range, and remember to periodically check your tools against a known standard, like a steel ruler or reference weight, to maintain reliable results.
The article mentions that certain calibration methods can be done at home with accessible devices. Could you elaborate on what kinds of household items or affordable gadgets can be used for calibrating a standard tape measure or level, and how reliable these DIY calibration approaches are compared to professional services?
For basic calibration at home, you can use household items like a metal ruler or a yardstick known to be accurate to check your tape measure’s markings. For a level, placing it on a flat surface and then flipping it end-to-end can reveal inconsistencies. Affordable gadgets like digital calipers or laser levels also help improve accuracy. While these methods are generally sufficient for everyday needs, professional calibration is recommended if you require precise, certified accuracy for technical or commercial tasks.
If I calibrate my tools myself at home, are there any specific mistakes or pitfalls I should watch out for that could make my tools even less accurate than before? I’d like to avoid ending up with bigger issues than I started with.
Absolutely, there are a few common pitfalls to avoid when calibrating tools at home. First, make sure your reference standards (like rulers or weights) are themselves accurate and not worn or damaged. Work on a stable, level surface to prevent errors. Avoid rushing the process and always double-check your adjustments. Also, be aware of temperature changes, as they can affect calibration. Keeping detailed records of any changes you make will help you track accuracy over time.
Could you clarify what the simplest DIY calibration method is for a standard measuring tape? I want to make sure mine is accurate but I’m not sure where to start with household items.
The simplest DIY calibration method for a standard measuring tape is to compare it against a known accurate ruler or yardstick, such as a metal ruler or a wooden meter stick you trust. Lay both flat on a table, align the zero marks, and check measurements at several points, such as 10 cm and 1 meter. If you notice discrepancies, mark them for future reference or consider replacing your tape.
The article mentions that certain tools like torque wrenches and electrical testers can pose safety risks if not calibrated properly. Are there specific signs to watch out for that indicate these tools are no longer accurate, or is it just based on how long you’ve used them?
There are some clear signs that your tools may be out of calibration. For torque wrenches, if bolts seem too loose or too tight even when using the specified setting, that’s a warning sign. For electrical testers, inconsistent or fluctuating readings can indicate inaccuracy. Besides these signs, regular calibration is important regardless of how long you’ve used the tool, especially if they’ve been dropped or exposed to extreme conditions.
I’m curious about the home-use calibration gadgets mentioned in the article. Are there any affordable devices you recommend for beginners, and how do they compare to professional calibration tools in terms of accuracy?
The article highlights a few budget-friendly calibration gadgets suitable for beginners, such as digital calipers, simple multimeters, and entry-level laser levels. These devices are quite accurate for most home projects, though they may have smaller error margins compared to professional tools. For basic DIY needs, they offer a good balance between price and precision, but for critical measurements, professionals still rely on certified, high-accuracy equipment.
If I only do small DIY projects a few times a year, how often should I actually be calibrating my basic tools like measuring tapes and levels? Is there a rule of thumb for how frequently calibration is needed for occasional users?
For occasional DIY projects, you typically only need to check and calibrate your basic tools like measuring tapes and levels once or twice a year, or before starting a new project. There’s no strict rule, but if your tools have been dropped, exposed to moisture, or stored for a long time, it’s a good idea to quickly verify their accuracy before use.
I noticed you emphasize the risk of injuries from inaccurate measurements. If someone suspects their measuring tape or level is off, what are some simple diagnostic steps or calibration tricks they can try at home before opting for professional services?
If you suspect your measuring tape is inaccurate, compare it to a known accurate ruler or another tape measure by measuring a standard length, like 12 inches, and see if the readings match. For a spirit level, place it on a flat surface, note the bubble’s position, then rotate the level 180 degrees. If the bubble stays in the same spot, it’s accurate. Small discrepancies can often be fixed, but if they’re significant, replacement might be best.
For someone just getting into DIY, what are some affordable calibration devices you recommend for common tools like levels or torque wrenches? Is there anything that works well for multiple types of tools, or do you really need different gadgets for each one?
For beginners, a basic digital angle finder is a versatile and affordable option—it can check levels, squares, and even some saw settings. For torque wrenches, a simple torque adapter or calibration beam is handy, though dedicated testers are more precise. While some devices cover multiple tasks, accuracy is best when you use tools designed for each type. Start with a digital angle finder and a budget torque checker to cover most needs.
I have a couple of older torque wrenches that I mostly use for car repairs at home. Could you elaborate on the best DIY methods to check their calibration, or should I invest in a specific calibration gadget for better accuracy?
You can check your torque wrenches at home using a known weight and a sturdy bench vise, as described in the article. Secure the wrench in the vise, measure the handle length, and hang weights at the correct distance to match a specific torque value. While this DIY method works for basic checks, if you rely on precise torque for critical car repairs, investing in a dedicated torque tester or sending your wrenches to a professional calibration service will ensure better long-term accuracy and peace of mind.