Introduction: Why DIY HVAC Maintenance Matters
When it comes to home repairs and upgrades, few systems are as crucial—and as often overlooked—as your HVAC (Heating, Ventilation, and Air Conditioning). Whether you’re bracing for summer heat or winter chills, regular maintenance can mean the difference between year-round comfort and costly, unexpected breakdowns. While many homeowners believe HVAC care is a job strictly for professionals, the truth is, a well-prepared DIYer can handle much of the upkeep with the right tools, knowledge, and seasonal discipline.
This comprehensive guide will walk you through the essential equipment, practical checklists for every season, and step-by-step procedures to keep your system in peak condition. You’ll also discover common mistakes to avoid, troubleshooting advice, and pro-level safety tips. If you want to save money, improve efficiency, and extend the life of your home’s heating and cooling, this post is for you.
Understanding Your Home’s HVAC System
Main Components and Their Roles
- Furnace or Air Handler: Delivers heated or cooled air through your ducts.
- Air Conditioner/Heat Pump: Regulates temperature by removing or adding heat.
- Evaporator and Condenser Coils: Essential for heat exchange; often need cleaning.
- Air Filter: Traps dust and particles to maintain air quality and system efficiency.
- Thermostat: Controls when your system turns on or off.
- Ductwork: Delivers conditioned air to rooms throughout your home.
Before performing any maintenance, locate each component and familiarize yourself with your system’s layout. Always consult your unit’s manual for model-specific guidance.
Essential Tools for DIY HVAC Maintenance
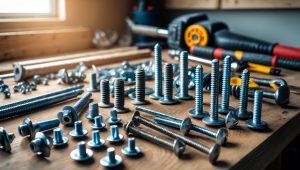
- Screwdriver Set: For panel removal and securing connections.
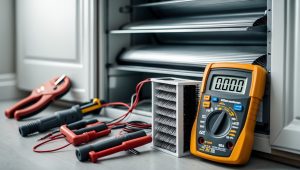
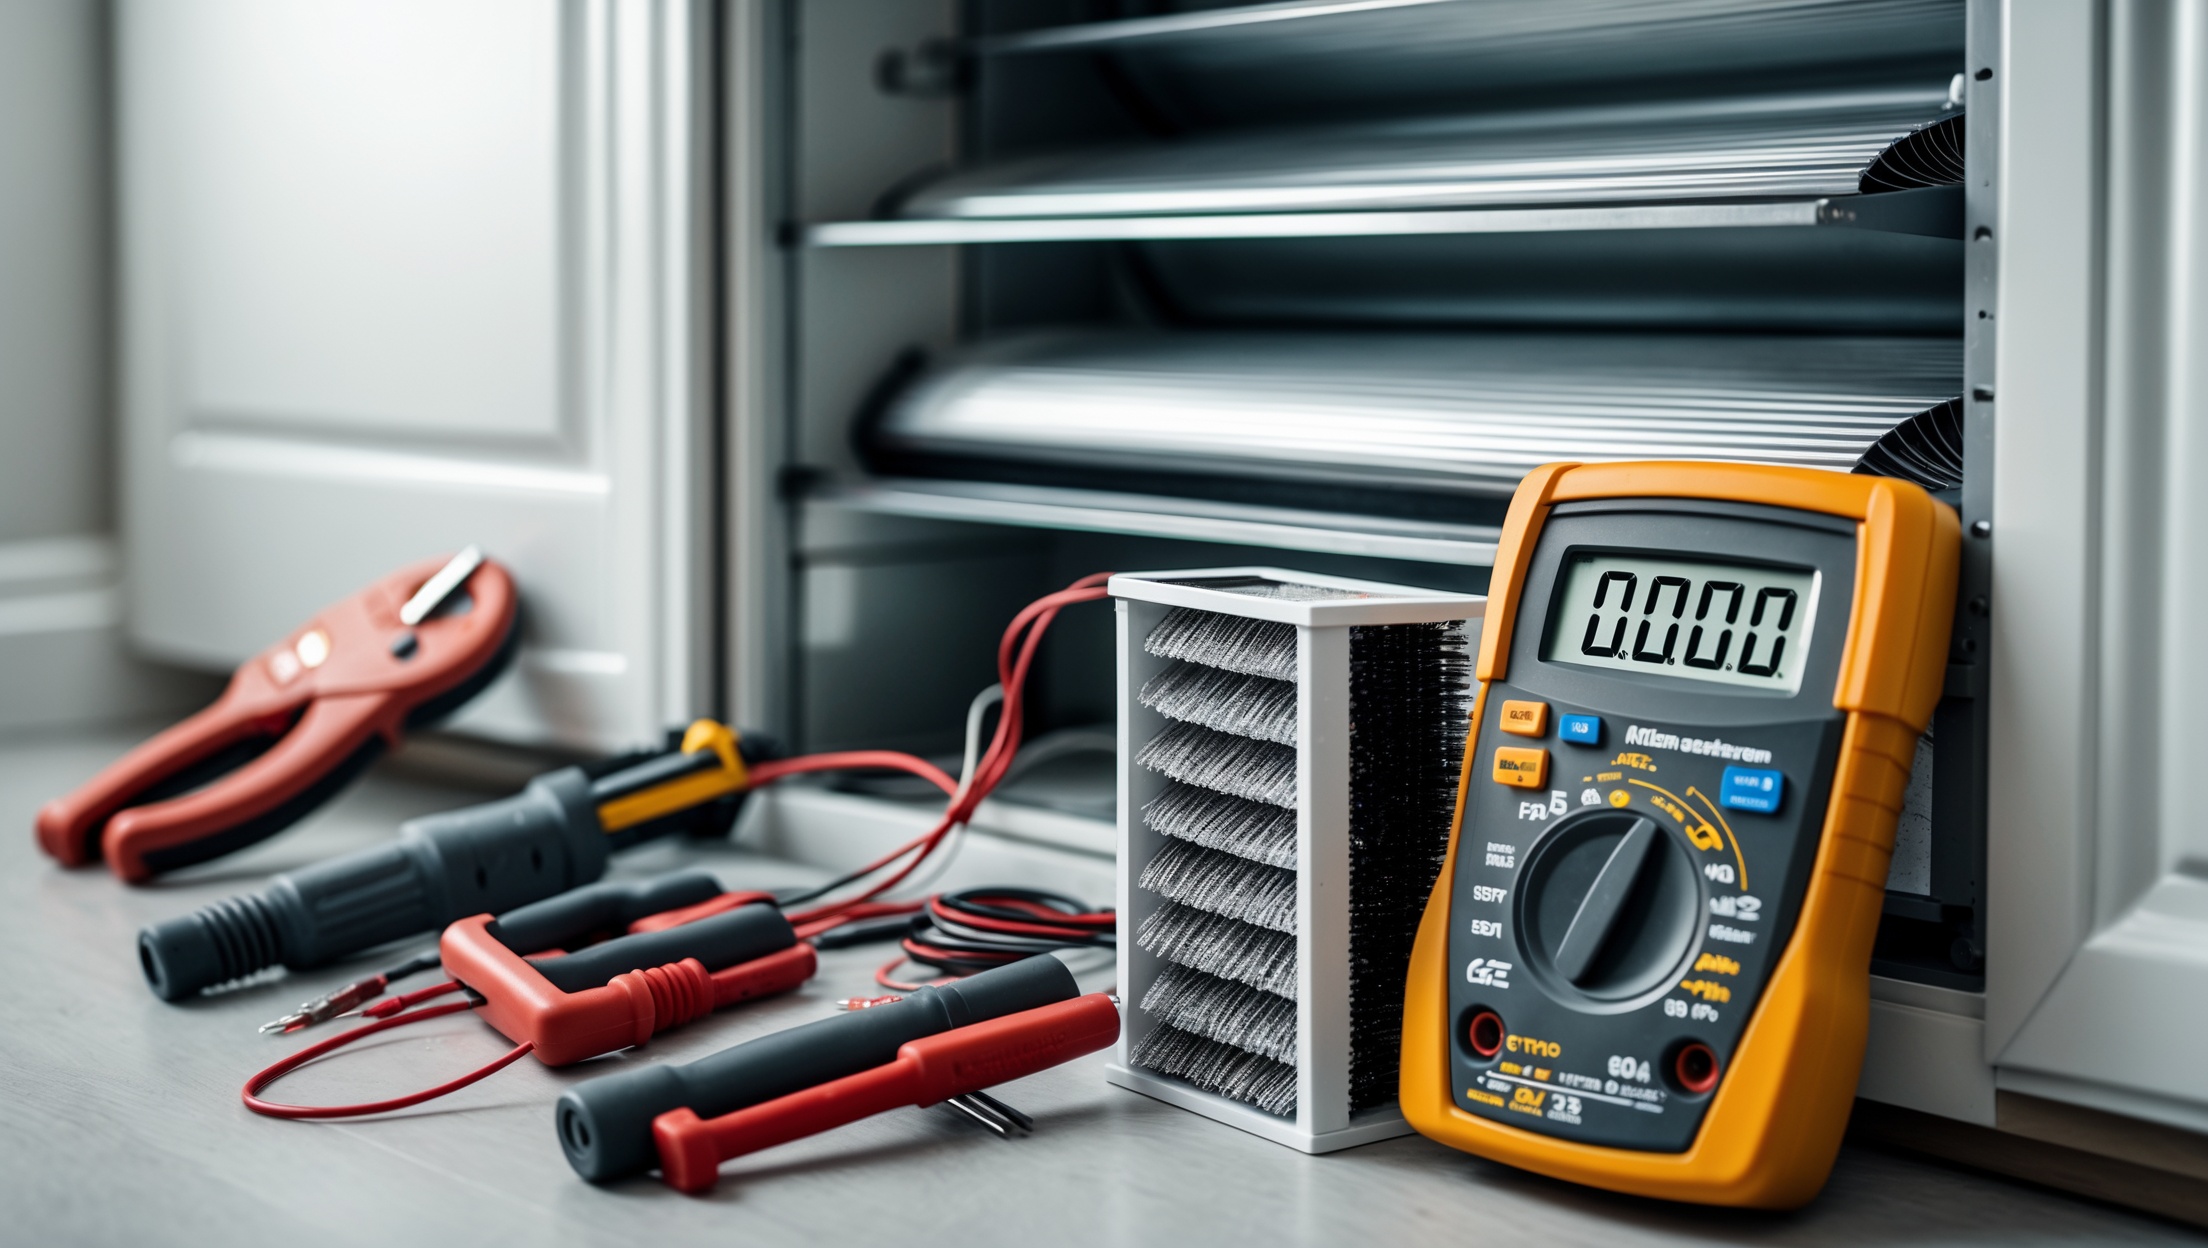
- Multimeter: Checks voltage and continuity for safety and troubleshooting.
- Fin Comb: Straightens bent coil fins to improve airflow.
- Coil Cleaning Brush: Loosens debris on evaporator and condenser coils.
- Shop Vacuum: Cleans out dust, dirt, and debris from around components.
- Replacement Air Filters: Always have spares on hand for timely swaps.
- Adjustable Wrench: For tightening connections.
- Flashlight or Headlamp: Illuminates dark corners inside your air handler or attic unit.
- Garden Hose with Spray Nozzle: Useful for cleaning outdoor condenser coils.
- Gloves and Safety Glasses: Protects you from sharp edges and debris.
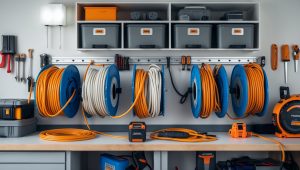
Investing in quality tools pays off in reliability and safety. Store them together in a dedicated HVAC maintenance kit for quick access each season.
Seasonal HVAC Maintenance Checklist
Spring: Pre-Cooling Season Tune-Up
- Shut off power at the breaker before working on the system.
- Clear debris from around the outdoor condenser unit (at least two feet of clearance).
- Inspect and clean condenser coils with coil brush and hose.
- Straighten any bent fins with a fin comb.
- Check refrigerant lines for visible insulation damage.
- Replace air filter (use correct size and MERV rating).
- Test thermostat operation.
- Inspect ductwork for visible leaks or disconnected joints.
Summer: Ongoing Cooling Season Care
- Check air filter monthly and replace as needed.
- Ensure outdoor unit remains clear of leaves, grass, and debris.
- Listen for unusual noises or vibrations from the outdoor unit.
- Inspect condensate drain for clogs (see step-by-step guide below).
- Monitor system performance—uneven cooling may indicate airflow or refrigerant issues.
Fall: Pre-Heating Season Readiness
- Shut off power to the furnace before maintenance.
- Clean or replace air filter.
- Vacuum dust or debris from around the furnace and blower compartment.
- Inspect the flue pipe for blockages or corrosion (gas furnaces).
- Test carbon monoxide and smoke detectors.
- Check thermostat programming for heating schedule.
Winter: Mid-Heating Season Check-In
- Monitor system for unusual noises or smells.
- Replace air filter if it’s been over 60 days since last change.
- Check for blocked or obstructed vents and registers.
- Inspect exhaust/intake pipes for ice, snow, or pests (especially with high-efficiency furnaces).
Step-by-Step DIY HVAC Maintenance Procedures
1. Power Down for Safety
Always turn off power at the main breaker or service switch before opening or cleaning any HVAC component. If working outdoors, confirm the disconnect box is off. This prevents electrical shock and accidental system startup.
2. Air Filter Replacement
- Locate the filter slot—often near the blower or air handler.
- Slide out the used filter, noting the airflow direction arrow.
- Insert new filter with the arrow pointing toward the blower motor.
- Dispose of the old filter—never try to clean and reuse disposable filters.
Replace filters every 1–3 months, depending on usage, pets, and allergies.
3. Cleaning Condenser and Evaporator Coils
- Remove the access panel with a screwdriver.
- Use a coil cleaning brush to gently loosen dirt and debris.
- For outdoor coils, rinse with a garden hose, spraying from the inside out.
- Let the coils dry before reassembling.
Clean coils annually in spring for optimal cooling performance.
4. Clearing the Condensate Drain Line
- Locate the drain line—usually a white PVC pipe near the indoor air handler.
- Disconnect the line at the access point, if available.
- Use a wet/dry vacuum to remove clogs from the end of the line outside.
- Pour a cup of distilled vinegar through the line to discourage algae growth.
A clogged condensate line can cause water leaks and system shutdowns. Check and clear this line every cooling season.
5. Inspecting Ductwork and Seals
- Check accessible duct joints for gaps or deteriorated tape.
- Seal minor leaks with foil-backed duct tape or mastic (never standard cloth duct tape).
- Look for insulation gaps in unconditioned spaces (attics, crawlspaces).
Well-sealed ducts improve efficiency and comfort throughout your home.
Common DIY HVAC Mistakes to Avoid
- Skipping the Power Shutoff: Always de-energize before maintenance to prevent shocks.
- Installing the Filter Backwards: Pay attention to airflow arrows on the filter frame.
- Using the Wrong Filter Type: Too high a MERV rating can restrict airflow and stress the blower motor.
- Overcleaning Coils: Aggressive scrubbing or high-pressure water can damage delicate fins.
- Neglecting the Condensate Line: This often-forgotten step can result in water damage or system shutdowns.
- Ignoring Unusual Noises: Rattles or squeals often indicate loose parts or component failure.
Troubleshooting: When to DIY and When to Call a Pro
DIY-Friendly Issues
- System doesn’t turn on—check breaker and thermostat batteries.
- Uneven heating/cooling—replace filter and check for blocked vents.
- Water around indoor unit—clear the condensate drain.
- Noisy operation—inspect for loose screws or debris in the fan.
Call a Professional If…
- You detect a burning smell or see scorch marks.
- There’s a refrigerant leak (hissing sounds, oily residue).
- Carbon monoxide detector alarms or you smell gas—leave immediately and call emergency services.
- Persistent short-cycling or system never reaches set temperature.
- Major ductwork repairs or electrical faults are found.
Safety should always come first. When in doubt, seek professional help for complex or hazardous issues.
Efficiency Upgrades and Add-Ons for DIYers
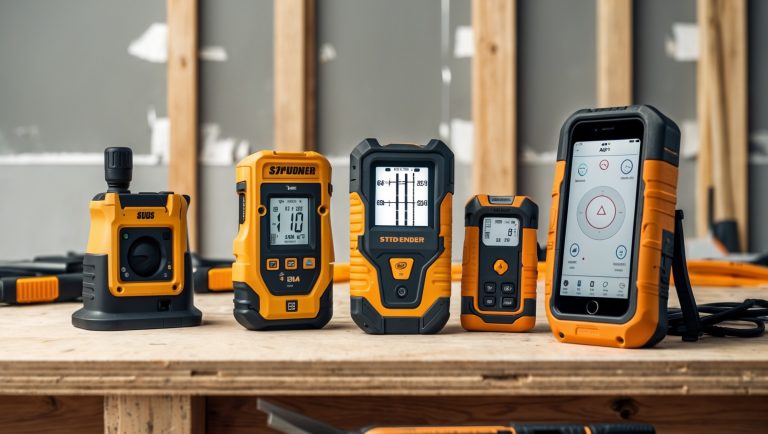
- Programmable Thermostat: Allows more precise scheduling and can reduce energy costs.
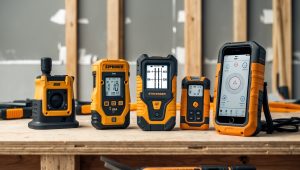
- Smart Sensors: Add room sensors for better temperature control in multi-floor homes.
- Duct Sealing Kits: Improve system efficiency and indoor air quality.
- UV Light Purifiers: Install in-duct UV lights to reduce mold and bacteria (installation may require pro help).
- High-Efficiency Filters: Upgrade to a pleated filter with the appropriate MERV rating.
Upgrading your system with these add-ons can often be a manageable DIY project and will boost both comfort and efficiency.
Safety Checklist for Every Maintenance Session
- Power off at the breaker or disconnect switch.
- Wear gloves and eye protection.
- Keep children and pets away from the work area.
- Use a sturdy ladder for hard-to-reach indoor or attic units.
- Never bypass or disable safety switches.
- Properly dispose of old filters and cleaning debris.
Conclusion: Take Charge of Your Comfort and Efficiency
Regular DIY HVAC maintenance is one of the smartest investments a homeowner can make—saving money, energy, and headaches down the road. By following seasonal checklists, using the right tools, and understanding your system’s basic needs, you can prevent many common problems before they start. Not only will your home feel more comfortable in every season, but your system will also last longer and operate more efficiently.
Remember, the key to successful DIY HVAC care is consistency and attention to detail. Don’t skip steps or rush through your checklist. Always prioritize safety and know your limits—leave complex repairs or hazardous situations to licensed professionals. With the confidence and know-how you gain from proactive maintenance, you’ll not only protect your investment but also enjoy the peace of mind that comes with a well-maintained home environment.
Ready to take your skills further? Keep your tools organized, stay on schedule with reminders, and check back here for more expert DIY tips and equipment reviews to simplify every aspect of home repair and improvement.