
Introduction: Why Extension Cord Safety and Organization Matters in DIY Home Projects
Extension cords are unsung heroes in countless home improvement and repair tasks. Whether you’re powering up a saw in the garage, running a drill outside for fence repairs, or plugging in a shop vacuum for a deep clean, the right extension cord is often the lifeline that keeps your project moving. Yet, extension cords can also be one of the most overlooked sources of safety hazards, tripping accidents, frustrating tangles, and even electrical fires in DIY settings. Many homeowners stash cords haphazardly after use, neglect routine checks, and use whatever cord is closest regardless of its amperage or condition. This not only wastes time and causes stress but can also pose significant risks to your property and personal safety.
In this in-depth guide, we’ll explore practical strategies for choosing, organizing, and maintaining extension cords for DIY home repairs, maintenance, and upgrades. You’ll learn how to select the right cord for each job, discover smart storage solutions to banish tangles and reduce clutter, and master essential maintenance and safety checks that every homeowner should practice. We’ll also cover clever tools and accessories that make cord management a breeze and outline common mistakes to avoid. Whether you’re a seasoned DIYer or just starting your home toolkit, these tips will help you work safer, faster, and with less frustration.
Understanding Extension Cord Types and Ratings
Why the Right Cord Matters
Not all extension cords are created equal. Using the wrong cord can result in overheated wires, tripped breakers, or damaged equipment. To choose the best cord, consider:
- Gauge (Wire Thickness): Lower numbers mean thicker wires and higher capacity (e.g., 12-gauge is thicker than 16-gauge).
- Length: Longer cords cause more voltage drop, so you may need a thicker gauge for longer distances.
- Amperage/Watts Rating: Ensure the cord can handle the combined load of your tools or gadgets.
- Indoor vs. Outdoor Use: Outdoor cords have weather-resistant jackets and are marked “W” or “Outdoor” on the packaging.
- Special Features: GFCI protection, lighted ends, and locking plugs can add safety and convenience.
Labeling and Color Coding
Many manufacturers use color-coded jackets: orange and yellow for outdoor, green for garden, and black or white for indoor. However, always check the printed specs on the cord itself. For DIY projects, consider labeling your cords by length and gauge with zip ties and weatherproof tags for quick selection.
Essential Tools and Gadgets for Cord Management
Reels, Winders, and Organizers
- Manual Cord Reels: Sturdy handles make winding and unwinding easy. Look for units with built-in surge protection for extra safety.
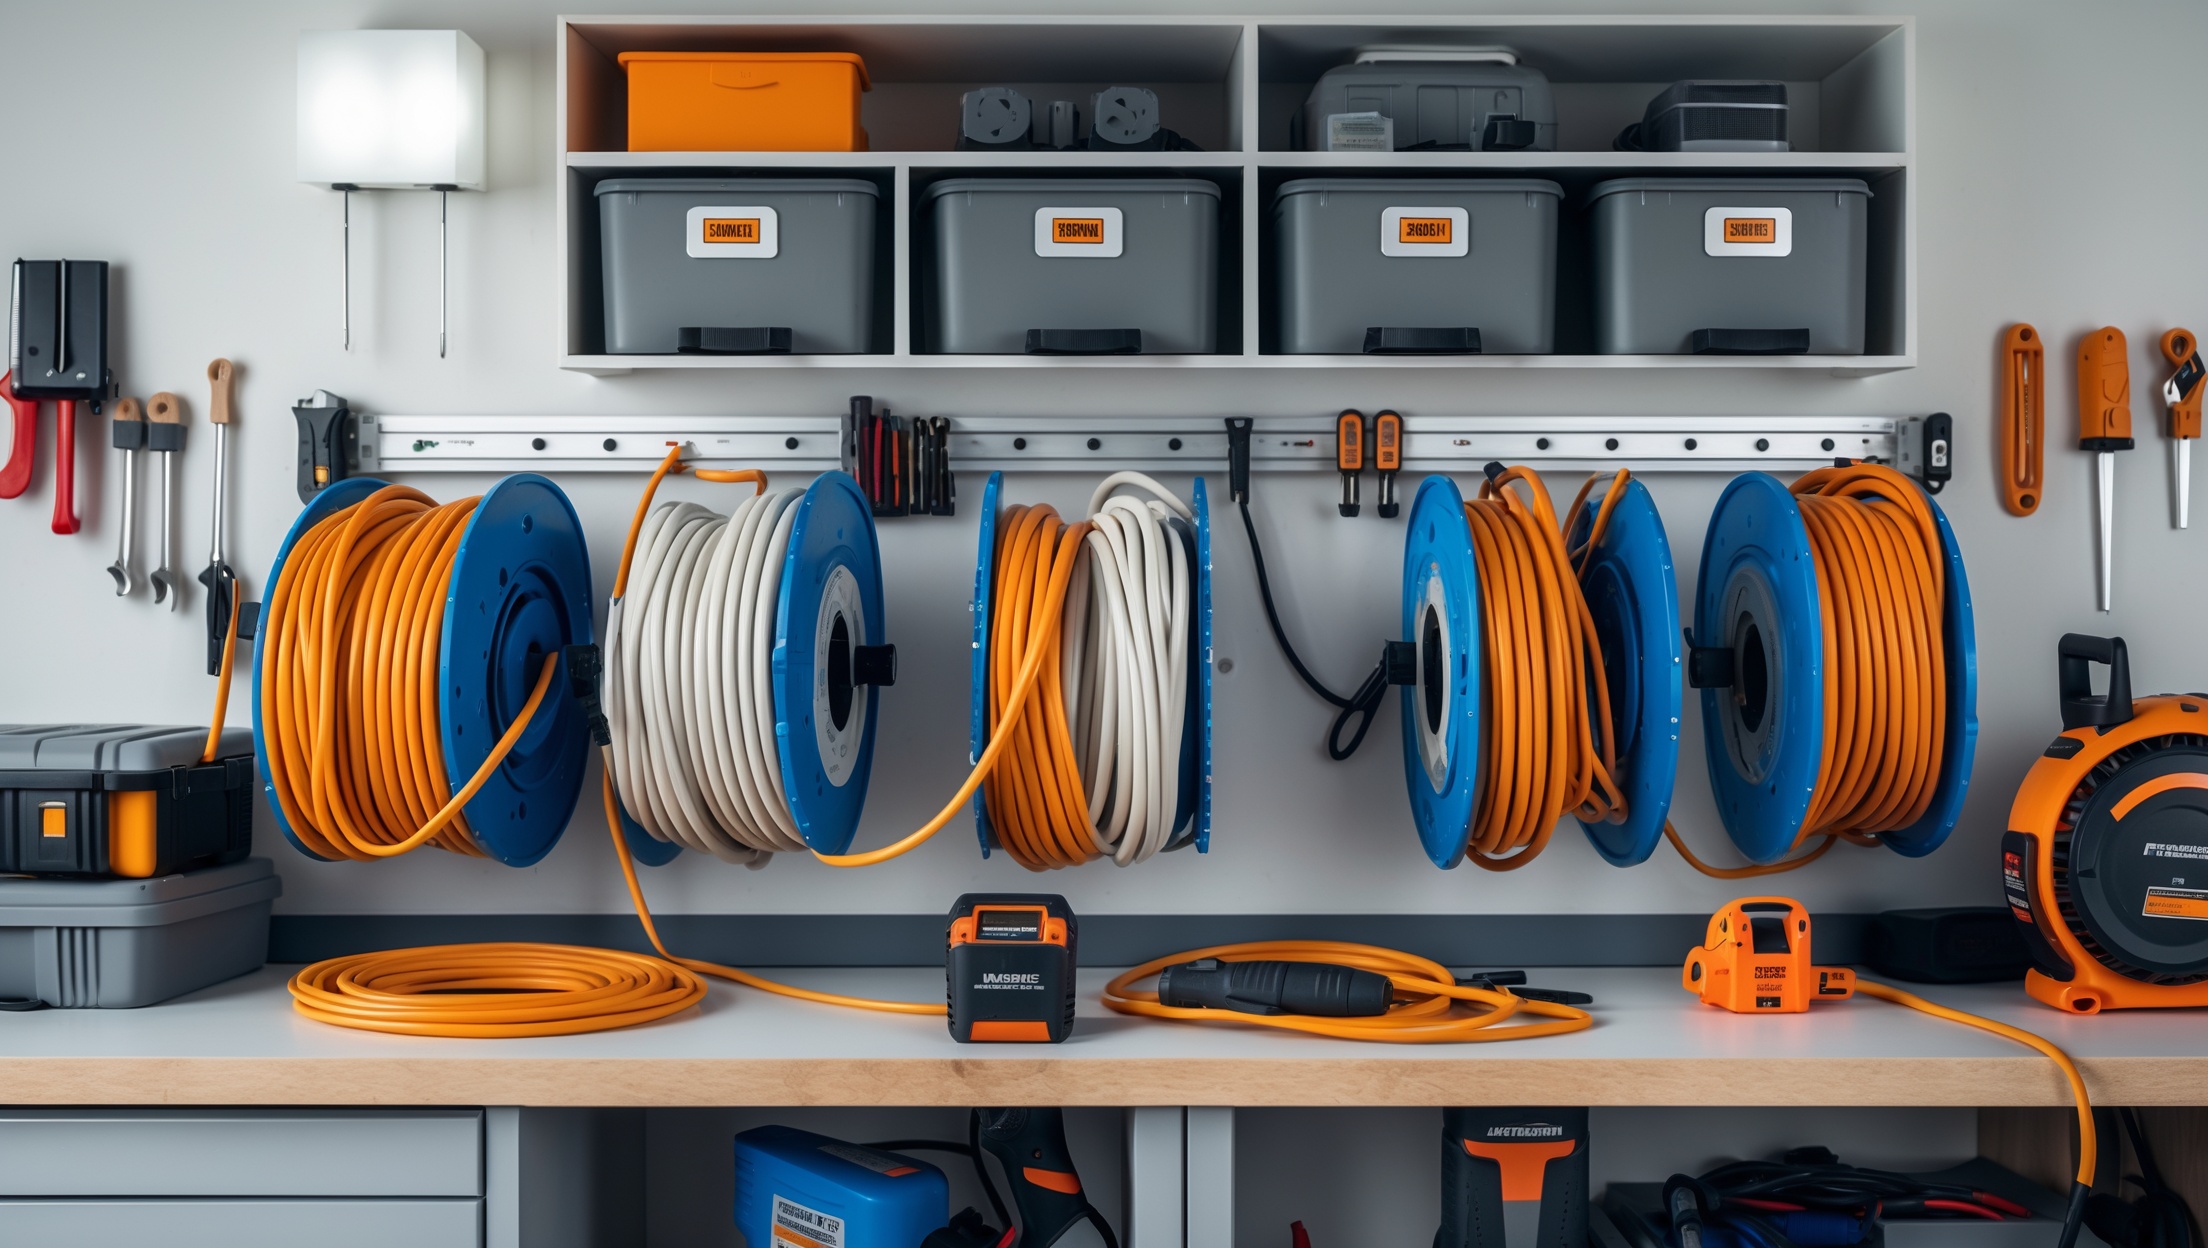
- Retractable Cord Reels: Mount on the wall or ceiling for quick deployment and effortless storage, especially in workshops or garages.
- Velcro Straps and Cord Wraps: Inexpensive and versatile, these keep cords coiled and tangle-free in storage bins or on hooks.
- Stackable Cord Hangers: Mount on pegboards or walls to keep cords visible, off the ground, and organized by type or length.
- Cable Management Bags: For portable toolkits, heavy-duty bags with internal dividers are ideal for storing multiple cords and accessories.
Smart Accessories
- Lighted Outlet Ends: Make it easier to see if power is flowing and avoid confusion when using multiple cords.
- Multiple Outlet Splitters: Safely power several tools at once, but always stay within the cord’s maximum rating.
- GFCI Adapters: Essential for outdoor or wet area work, these protect against dangerous shocks.
Step-by-Step: Setting Up a Safe and Efficient Cord Storage System
1. Audit Your Cord Collection
Empty your bins, drawers, or shelves and sort cords by:
- Length
- Gauge/amperage
- Indoor/outdoor rating
- Condition (frayed, cracked, or damaged cords should be discarded immediately)
2. Choose the Right Storage Method
Consider your workspace and usage patterns:
- Wall-Mounted Hooks: Ideal for garages and sheds; keep cords visible and accessible.
- Portable Reels: Best for homeowners who often use cords in different locations.
- Bins with Dividers: Stackable, labeled bins are perfect for small spaces or closets.
- PVC Pipe Racks: DIY a custom rack by mounting short lengths of large-diameter PVC pipe on a wall; slide each coiled cord in for instant access.
3. Label and Inventory
Use weatherproof tags or colored tape to mark each cord’s length, gauge, and intended use. Keep a simple inventory list (digital or paper) to track what you have and identify missing or damaged cords quickly.
4. Implement a Cord Checkout System
If multiple people use your workshop, create a sign-out board or a peg with labeled tags so cords are always returned to their designated spots.
Extension Cord Safety: Best Practices and Maintenance
Essential Safety Checks Before Each Use
- Inspect for cuts, fraying, or exposed wires.
- Check for bent or broken prongs and damaged plugs.
- Test GFCI protection (if present) by pressing the “test” button.
- Uncoil cords completely to avoid overheating.
- Keep connections dry; use covers or cord domes outdoors.
Routine Maintenance Tips
- Wipe down cords with a damp cloth after use, especially if exposed to dirt or chemicals.
- Store cords loosely coiled—tight knots or sharp bends can damage internal wires.
- Replace any cord with visible damage or loose plugs immediately.
- Test lighted ends or indicator LEDs regularly to ensure they work.
Common Extension Cord Safety Myths—Debunked
- Myth: All extension cords are safe for outdoor use.
Fact: Only cords rated for outdoor use should be used outside. Indoor cords can deteriorate quickly in sunlight or moisture. - Myth: It’s okay to plug one extension cord into another (daisy-chaining).
Fact: This increases voltage drop and the risk of fire. Always use a long enough single cord of the correct gauge. - Myth: Extension cords can be run under carpets or rugs for safety.
Fact: This traps heat and can cause insulation to melt, leading to fire risk. Always keep cords visible and unobstructed.
Top Extension Cord Storage Solutions Compared
| Storage Solution | Pros | Cons | Best For |
|---|---|---|---|
| Manual Cord Reel | Easy winding, portable, prevents tangles | May tangle if overloaded, manual effort needed | General home use, workshops |
| Retractable Reel | Quick storage, wall/ceiling mount, tidy look | Fixed location, higher cost | Garages, frequent users |
| Velcro Straps | Inexpensive, versatile, easy to label | Not ideal for heavy-duty cords | Light to medium-duty cords, small spaces |
| Wall Hooks | Visible storage, easy access, scalable | Cords can slip off, may require wall space | Workshops, sheds, garages |
| Bins with Dividers | Protected from dust, stackable, portable | Cords may tangle if not coiled well | Closet storage, limited space |
DIY Cord Storage Projects: Step-by-Step Tutorials
DIY Pegboard Cord Organizer
- Install a pegboard on your workshop or garage wall.
- Use heavy-duty hooks or specialized cord hangers.
- Coil each cord carefully and hang by length and gauge.
- Label pegs using tape or printed tags for quick selection.
PVC Pipe Cord Rack
- Cut 12-18″ sections of 3″ or 4″ diameter PVC pipe.
- Mount horizontally to a wall with pipe straps or brackets, open end facing out.
- Slide coiled cords into each pipe segment; add labels on the pipe ends.
Milk Crate Cord Bins
- Get stackable milk crates or heavy-duty storage bins.
- Drill small holes for zip ties or Velcro straps to secure each coiled cord.
- Label bins by cord type or length for easy sorting.
Budgeting and Cost Breakdown: What to Spend and Where to Save
Organizing extension cords doesn’t require a major investment. Here’s a typical breakdown for a small-to-medium DIY setup:
- Basic Cord Reel: $10–$30 each
- Retractable Reel: $40–$90 each
- Wall-Mounted Hooks: $1–$5 each
- Velcro Straps: $6–$15 per 10-pack
- PVC Pipe (for racks): $10–$20 (for a 10-foot section)
- Storage Bins: $8–$20 each
Prioritize spending on sturdy reels and safe, weather-rated cords. Save by DIYing storage solutions like pegboards or PVC racks, and repurposing bins or crates.
Extension Cord Maintenance Calendar: Seasonal Checklist
- Spring: Inspect cords for winter damage; clean and test all GFCI units.
- Summer: Check outdoor cords after heavy rain or heat; dry and clean before storage.
- Fall: Review inventory before holiday light season; discard damaged cords.
- Winter: Store rarely used cords in dry, insulated areas; avoid using cords in snow or ice unless they are rated for extreme conditions.
Frequently Asked Questions
How do I know if a cord is safe for outdoor use?
Check the jacket for “W” or “Outdoor” marking and ensure the cord feels thick and robust. Avoid using lightweight, indoor-rated cords outside.
Can I repair a damaged extension cord?
Minor repairs (like replacing a plug) are possible with the right tools and experience, but it’s safest to replace cords with any insulation or wire damage.
How long do extension cords last?
With proper care, heavy-duty cords can last 5–10 years, but inspect them yearly and replace at the first sign of wear.
Conclusion: Simplify Your DIY Projects with Smart Extension Cord Practices
Extension cords are a foundation of every home repair, upgrade, and maintenance project, but their value is only realized when they’re safe, properly organized, and in good working condition. Investing a little time in understanding cord ratings, using practical storage solutions, and performing routine safety checks can prevent countless headaches—from wasted time detangling knots to catastrophic electrical accidents. By taking a proactive approach to cord management, you’ll protect your tools, your home, and most importantly, yourself and your loved ones.
Smart cord organization isn’t about spending big—it’s about working efficiently and safely. Whether you install a wall-mounted rack, use reels and wraps, or build a custom system with PVC and pegboards, the payoff is immediate: faster project setup, fewer accidents, and longer-lasting equipment. Don’t forget to label, inventory, and audit your cords each season, so you’re always ready for the next repair or upgrade. With these expert tips and a bit of DIY spirit, your extension cords can finally become an asset instead of a nuisance, making every home project smoother and safer from start to finish.