
Introduction: The Hidden Dangers of Choosing the Wrong Fasteners and Tools
Ask any seasoned DIYer or home repair professional about the most common causes of failed projects, and you’ll hear a recurring theme: fastener failures. Stripped screws, cracked drywall, sagging shelves, and even structural damage often trace back to a seemingly simple oversight—using the wrong screws, anchors, or installation tools. Fasteners hold your home together, from the studs behind your walls to the hardware on your doors and cabinets. Yet, they’re also where many beginner and even intermediate DIYers make costly mistakes that can lead to wasted time, material damage, or unsafe conditions.
In this detailed guide, we’ll zero in on the crucial (yet often overlooked) topic of fastener and tool selection for home repairs and upgrades. You’ll learn how to match fasteners to materials, avoid compatibility pitfalls, and choose tools that ensure safe, secure, and lasting results. Whether you’re mounting shelves, assembling furniture, hanging heavy fixtures, or tackling minor structural repairs, understanding fastener types and the right installation equipment can save you money, stress, and future repairs. We’ll break down the science behind fastener holding power, the importance of pilot holes, and the real reasons why that wall anchor might fail. Ready to upgrade your results and prevent the most preventable DIY disasters? Let’s dig in.
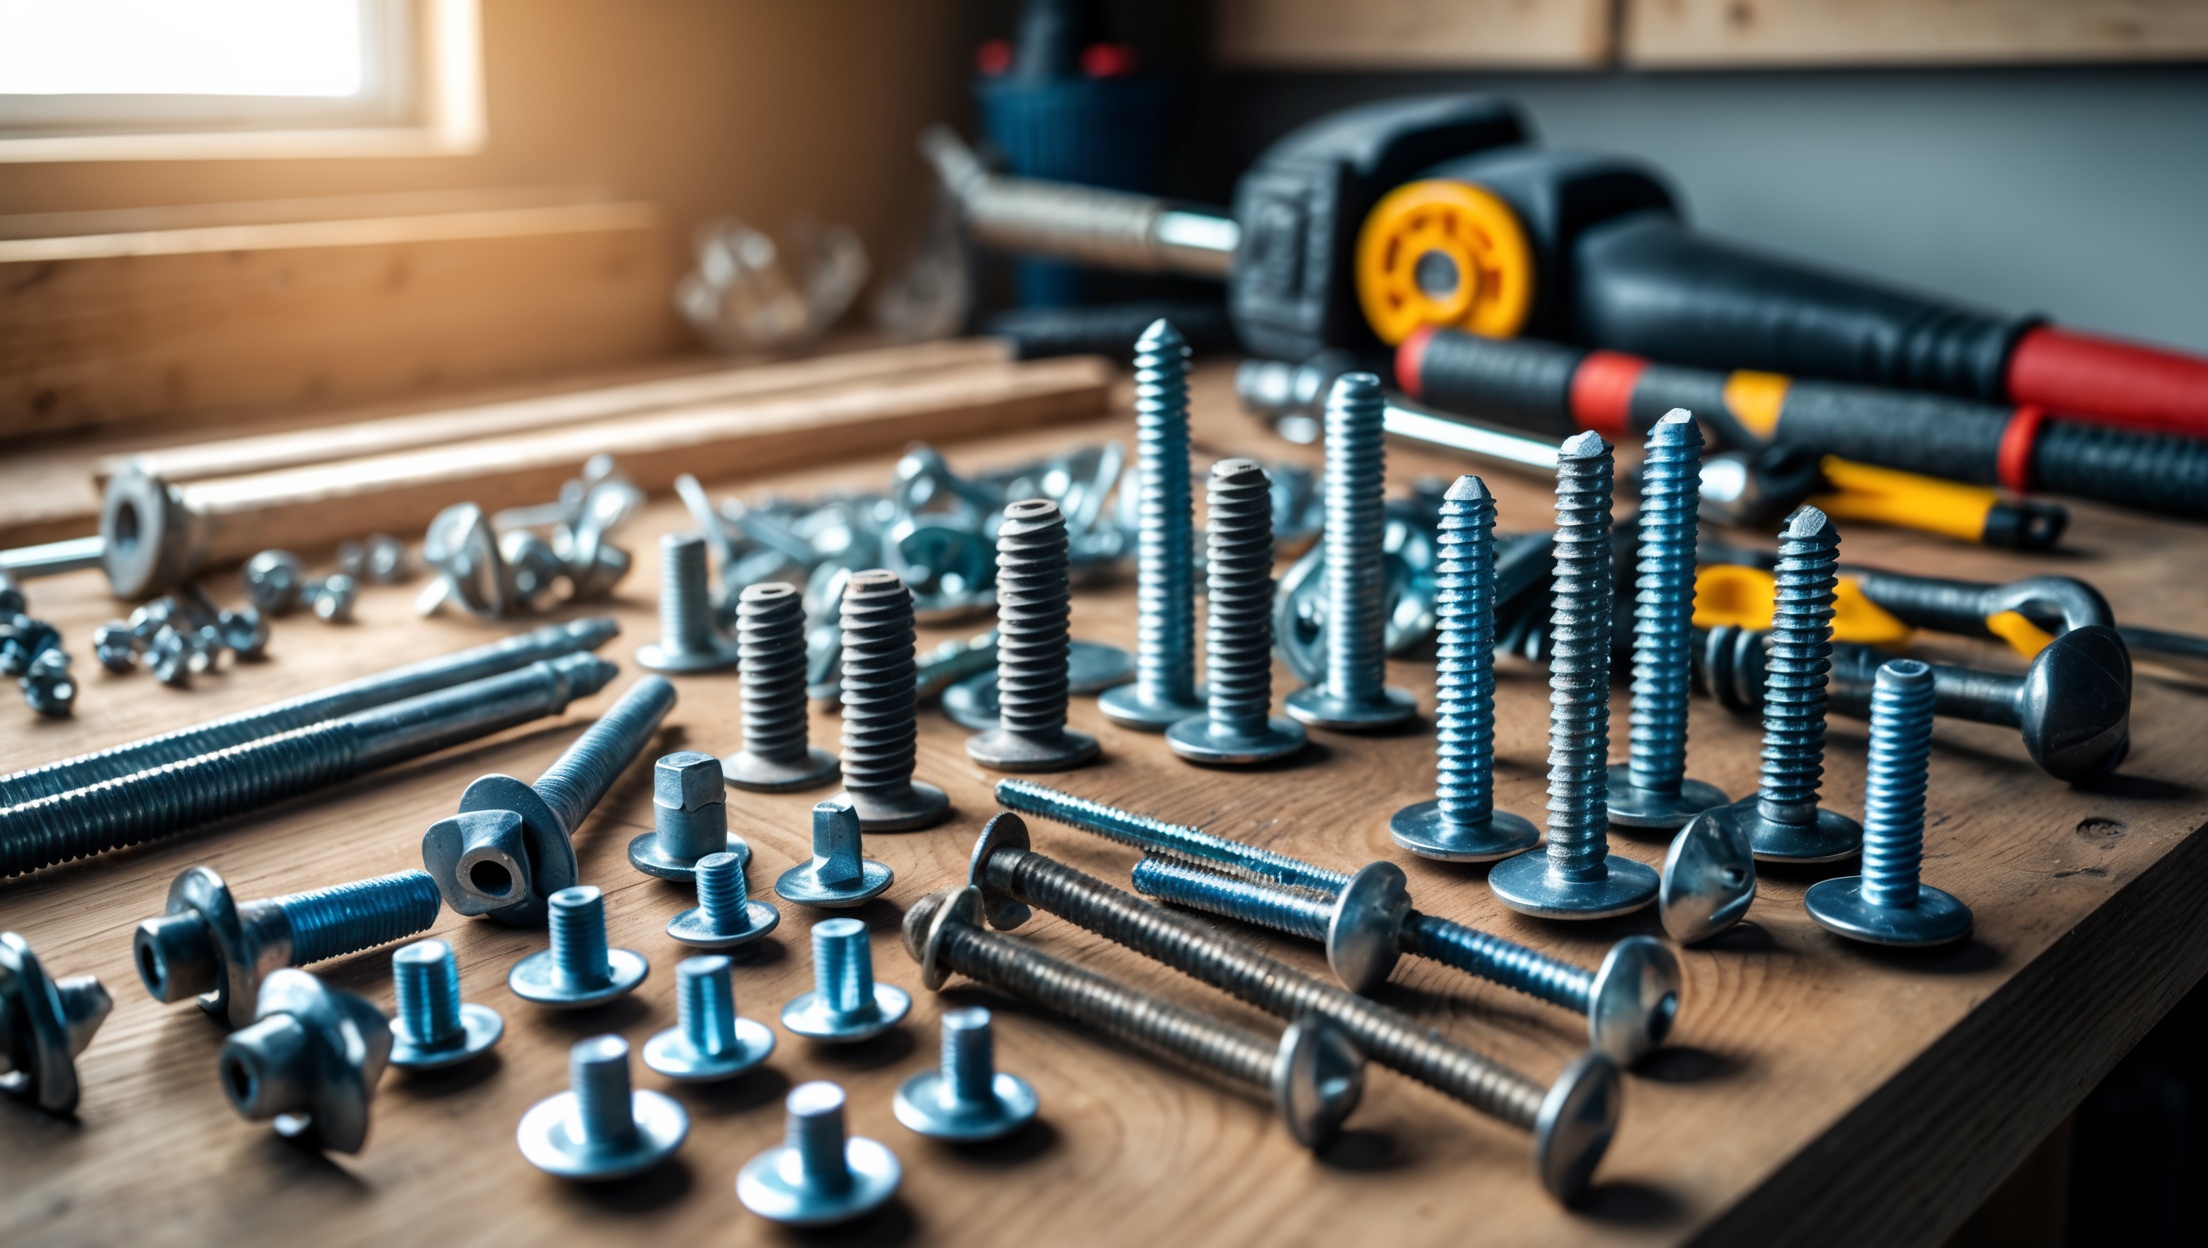
Understanding Fastener Types: Screws, Anchors, Bolts, and Beyond
Wood Screws
Designed for joining wood to wood, these screws have coarse threads and a pointed tip for biting into soft or hard wood. Commonly made of steel, brass, or coated with corrosion-resistant finishes. Choose length based on the thickness of your materials; the screw should penetrate at least half the thickness of the bottom piece.
- Best for: Framing, cabinetry, shelving
- Common mistake: Using screws that are too short or too long, leading to poor holding or protrusion
Drywall Screws
Thin, hardened steel screws with bugle heads and a sharp point, meant for attaching drywall to wood or metal studs. Their threads are finer for metal studs and coarser for wood.
- Best for: Hanging drywall, lightweight wall-mounted items with anchors
- Common mistake: Overdriving causes paper tears and weakens the wall
Masonry Screws and Anchors
Used for brick, concrete, or block, these fasteners require predrilled holes and are made of hardened steel. Types include concrete screws (like Tapcon), expansion anchors, and sleeve anchors.
- Best for: Hanging shelves, mounting TVs, securing fixtures to masonry
- Common mistake: Using wood screws in masonry, leading to immediate failure
Plastic and Metal Wall Anchors
Essential for hanging anything heavier than a picture on drywall or hollow walls. Options range from basic plastic expansion anchors to heavy-duty toggle bolts and molly bolts.
- Best for: Curtain rods, mirrors, cabinets, heavy artwork
- Common mistake: Using undersized anchors or skipping anchors altogether
Lags, Bolts, and Structural Fasteners
For heavy-duty connections, lag screws and carriage bolts provide maximum hold. Always predrill holes and use appropriately sized washers.
- Best for: Deck framing, attaching ledger boards, mounting heavy items
- Common mistake: Skipping pilot holes, causing wood to split
How Material Type Dictates Fastener Choice
Wood
Use wood screws or deck screws. For softwoods, coarse threads are preferable; for hardwoods, fine threads reduce splitting. Always drill pilot holes for hardwoods.
Drywall and Plaster
Never rely on screws alone for heavy loads. Use appropriate drywall anchors. Plaster may require toggle bolts due to its brittleness.
Masonry (Brick, Concrete, Block)
Masonry screws or anchors are a must. Use a hammer drill with a masonry bit for pilot holes. Expansion anchors are ideal for medium loads; sleeve anchors for heavy-duty applications.
Metal
Self-tapping sheet metal screws work for thin metals; bolts and nuts are necessary for thicker gauge connections. Consider corrosion-resistant coatings for outdoor use.
Essential Tools for Reliable Fastener Installation
Manual Screwdrivers vs. Power Drivers
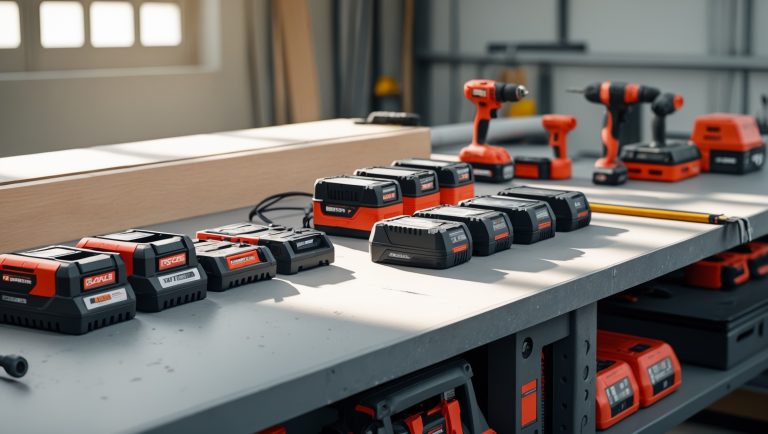
Manual screwdrivers offer precision but are slow for repetitive tasks. Power drivers—corded or cordless—make quick work of installation but can easily overtighten or strip screws if not set to the correct torque.
- Tip: Use the clutch setting on cordless drills/drivers to avoid overtightening, especially with drywall screws.
Drill Bits and Pilot Holes
Pilot holes reduce splitting and make driving screws easier. For wood, the pilot bit should be slightly smaller than the screw’s core. For masonry, use the recommended size for your anchor or screw.
Socket Sets and Nut Drivers
For bolts, lag screws, and heavy-duty anchors, socket wrenches or nut drivers provide necessary torque without slipping. Magnetic nut drivers are invaluable for overhead work.
Hammer Drills
Indispensable for drilling into masonry. Rotary-only drills won’t suffice for concrete or brick.
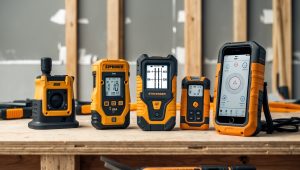
Level and Stud Finder
Always confirm you’re anchoring into a stud for heavy loads. A quality stud finder and a reliable bubble or laser level prevent placement mistakes that lead to fastener failure.
Common Fastener and Tool Compatibility Mistakes (and How to Avoid Them)
Stripped Screw Heads
- Cause: Using the wrong driver bit size or type (e.g., Phillips instead of Pozidriv)
- Solution: Match the bit exactly to the screw head; invest in a quality driver bit set
Overdriven or Underdriven Screws
- Cause: No clutch setting or incorrect torque control on power drivers
- Solution: Use the drill’s clutch; practice on scrap material to set correct depth
Anchor Pull-Out
- Cause: Using undersized or incorrect anchor type for the wall material and load
- Solution: Calculate the expected load; use anchors rated for at least 2x the actual weight
Incorrect Pilot Hole Size
- Cause: Guessing bit size instead of checking manufacturer’s guidance
- Solution: Consult fastener packaging or use digital calipers for accuracy
Fastener Corrosion and Premature Failure
- Cause: Using untreated steel fasteners outdoors or in damp environments
- Solution: Choose galvanized, stainless, or coated fasteners for exterior and bathroom/kitchen use
Practical Step-by-Step Example: Installing a Heavy Wall Shelf
Materials and Tools Needed
- Stud finder
- Level
- Cordless drill/driver with clutch
- Drill bits (wood and masonry)
- Wood screws or appropriate anchors
- Shelf brackets
- Pencil and tape measure
Step 1: Locate Studs or Confirm Wall Material
Use a stud finder to mark stud locations. If none are where you need them, determine if you have drywall, plaster, or masonry to select your anchor accordingly.
Step 2: Mark and Level
Hold the bracket against the wall, mark holes with a pencil, and use a level to ensure the shelf will sit straight.
Step 3: Drill Pilot Holes
For wood studs, use a wood bit the same diameter as the screw’s core. For drywall or masonry, use the correct size for your anchor. Depth stops or tape on the bit help prevent overdrilling.
Step 4: Install Anchors (if Needed)
Insert drywall or masonry anchors according to their instructions. For toggle bolts, insert the bolt through the bracket hole, then compress and push through the wall until it expands behind the surface.
Step 5: Drive Screws or Bolts
Use a power driver with the appropriate bit and clutch setting. Stop once the screw is snug and the bracket is firmly in place—avoid overtightening.
Step 6: Double-Check and Load Test
Before placing items on the shelf, gently pull down to ensure the bracket and fasteners hold firm. If there’s any movement, remove and replace with a stronger anchor or longer screw.
Advanced Tips for Specialized Fastening Situations
Mounting to Plaster Walls
Older homes often have lath-and-plaster walls, which are brittle and resist anchors poorly. Use toggle bolts for loads over 10 lbs, and predrill slowly to avoid cracking the surface. If possible, locate studs.
Outdoor Projects
Decks, fences, and exterior fixtures demand fasteners rated for outdoor use. Stainless steel or hot-dipped galvanized fasteners resist rust and corrosion. Pair with outdoor-rated anchors for masonry.
Heavy-Duty Masonry Fixings
For mounting garage shelving or safety equipment on concrete, use sleeve anchors or wedge anchors. Always clean dust from drilled holes before inserting anchors for maximum holding strength.
Budgeting for Fastener and Tool Purchases
Why Cheap Fasteners Cost More Long-Term
Bargain-bin screws and anchors are tempting, but they often use soft metals, inconsistent threading, and poor coatings. Failures lead to rework, wall damage, and extra expense. Invest in branded fasteners for key projects.
Starter Tool Sets vs. Individual Upgrades
Starter sets are fine for small jobs, but upgrading to a quality cordless drill/driver with torque control and a comprehensive bit set pays off quickly. For masonry, a hammer drill is a must.
Where to Splurge and Where to Save
- Splurge: Cordless drill/driver, high-quality driver bits, corrosion-resistant fasteners
- Save: On basic hand tools like manual screwdrivers if rarely used
Preventive Maintenance for Fasteners and Tools
Checking Fastener Integrity Over Time
Inspect wall-mounted items, shelves, and fixtures at least annually. Look for loose screws, corroded hardware, or sagging anchors. Tighten or replace as needed.
Maintaining Installation Tools
Keep drill bits sharp and clean; replace worn driver bits to avoid stripping. Store tools in a dry place to prevent rust. Lubricate moving parts of drills and drivers as recommended by the manufacturer.
Conclusion: Building Safer, Stronger, and Smarter DIY Results
Fastener and tool selection may seem like a small part of your DIY project, but the consequences of getting it wrong can be dramatic—ranging from a wobbly shelf to structural failure and expensive repairs. By understanding the differences between fastener types and matching them precisely to your material and load requirements, you set the foundation for safer, longer-lasting results. Equally important is investing in the right installation tools and using them correctly, whether that means drilling a proper pilot hole, using a clutch setting to avoid overtightening, or opting for corrosion-resistant hardware outdoors.
Remember, the right fastener does more than just hold materials together—it prevents accidents, saves you money, and boosts your confidence for future projects. Take time to plan each installation, read fastener and tool specifications, and err on the side of stronger, higher-quality hardware for critical connections. Regularly check your work for signs of failure and don’t hesitate to upgrade tools that show signs of wear. Your home—and your peace of mind—are worth the extra care.
With the guidance in this article, you’re equipped to avoid the most frequent and costly fastener mistakes. From choosing the right screws, anchors, and bolts, to mastering tool compatibility and installation technique, you’re ready to tackle repairs, upgrades, and creative projects with professional-level results. Make every connection count—your home depends on it.
When you mention the importance of matching fasteners to the material, what’s the best way to identify which screw type to use if I’m unsure whether I’m drilling into a stud, drywall, or something else behind my wall?
If you’re unsure what’s behind your wall, start by using a stud finder to locate studs—these are ideal for supporting heavy loads and work well with wood screws. For areas without studs, use wall anchors designed for drywall or plaster. If you hit unexpected resistance or notice crumbling, you might be drilling into masonry, which needs masonry anchors and screws. Matching the right fastener to the identified material ensures your installation is safe and secure.