Introduction: Why the Right Caulk Gun Matters for DIY Home Repairs
Caulking is one of the simplest yet most transformative home repair and upgrade tasks. Whether you’re sealing drafty windows, refreshing bathroom grout, or weatherproofing an exterior seam, a quality caulk gun makes all the difference. But with manual, electric, and pneumatic options available, many DIYers struggle to select the best tool for their needs. Choose unwisely, and you risk making a mess, wasting expensive sealant, or ending up with uneven lines that don’t withstand the test of time or weather. Choose wisely, and you’ll enjoy neat, durable results—plus a much smoother project experience.
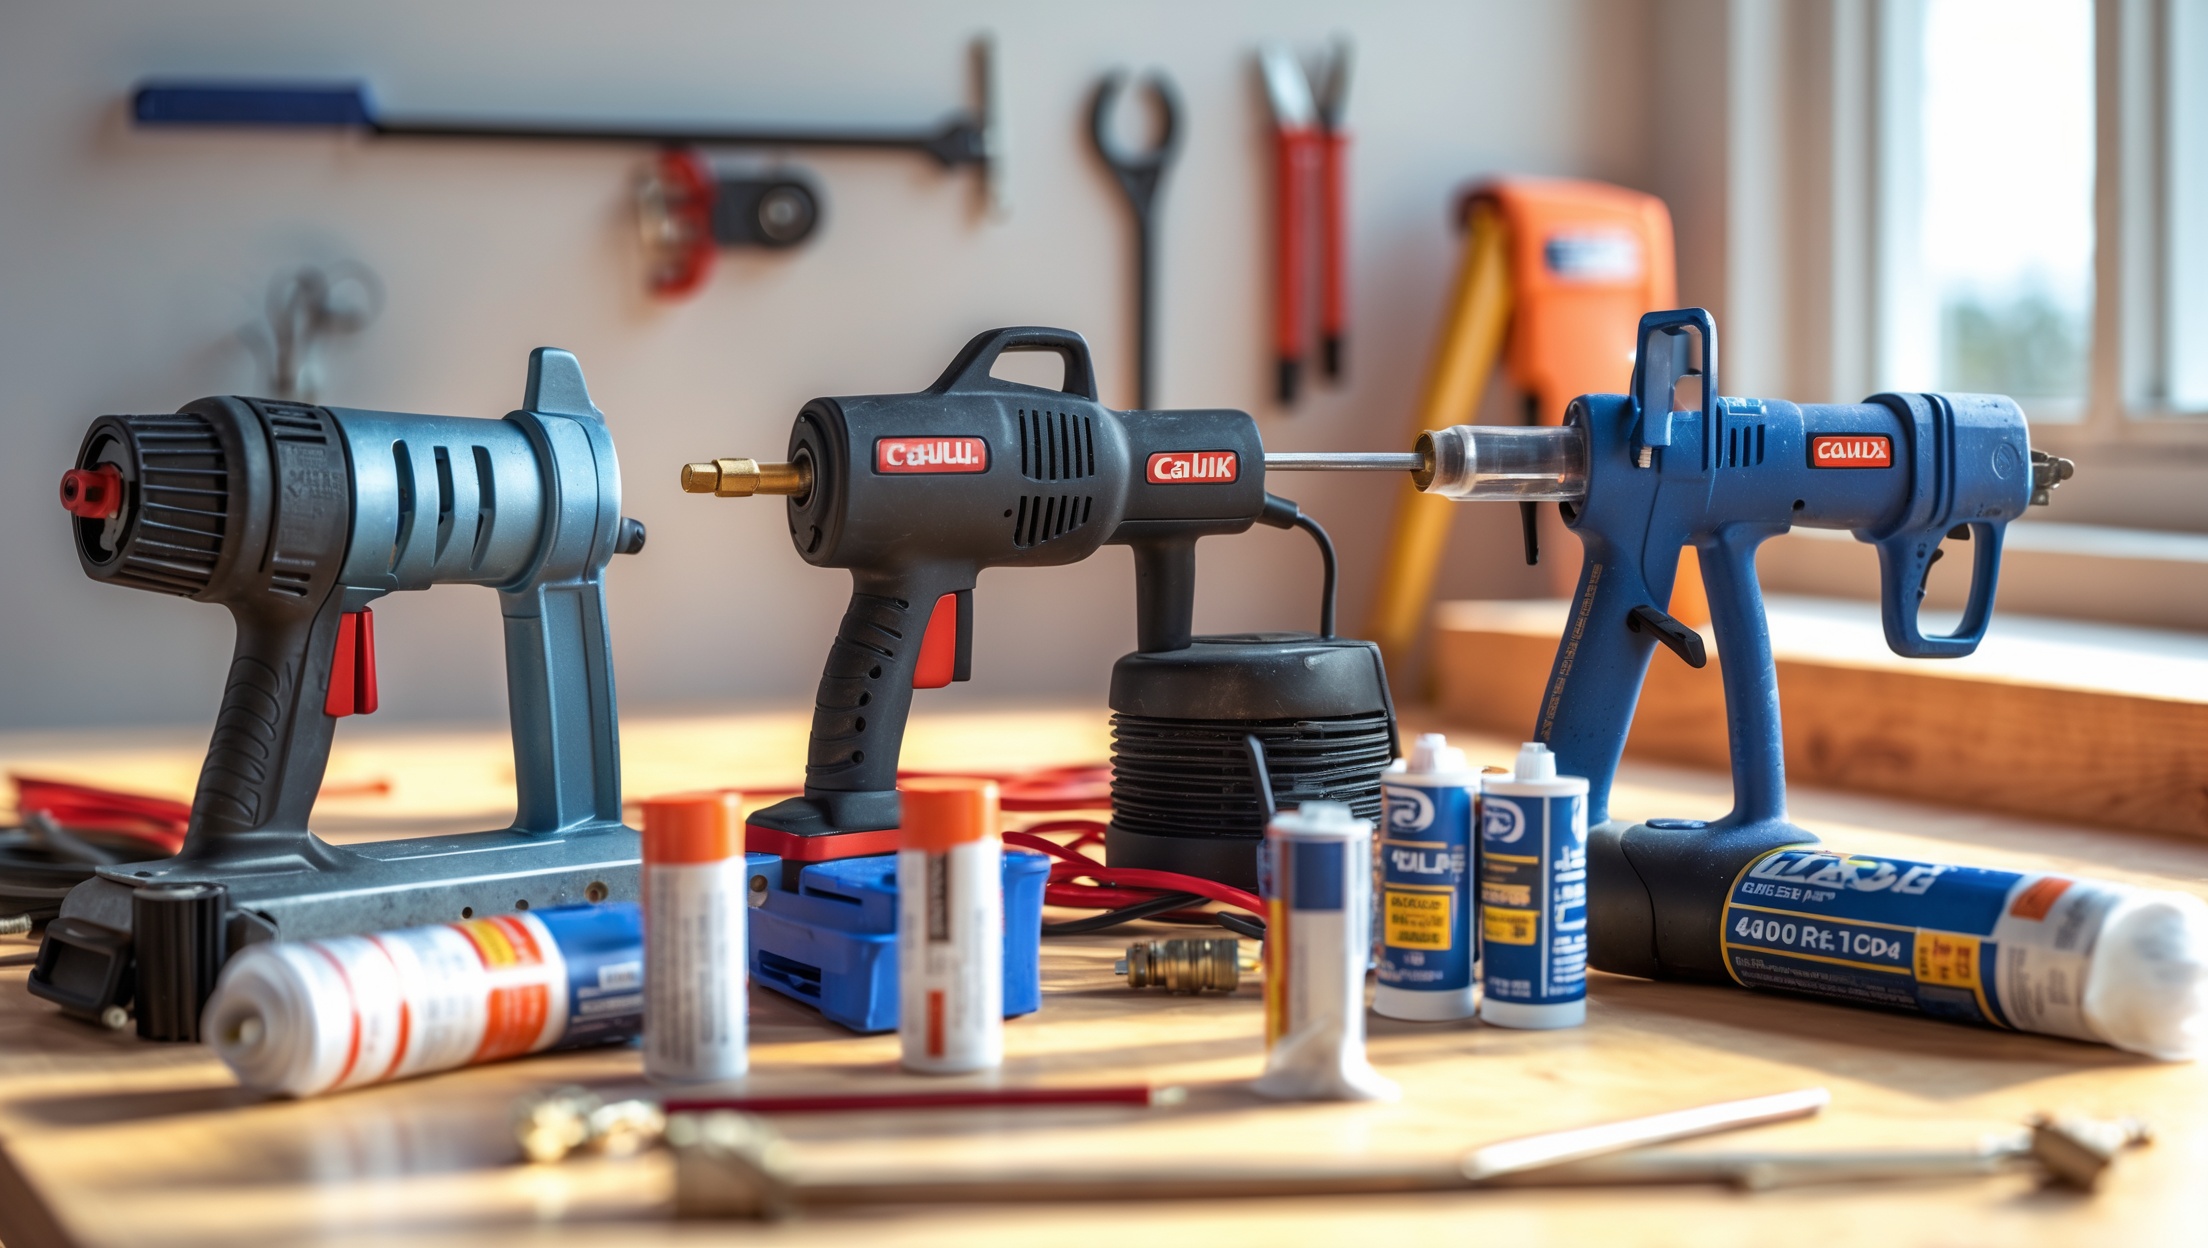
This comprehensive guide dives deep into the world of caulk guns for home use. We compare top-rated manual, electric, and pneumatic models, unpack their respective strengths and weaknesses, and walk you through essential features to look for. You’ll also find practical tips for setup, usage, and maintenance, as well as a breakdown of costs and common mistakes to avoid. Whether you’re a first-time DIYer or a seasoned home repair enthusiast looking to upgrade your toolkit, read on for expert advice on selecting, using, and caring for your next caulk gun.
Manual Caulk Guns: Reliable Workhorses for Everyday DIY Tasks
How Manual Caulk Guns Work
Manual caulk guns are the most common choice for home repairs. They operate with a simple trigger-piston mechanism: as you squeeze the trigger, a plunger pushes the caulk out of the tube. The mechanism is straightforward, requiring no batteries or external power, and is typically compatible with a wide variety of standard caulk and adhesive tubes.
Types of Manual Caulk Guns
- Ratchet Rod: The oldest and most affordable style, these use a notched rod to push the plunger forward. They require more hand strength and are prone to uneven flow.
- Smooth Rod (Dripless): These feature a friction-based rod system that releases pressure when you stop squeezing, reducing drips and mess.
- High-Thrust Ratio: Designed for thicker or more viscous materials, these offer greater mechanical advantage, making it easier to dispense caulk with less effort.
Best Manual Caulk Guns Reviewed
- Newborn 930-GTD Drip-Free: Smooth rod, anti-drip, lightweight, and budget-friendly. Excellent for most indoor and outdoor DIY tasks.
- Albion B12S20: High-thrust, rugged construction, ideal for heavy-duty tasks or thick adhesives like construction adhesive or polyurethane.
- OX Tools Pro Caulking Gun: Comfortable grip, sturdy frame, reliable for frequent home users.
Manual Caulk Gun Pros and Cons
- Pros: Affordable, widely available, no power needed, lightweight, easy maintenance.
- Cons: Can fatigue hands during large projects, less consistent bead with thicker materials, requires more technique for a professional finish.
Manual Caulk Gun Buying Tips
- Look for a smooth rod design if you want to reduce drips and cleanup time.
- Choose an ergonomic handle and trigger to prevent hand fatigue.
- Check compatibility with the sizes and types of caulk tubes you plan to use (standard 10oz is most common).
- If you’ll be using thick adhesives, select a high-thrust ratio model.
Electric Caulk Guns: Power and Precision for Regular Users
How Electric Caulk Guns Work
Electric caulk guns use a battery-powered motor to push the plunger, delivering steady and even pressure. They’re ideal for users who frequently undertake large projects or need to apply long, continuous beads of caulk without stopping to rest their hands. Most models use rechargeable lithium-ion batteries, and some even offer variable speed controls for greater precision.
Top Electric Caulk Guns Reviewed
- DEWALT 20V MAX Cordless Caulking Gun: High-capacity battery, variable speed, anti-drip feature, and excellent for both DIY and pro use.
- Ryobi P310G 18V Power Caulk and Adhesive Gun: Affordable, solid battery life, compatible with Ryobi ONE+ system, well-suited for occasional projects.
- Makita XGC01Z 18V LXT: Durable, smooth dispensing, speed control dial, highly rated for heavy-duty home repairs.
Electric Caulk Gun Pros and Cons
- Pros: Consistent bead, less hand fatigue, fast application, ideal for large or repetitive projects.
- Cons: Higher cost, requires batteries and charging, heavier, may be overkill for small jobs.
Electric Caulk Gun Buying Tips
- Check battery compatibility with your existing cordless tool system for convenience.
- Look for variable speed control to fine-tune bead size and flow rate.
- Assess the weight and balance—heavier models can cause wrist fatigue over time.
- Consider anti-drip and quick-release features for easier use and cleanup.
Pneumatic Caulk Guns: Pro-Level Power for Serious DIYers
How Pneumatic Caulk Guns Work
Pneumatic caulk guns use compressed air to drive the plunger and dispense caulk. They require an air compressor but deliver extremely consistent bead size and are capable of handling the thickest sealants and adhesives with ease. Pneumatic models are the standard in professional settings but are increasingly accessible for advanced DIYers who already own a compressor.
Top Pneumatic Caulk Guns Reviewed
- COX Airflow 3: Adjustable air pressure, lightweight aluminum body, smooth dispensing, and suitable for standard and sausage caulk tubes.
- Campbell Hausfeld Air-Powered Caulk Gun: Budget-friendly, reliable, and ideal for infrequent but demanding applications.
- Chicago Pneumatic CP9885: Robust construction, precise control, recommended for users familiar with air tools.
Pneumatic Caulk Gun Pros and Cons
- Pros: Effortless dispensing, handles thick and specialty caulks, perfect for long or repetitive jobs, minimal hand fatigue.
- Cons: Requires compressor and hose, less portable, higher initial investment, setup complexity, not ideal for quick touch-ups.
Pneumatic Caulk Gun Buying Tips
- Ensure your compressor delivers the required PSI and CFM for your chosen gun.
- Look for adjustable air pressure controls for precise bead size.
- Check compatibility with both standard and sausage (bulk) caulk cartridges if you plan diverse projects.
- Consider weight, ergonomics, and trigger style for prolonged use.
Cost Breakdown: Manual vs. Electric vs. Pneumatic Caulk Guns
| Type | Entry-Level Price | Mid-Range Price | Pro/High-End Price | Typical Accessories Needed |
|---|---|---|---|---|
| Manual | $7–$15 | $15–$35 | $35–$60 | None (optional: nozzle cutters, seal puncture tools) |
| Electric | $60–$100 | $100–$170 | $170–$300 | Rechargeable batteries, charger, spare batteries |
| Pneumatic | $35–$70 | $70–$130 | $130–$250 | Compressor, air hose, moisture trap |
Note: For electric and pneumatic models, the cost of batteries or a compressor is not included in the gun price. If you already own compatible equipment, your out-of-pocket investment will be lower.
Key Features to Look For in Any Caulk Gun
- Dripless Mechanism: Prevents sealant from oozing after you release the trigger, minimizing clean-up.
- Rotating Barrel: Lets you keep the nozzle at the correct angle, especially around corners and edges.
- Built-in Nozzle Cutter: Handy for prepping tubes without needing a separate utility knife.
- Seal Puncture Tool: For breaking inner tube seals quickly and safely.
- Comfort Grip: Reduces hand fatigue, especially for large projects or thicker sealants.
- Variable Speed (Electric/Pneumatic): Fine-tunes bead size, ideal for delicate or detailed work.
- Easy Cartridge Loading: Speeds up tube changes, especially useful for bulk jobs.
Common DIY Caulking Mistakes—and How to Avoid Them
- Cutting the Nozzle Too Wide: Always start with a small opening and enlarge as needed. A smaller bead is easier to control and finish.
- Not Puncturing the Seal Properly: Use the built-in puncture tool or a sturdy wire to ensure smooth flow—never use the nozzle tip alone.
- Applying Too Much or Too Little Caulk: Practice on scrap material to get a feel for the gun’s flow rate and trigger sensitivity.
- Ignoring Drip Control: Choose a gun with a dripless mechanism or release the pressure rod after each bead with manual models.
- Skipping Surface Prep: Clean and dry all surfaces thoroughly before caulking for proper adhesion and a lasting seal.
- Not Smoothing the Bead: Use a caulk finishing tool or a damp finger before the caulk skins over for a neat finish.
Step-by-Step Guide: Setting Up and Using Your Caulk Gun
1. Preparation
- Gather your caulk gun, caulk tube, utility knife, rags, and optional gloves.
- Clean and dry the surface to be caulked.
2. Loading the Caulk Tube
- Release the plunger and pull it fully back.
- Insert the tube into the frame, nozzle first.
- Push the plunger snugly against the rear of the tube.
3. Cutting the Nozzle and Puncturing the Seal
- Cut the nozzle at a 45-degree angle to match the width of the gap.
- Insert the puncture tool or a stiff wire to break the inner seal.
4. Applying the Caulk
- Hold the gun at a 45-degree angle to the joint.
- Squeeze the trigger or engage the power (electric/pneumatic) to start the flow.
- Move smoothly and steadily; don’t rush.
- Release pressure after each bead to prevent drips.
5. Tooling the Bead
- Smooth the bead immediately using a finishing tool or dampened finger.
- Wipe away excess caulk with a damp rag.
6. Cleanup
- Wipe the nozzle and gun frame clean.
- For reusable tubes, seal the tip with a nail or cap to prevent drying.
- Store your caulk gun in a cool, dry place.
Maintenance Best Practices for Every Type of Caulk Gun
- Manual: Wipe down after each use. Lubricate moving parts occasionally with light oil. Replace worn plunger pads or bent rods as needed.
- Electric: Remove batteries before cleaning. Avoid getting moisture in the motor housing. Periodically check for caulk buildup around the plunger and clean thoroughly.
- Pneumatic: Drain air compressor after use to prevent moisture in the line. Clean the gun’s air inlet. Lubricate O-rings and seals with manufacturer-approved products.
- All Types: Never leave caulk to harden inside the gun. Store in a dry environment and inspect for wear before each use.
Which Caulk Gun is Right for Your DIY Project?
Choosing the right caulk gun comes down to the scope, frequency, and type of projects you tackle. Here’s a quick reference for common scenarios:
- Small Repairs & Occasional Use: Manual dripless caulk gun. Affordable, easy to use, and requires no extra equipment.
- Whole-Home Sealing or Frequent Projects: Electric caulk gun. Worth the investment for speed, consistency, and comfort.
- Heavy-Duty or Professional-Grade Jobs: Pneumatic caulk gun. Ideal if you already own a compressor and tackle big or adhesive-intensive tasks.
Conclusion: Invest in the Right Caulk Gun for Cleaner, Faster Home Repairs
While caulking may seem like a minor part of home maintenance, the right caulk gun can save you time, money, and frustration. Manual models remain a solid choice for most occasional repairs, offering ease of use and affordability. Electric caulk guns shine for frequent or larger projects, providing consistent results with minimal effort, while pneumatic models are best reserved for the most demanding tasks or those already equipped with compressed air. No matter which type you choose, features like a dripless mechanism, comfortable grip, and easy-loading design will make your projects smoother and your results more professional.
Remember to match your caulk gun to the types of materials you’ll be using and the scale of your repairs. Follow best practices for setup and maintenance to extend the tool’s life and ensure clean, mess-free application every time. By investing in the right caulk gun and using it properly, you’ll produce durable, weather-resistant seals that keep your home protected and looking its best for years to come. Happy caulking!