Accurate, reliable tools are at the core of every successful home repair, upgrade, or maintenance task. Yet, even the best tools lose their precision over time—especially if they’re frequently used or stored improperly. While professional calibration services exist, many DIYers can save money and improve their results by learning to calibrate essential tools themselves. However, DIY tool calibration isn’t as simple as just checking a ruler or twisting a knob. It requires the right equipment, knowledge of common pitfalls, and a careful, step-by-step approach to ensure your tools deliver trustworthy results. In this deep-dive guide, you’ll learn how to avoid the most frequent calibration mistakes, budget smartly for calibration essentials, and follow best practices for setting up your own DIY tool calibration routine. Whether you’re new to DIY or aiming to take your home workshop to the next level, mastering calibration will save you time, reduce frustration, and help you tackle every project with confidence.
Why DIY Tool Calibration Matters for Home Projects
Accurate measurements and torque settings are non-negotiable for safe, successful home repairs. When a stud finder, torque wrench, or multimeter is even slightly off, it can lead to misaligned shelves, faulty electrical repairs, or leaky plumbing. Proper calibration ensures:
- Safety: Prevents over-tightening or under-tightening fasteners, reducing accident risks.
- Quality: Guarantees precision in cuts, measurements, and installations for professional-looking results.
- Tool Longevity: Reduces wear, prevents damage from improper use, and extends tool lifespan.
- Cost Savings: Avoids rework or expensive repairs due to inaccurate tools.
Beginner Calibration Mistakes to Avoid
1. Skipping Reference Standards
Attempting calibration without a verified reference (like a certified weight or voltage source) is the fastest way to introduce error. Always use a known, trusted standard that exceeds the accuracy of your tool.
2. Neglecting Environmental Conditions
Temperature, humidity, and even altitude can affect calibration outcomes. For example, metal rulers expand or contract with heat; digital tools may drift in humidity. Calibrate in a stable, moderate environment for best results.
3. Failing to Document Calibration
Without records, it’s impossible to track tool accuracy over time. Always log the date, reference used, results, and any adjustments made for each calibration session.
4. Overlooking Tool Cleanliness
Dirt, debris, and corrosion can throw off measurements. Clean and inspect tools thoroughly before calibration—especially for precision devices like calipers and torque wrenches.
5. Relying on Uncalibrated Calibration Tools
Using a miscalibrated reference tool will only compound errors. Verify or replace reference standards regularly, or have them professionally checked annually.
6. Improper Handling During Calibration
Rough handling, sudden shocks, or holding tools with warm hands can skew results. Support tools gently, avoid fingerprints on sensitive surfaces, and use gloves if needed.
Budgeting for DIY Calibration: Essential Equipment & Cost Breakdown
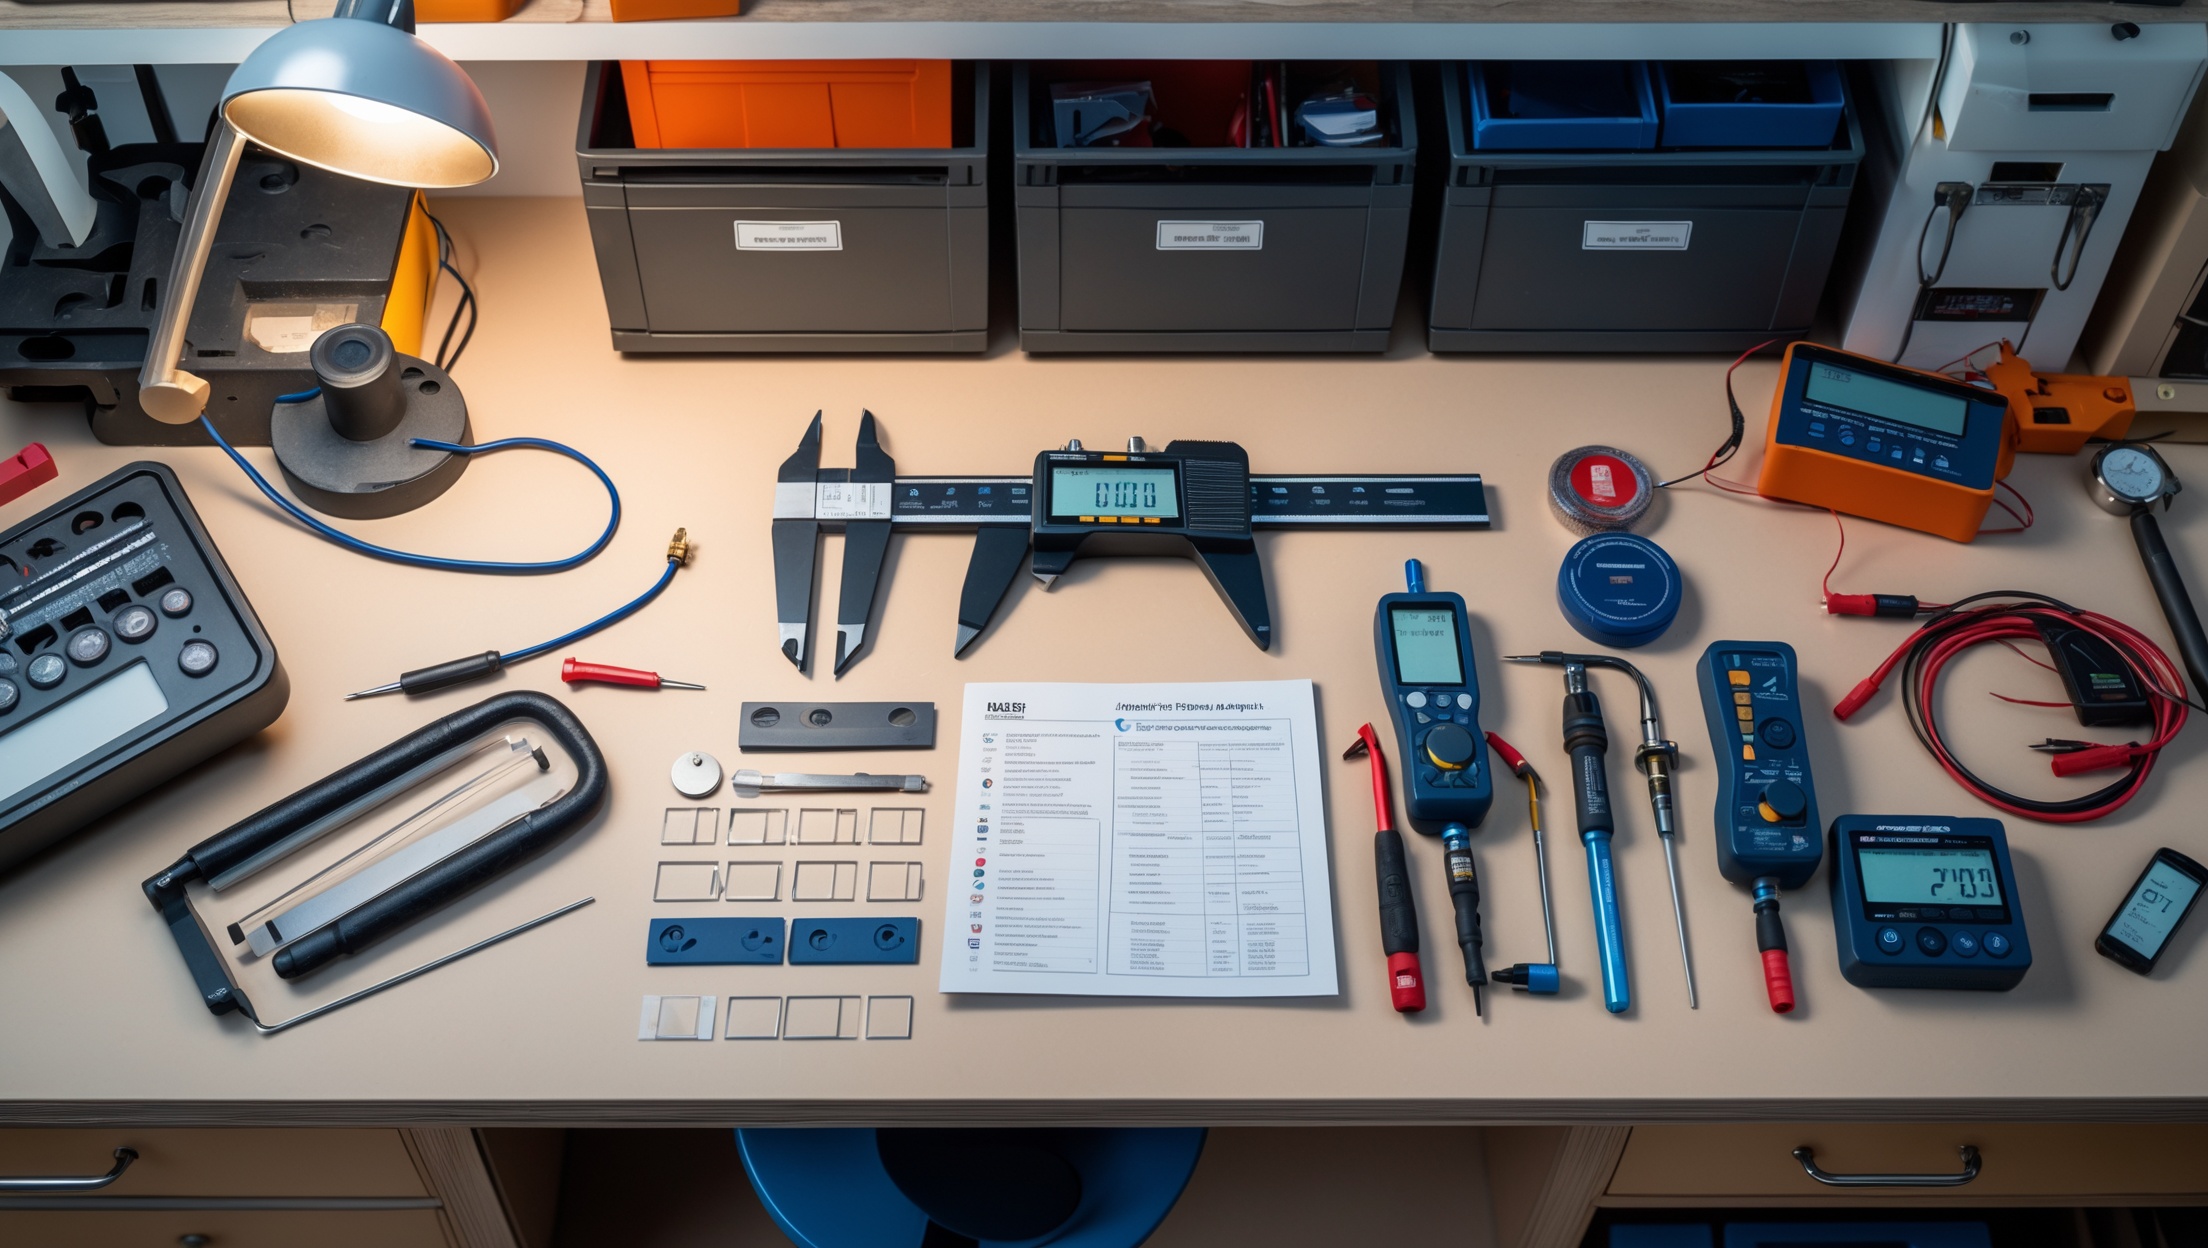
Establishing a home calibration setup doesn’t require a huge investment, but smart budgeting ensures you get reliable results without overspending. Here’s a breakdown of must-have equipment, nice-to-haves, and typical costs:
Must-Have Calibration Tools
- Reference Standards
- Precision rulers or gauge blocks (for linear tools) — $20–$80
- Certified weights (for scales, torque wrenches) — $15–$50 per set
- Voltage reference source (for multimeters) — $25–$100
- Cleaning Supplies (alcohol wipes, soft brushes) — $5–$15
- Notepad or Digital Logbook — Free–$20
- Protective Gloves — $5–$15
Nice-to-Have Additions
- Anti-static mat (for delicate electronics) — $10–$30
- Temperature and humidity gauge — $10–$25
- Dedicated calibration tray or case — $20–$40
Total Estimated Startup Cost
- Basic setup: $50–$150
- Comprehensive setup: $120–$300
Compare this with professional calibration, which can cost $30–$80 per tool annually. If you own several precision tools, DIY calibration pays for itself in just a year or two.
Step-by-Step: DIY Calibration for Common Home Tools
Below, you’ll find best practices for calibrating the most common tools in a home workshop: tape measures, torque wrenches, digital calipers, and multimeters. Adapt these steps for other equipment as needed.
Calibrating Tape Measures and Rulers
- Lay your tape or ruler on a flat, clean surface alongside a certified steel ruler or gauge block.
- Align the zero marks precisely, using a magnifier if required.
- Compare markings at several intervals (e.g., 1″, 6″, 12″). Note any deviation.
- If discrepancies exceed 1/32″ (or 1 mm), mark the tool as “out of calibration” and replace or adjust if possible.
- Document results, including tool serial number and reference used.
Calibrating a Torque Wrench
- Obtain a known-weight object and a sturdy fixture (like a vise or bench).
- Set the wrench to a specific torque value (e.g., 20 Nm).
- Attach the wrench to a horizontal arm, hang the weight at a measured distance from the handle to apply the equivalent torque (Torque = Force x Distance).
- See if the wrench clicks/releases at the correct applied torque.
- If not, adjust the calibration screw (if available) per the manufacturer’s instructions.
- Repeat at several torque settings, and log each result.
Calibrating Digital Calipers
- Clean the jaws with alcohol and a lint-free cloth.
- Close the jaws and zero the display.
- Use gauge blocks (or a precision reference object) to check measurements at 0.5″, 1″, and 2″ (or metric equivalents).
- Record deviations. If outside of ±0.001″ (±0.02 mm), recalibrate per the manufacturer’s procedure or replace if non-adjustable.
- Document calibration date and reference used.
Calibrating a Multimeter
- Set up a voltage reference source (or use a fresh battery of known voltage).
- Connect probes to the reference, set the multimeter to the correct range.
- Compare displayed voltage/current/resistance to the known value.
- Adjust using the calibration screw or digital controls, if available.
- Test at multiple points (e.g., 1V, 5V, 9V).
- Record all results and adjustments.
Best Practices for Ongoing Calibration Success
- Set a Schedule: Calibrate precision tools every 6–12 months, or after any drop, impact, or suspected inaccuracy.
- Store Properly: Keep tools and references in a dry, dust-free environment at moderate temperatures.
- Label Tools: Mark the last calibration date and due date for quick reference.
- Replace References: Replace or professionally check your reference standards annually.
- Don’t Guess: If a tool can’t be calibrated or adjusted, replace it rather than risk an inaccurate repair.
Case Study: Homeowner Saves Hundreds with DIY Calibrations
Emily, an avid DIYer, noticed her floating shelves weren’t level despite careful measurements. She discovered her tape measure was off by nearly 1/8″ over three feet. After investing $80 in gauge blocks and a voltage reference, she calibrated her tape, digital caliper, and multimeter. Over two years, she avoided three professional calibrations ($210 in savings), eliminated frustrating project rework, and gained confidence in her results. Emily now logs all calibrations in a spreadsheet and has never had another crooked shelf or faulty electrical fix.
FAQ: DIY Tool Calibration
What tools really need calibration at home?
Any tool with a measurement or setting that affects safety or accuracy—tape measures, torque wrenches, digital calipers, and multimeters—should be calibrated periodically.
Can I use household objects as reference standards?
For rough checks, yes (e.g., a new AA battery for voltage), but for real calibration, only use certified, traceable standards to avoid compounding errors.
How do I know if my tool needs professional calibration?
If your tool is critical for safety (e.g., electrical testers), or if you notice persistent errors after DIY calibration, send it to a professional. For most home tools, DIY is sufficient.
Conclusion: Make Calibration Part of Your DIY Routine
DIY tool calibration is a practical, cost-saving skill that pays dividends in every project you tackle. By understanding common mistakes—like skipping references, ignoring the environment, or neglecting documentation—you can avoid costly errors and ensure your tools perform at their best. With a modest investment in reference standards and a little time set aside each year, you’ll extend the life of your equipment, improve your project outcomes, and gain confidence in every measurement and setting. Remember: accuracy is the unseen foundation of quality home repairs and upgrades. Make calibration a regular part of your DIY routine, and you’ll save money, minimize frustration, and enjoy professional-grade results in every project, big or small.
Ready to get started? Begin by auditing your most-used tools and investing in a few key reference standards. Set a recurring reminder to check and log calibrations every six months. You’ll soon discover that this small habit pays off in smoother, safer, and more reliable home improvement success.