


Introduction: Why Tool Organization Matters for DIY Success
If you’ve ever wasted precious minutes hunting for a missing wrench or tripped over a tangled extension cord, you know that tool organization is more than just a matter of aesthetics—it’s a foundational element of safe, efficient, and enjoyable DIY projects. Well-organized tools save time, reduce frustration, and help extend the lifespan of your equipment. Whether you’re tackling quick home repairs, embarking on ambitious renovations, or simply maintaining your living space, a thoughtfully arranged workspace can make all the difference. In this guide, we’ll explore practical storage solutions, layout strategies, and ongoing maintenance habits tailored specifically for DIYers. By the end, you’ll have actionable steps to transform your tool chaos into an orderly, productive haven—no matter the size of your home or budget.
Assessing Your Space and Tool Collection
Step 1: Take Inventory
Start by gathering every tool, accessory, and piece of equipment you own. Lay them out on a large surface or the floor. Group items by type: hand tools, power tools, measuring devices, fasteners, and specialty gadgets. This visual inventory helps you:
- Identify duplicates or broken items to purge or repair.
- Spot missing essentials you may need to acquire.
- Understand the volume and variety of storage you’ll require.
Step 2: Evaluate Your Workspace
Consider the area you have available for tool storage—garage, basement, shed, utility closet, or even a spare room. Measure dimensions, noting ceiling height, wall space, and accessibility concerns. Check for moisture, temperature swings, and exposure to dust or pests, all of which influence storage choices and maintenance needs.
Step 3: Map Your Workflow
Think about how you use your tools. Frequently used items should be within easy reach, while seasonal or specialty tools can be stored higher up or farther away. Map zones for:
- Quick access (screwdrivers, tape measures, utility knives)
- Project prep (drills, saws, fasteners)
- Maintenance and cleaning (oils, brushes, rags)
- Rarely used equipment (tile cutter, stud punch, pipe bender)
Clever Storage Solutions for DIYers
Wall-Mounted Pegboards and Slatwalls
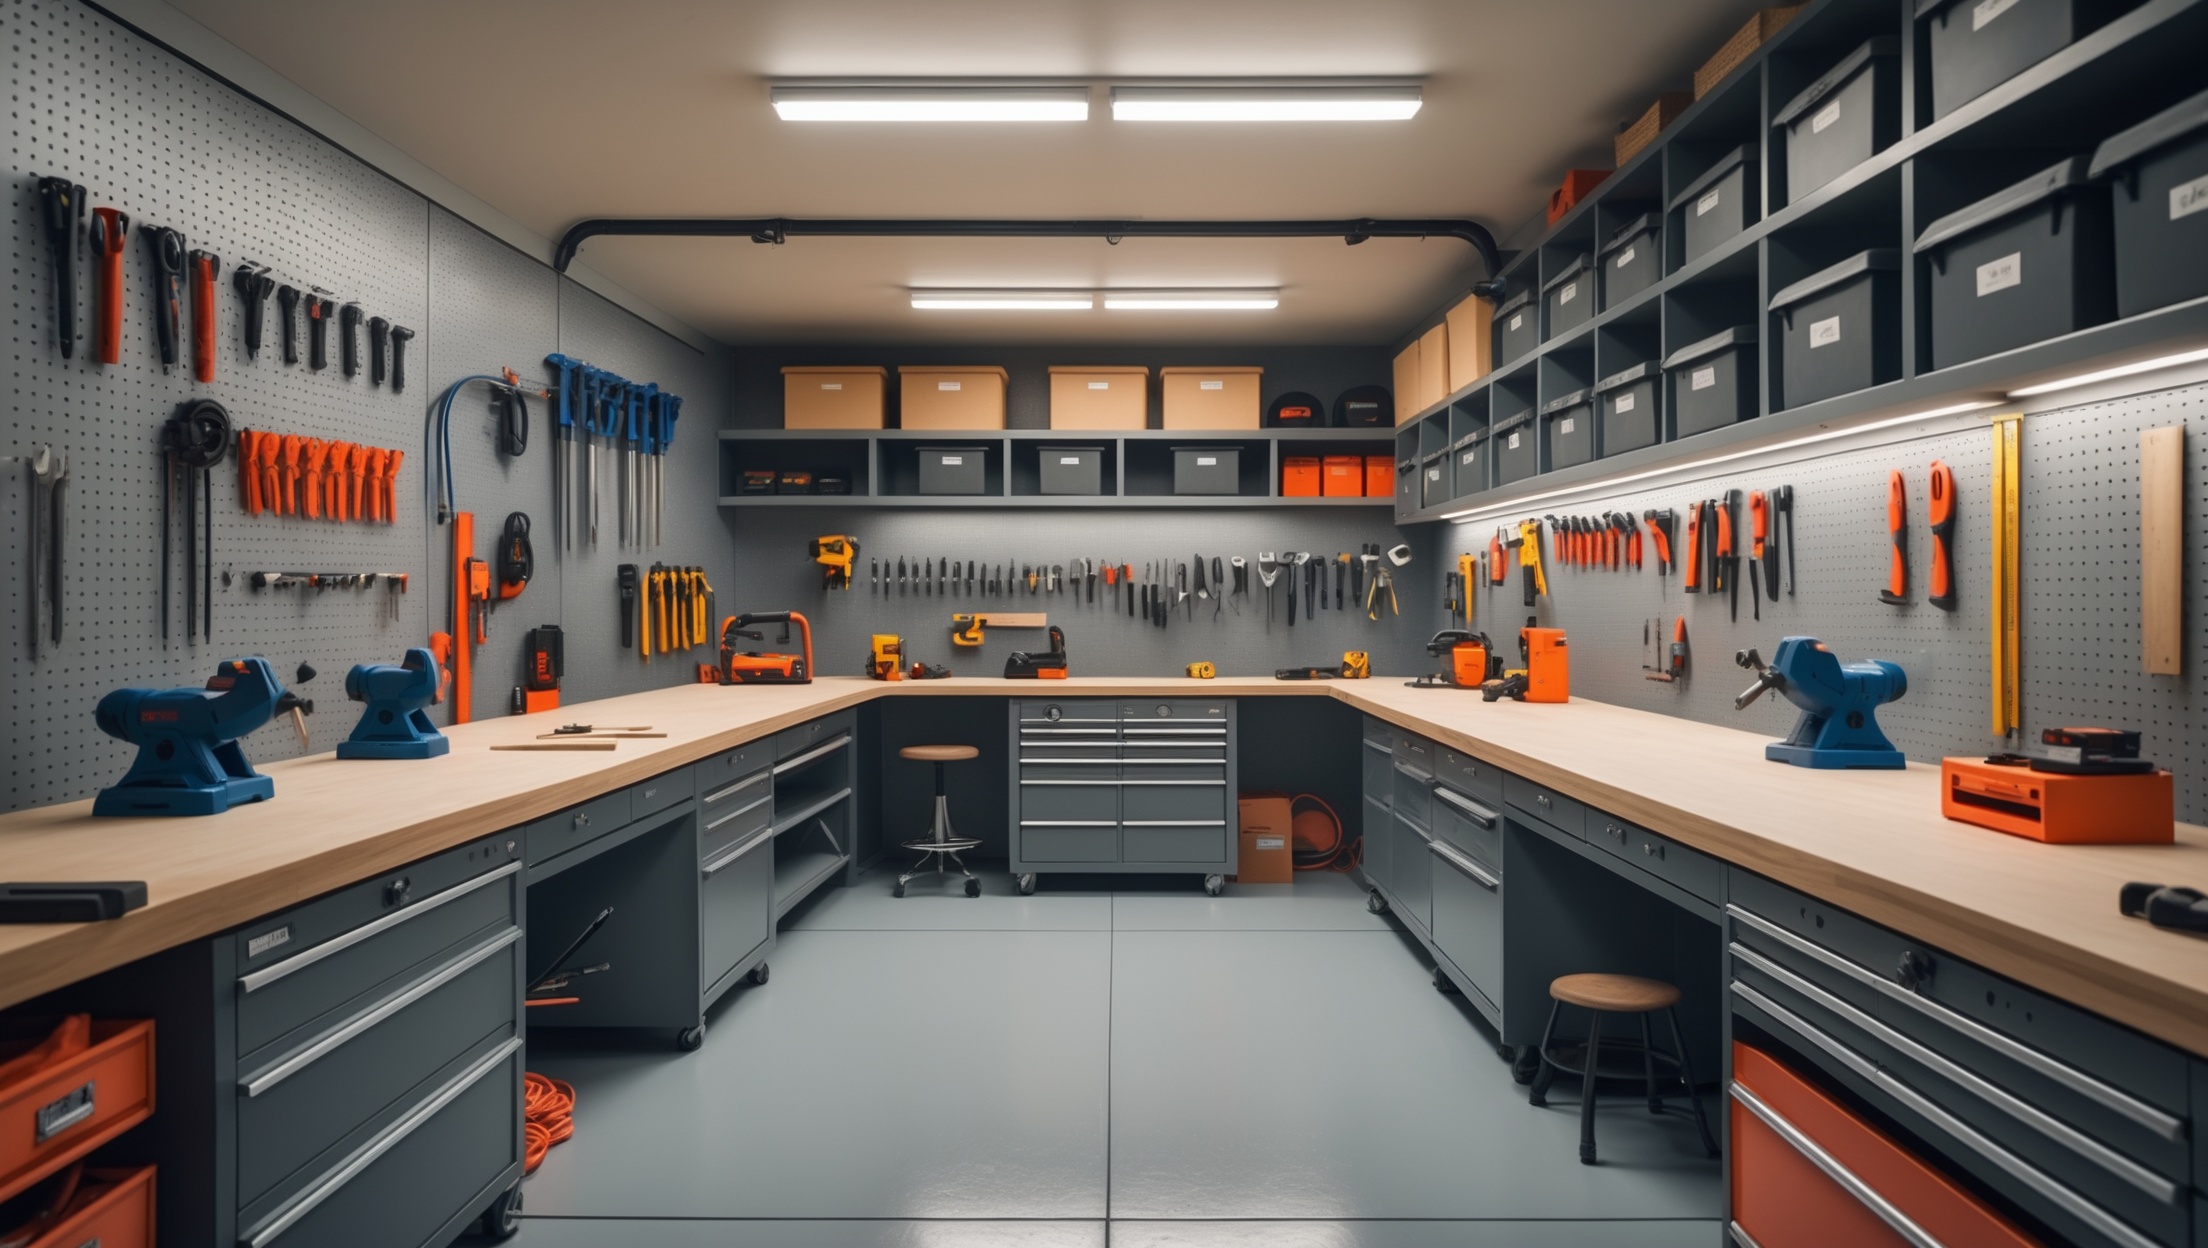
Pegboards and slatwall panels are classic for a reason: they turn any vertical surface into a customizable storage hub. Invest in sturdy panels and compatible hooks, bins, and shelves. Arrange tools by category or size, and outline shapes with marker or painter’s tape for quick re-hanging. For heavier tools, opt for reinforced steel pegboards or slatwall with locking hooks.
Magnetic Tool Holders
Magnetic strips and bars are invaluable for metal hand tools—think screwdrivers, pliers, wrenches, and chisels. Mount them above your workbench or inside cabinet doors for instant, visible access. Make sure the magnets are strong enough to hold your heaviest tools safely.
Storage Cabinets and Drawers
Lockable cabinets protect power tools, batteries, and sensitive electronics from dust, moisture, and unauthorized access (especially important for homes with kids or pets). Drawer organizers, foam inserts, and adjustable dividers keep small parts sorted and prevent jumbled messes.
Rolling Tool Chests and Carts
For larger collections or multi-zone workspaces, invest in a rolling tool chest or cart. Look for models with ball-bearing slides, deep drawers, and sturdy casters. Mobile carts are ideal for bringing your essential tools to the project site, saving countless trips and reducing clutter.
Open Shelving and Stackable Bins
Heavy-duty shelving units accommodate bulky items like compressors, miter saws, or paint cans. Clear, labeled bins make it easy to spot hardware, fasteners, and accessories at a glance. Choose stackable, modular bins for flexible seasonal or project-based sorting.
Ceiling and Overhead Storage
Maximize vertical space by installing overhead racks for less frequently used items: ladders, extension cords, and long levels. Use heavy-duty hooks or pulley systems for safe access and to prevent damage from ground-level storage.
DIY Storage Hacks
- Old Jars and Cans: Screw mason jar lids under shelves for easy access to small hardware.
- PVC Pipe Sections: Mounted on walls, they make perfect holders for screwdrivers, chisels, or glue bottles.
- Repurposed Shoe Organizers: Hang on doors for spray cans, extension cords, or handheld gadgets.
- Magnetic Spice Tins: Store small screws, washers, or bits on a metal surface.
Layout Strategies for Maximum Efficiency
Work Triangle Principle
Borrowed from kitchen design, the work triangle concept groups your main workbench, tool storage, and material supply areas within a few steps of each other. This minimizes unnecessary movement and streamlines project flow.
Task-Based Zoning
Organize your space in zones based on common DIY activities:
- Assembly/Work Area: Clear bench with lighting and outlets.
- Cutting/Sanding Area: Near dust collection, with easy access to saws and sanders.
- Finishing Area: Away from dust, for painting or staining with protective gear nearby.
- Tool Charging Station: Dedicated shelf or counter with surge-protected power strip for batteries and chargers.
Safety and Accessibility
Keep first-aid kits, fire extinguishers, and eye/ear protection visible and within arm’s reach. Store hazardous chemicals or sharp tools out of reach of children and pets, ideally in locked cabinets. Mark clear walkways and keep floors unobstructed to prevent trips and falls.
Labeling and Visual Management
- Use clear, consistent labels on drawers, bins, and shelves.
- Color-code storage for different tool types or project categories.
- Consider laminated tool checklists or shadow boards for quick visual inventory.
Maintenance Strategies for Long-Lasting Organization
Routine Tool Cleaning
Set a recurring schedule (monthly or after major projects) to clean dust, grease, and debris from tools. Wipe down handles, check for rust, and lubricate moving parts. Clean tools before returning them to storage to prevent corrosion and cross-contamination.
Regular Inventory Checks
Every few months, re-inventory your tool collection. Remove duplicates, set aside broken items for repair or recycling, and make a list of missing or depleted supplies. This habit ensures you’re never caught off-guard in the middle of a project.
Seasonal Reorganization
Adjust your storage layout with the seasons. Move snow shovels, ice melt, or winterizing tools forward in autumn; rotate in garden and lawn care tools for spring and summer. This keeps your workspace relevant and saves time searching for seasonal equipment.
Battery and Cord Management
- Store batteries at room temperature and keep chargers in a dust-free, ventilated area.
- Wind extension cords using hooks or reels to prevent tangling and damage.
- Label cords for purpose or length to avoid confusion during setups.
Tool Sharpening and Calibration
Set up a sharpening and calibration station for blades, drill bits, and measuring tools. Regularly check levels, squares, and gauges for accuracy—misaligned tools can lead to costly mistakes and safety hazards.
Cost-Breakdown: Organizing on Any Budget
Entry-Level Solutions
- Pegboard panels: $20–$40 per 2×4 ft section
- Plastic bins and totes: $2–$10 each
- DIY magnetic strips: $10–$20
- Repurposed jars, cans, and organizers: Often free
Mid-Range Upgrades
- Rolling tool cabinets: $150–$400
- Heavy-duty shelving units: $75–$200
- Modular drawer organizers: $25–$50
- Wall-mounted slatwall systems: $100–$300
High-End Solutions
- Custom cabinetry with locking drawers: $500–$2,000+
- Overhead ceiling racks: $150–$400
- Integrated dust collection and charging stations: $300–$800
Remember, many creative solutions—like upcycled containers or DIY wall hooks—can keep costs low while delivering high utility. Prioritize spending on safety and long-term durability.
Beginner Mistakes to Avoid
- Overcrowding storage: Cramming tools into tight spaces leads to damage and makes retrieval difficult. Leave room for growth and easy access.
- Storing tools dirty or wet: Moisture and grime cause rust, corrosion, and premature wear. Always clean and dry before storing.
- Neglecting label systems: Unlabeled bins or drawers lead to wasted time and misplaced equipment.
- Ignoring weight limits: Overloading shelves or pegboards risks collapse and injury. Follow manufacturer guidelines.
- Storing batteries or electronics in extreme conditions: Heat, cold, or humidity can degrade performance and safety.
- Letting clutter accumulate: Schedule regular purges and reorganizations to stay on top of tool sprawl.
Case Study: From Cluttered Chaos to DIY Oasis
Meet Mark, a weekend warrior whose garage had become a minefield of scattered tools, tangled cords, and lost fasteners. After a frustrating afternoon spent searching for his circular saw, Mark decided to overhaul his workspace. He started by inventorying his collection, discovering he owned three hammers (two broken) and a dozen duplicate screwdrivers. He repurposed wall space for a pegboard, hung magnetic strips above his workbench, and invested in clear bins for hardware. By labeling everything and setting up a monthly cleaning schedule, Mark cut his project prep time in half and reduced tool loss to zero. The transformation didn’t require a fortune—just some planning, a few key purchases, and a commitment to ongoing organization.
Conclusion: Make Organization Your DIY Superpower
Efficient tool organization is a force multiplier for every DIYer, boosting productivity, safety, and project enjoyment. By assessing your unique needs, investing in smart storage solutions, and adopting routine maintenance habits, you create a workspace that supports your ambitions instead of hindering them. Remember, the best system is one you’ll actually use—so start small, build incrementally, and don’t be afraid to customize as your skills and collection grow.
Whether you’re working from a sprawling garage or a compact closet, the principles of thoughtful layout, clear labeling, and regular upkeep apply. Prioritize accessibility for your most-used tools, leverage vertical and hidden spaces, and allocate budget where it counts: on durable, safe storage. Avoid common pitfalls by staying vigilant about clutter and maintenance, and take inspiration from real-world successes like Mark’s transformation.
With a well-organized tool setup, you’ll spend less time searching and more time building, repairing, and creating the home you envision. Make organization your DIY superpower, and watch every project become smoother, safer, and more satisfying from start to finish.