

Introduction: Why Oscillating Multi-Tools Are a DIY Game Changer
Oscillating multi-tools have quietly revolutionized the world of home repairs, maintenance, and upgrades. Once considered a professional’s secret weapon, these tools are now accessible, affordable, and incredibly versatile for homeowners and DIY enthusiasts. Whether you’re trimming door jambs, removing grout, scraping old paint, or making precise plunge cuts in wood or drywall, an oscillating multi-tool can tackle tasks that would otherwise require a whole toolbox. But with dozens of models, a wide range of attachments, and varying price points, choosing and using the right oscillating multi-tool can be daunting, especially for beginners. In this comprehensive guide, you’ll learn not just how to pick the perfect tool for your needs, but also how to use it safely and efficiently, avoid costly mistakes, and keep it running smoothly for years. By the end, you’ll be ready to harness the full potential of this indispensable gadget, making your next round of home repairs and upgrades smoother, faster, and more satisfying.
Understanding Oscillating Multi-Tools: What Makes Them Essential?
What Is an Oscillating Multi-Tool?
An oscillating multi-tool, often simply called a multi-tool or “oscillator,” is a compact, hand-held power tool that uses rapid side-to-side movements (3° or less) to operate a wide array of attachments. Unlike rotary or reciprocating tools, the oscillation allows for precise control and less dust or debris during cutting, sanding, scraping, and grinding. With the right accessory, a single multi-tool can replace several specialized tools, saving storage space and money.
Common DIY Applications
- Cutting door trim and jambs for new flooring
- Removing grout between tiles
- Flush-cutting nails, screws, and pipes
- Scraping adhesives, caulk, or paint
- Detail sanding in tight spaces
- Plunge cutting drywall for electrical boxes
- Trimming wood, plastic, or metal in awkward spots
Beginner Mistakes to Avoid When Selecting a Multi-Tool
1. Underestimating Power Needs
Many homeowners grab the cheapest multi-tool they see, only to struggle with slow cuts or frequent overheating. Pay close attention to the amperage (corded) or voltage (cordless): for general DIY, a 3–4 amp corded tool or an 18V cordless model provides ample power for most tasks. Lower-powered models may suffice for light sanding or caulk removal but will falter on tougher jobs like plunge cutting hardwood or metal.
2. Ignoring Attachment Compatibility
Not all multi-tools accept every blade or sanding pad. Some brands use proprietary mounting systems, limiting your options. Look for tools with a “universal” or “open arbor” accessory interface. Adapters are available, but can be fiddly or less secure. Before purchase, check both the tool and the attachments you’re likely to use.
3. Overlooking Ergonomics and Vibration Control
Oscillating tools create high-frequency vibration. Skipping hands-on testing or ignoring reviews about comfort can lead to fatigue or tingling fingers. Look for ergonomic handle designs, rubber overmolds, and vibration-dampening features—especially if you have larger projects in mind.
4. Forgetting About Speed Control
Variable speed settings are crucial for adapting to different materials. High speeds cut faster but can burn wood or wear blades. Lower speeds offer precision and reduce melting when working with plastics. Avoid models with a single speed unless you’re only tackling one type of task.
5. Skipping the Accessory Starter Kit
Some budget tools include few or no attachments, forcing you to buy them separately at a premium. A good starter kit should have a wood/metal blade, a scraper, a sanding pad with assorted papers, and (optionally) a grout removal blade. Assess what’s included before making your final decision.
Comparing Top Oscillating Multi-Tools for Home DIY
Key Features to Assess
- Power Source: Corded for unlimited runtime; cordless for portability.
- Accessory Change Mechanism: Tool-free (lever or quick-release) is far more convenient than hex or Allen keys.
- Oscillation Angle: Wider angle (3°–4°) means faster cuts; narrower angle (1.5°–2°) offers more control.
- No-Load Speed: Typically measured in OPM (oscillations per minute); 10,000–20,000 OPM is standard.
- Included Accessories: More is better for beginners.
- Build Quality: Metal gearing and durable housings outlast plastic-heavy budget models.
Sample Model Comparison
- DeWalt DWE315K (Corded): 3.0 amps, 22,000 OPM, tool-free accessory change, variable speed, robust build, excellent vibration control, comes with 29-piece accessory kit.
- Makita XMT03Z (Cordless): 18V, 6,000–20,000 OPM, tool-free blade change, compatible with wide range of attachments, sold as bare tool or in kits.
- Rockwell Sonicrafter F80: 4.2 amps (corded), dual oscillation angles (5° and 3.4°), tool-less accessory change, includes 10 accessories, powerful for the price.
- Fein MultiMaster MM 500: 350W (corded), tool-free quick-change, legendary durability and vibration control, premium price, professional-grade performance.
- Budget Pick: Porter-Cable PCE605K52: 3.0 amps (corded), tool-free system, 52 accessories included, good value for entry-level users.
When comparing, balance your budget with the tool’s expected workload and your preferred convenience features. For most DIYers, mid-range models offer the best mix of value and performance.
Essential Attachments and Their Uses
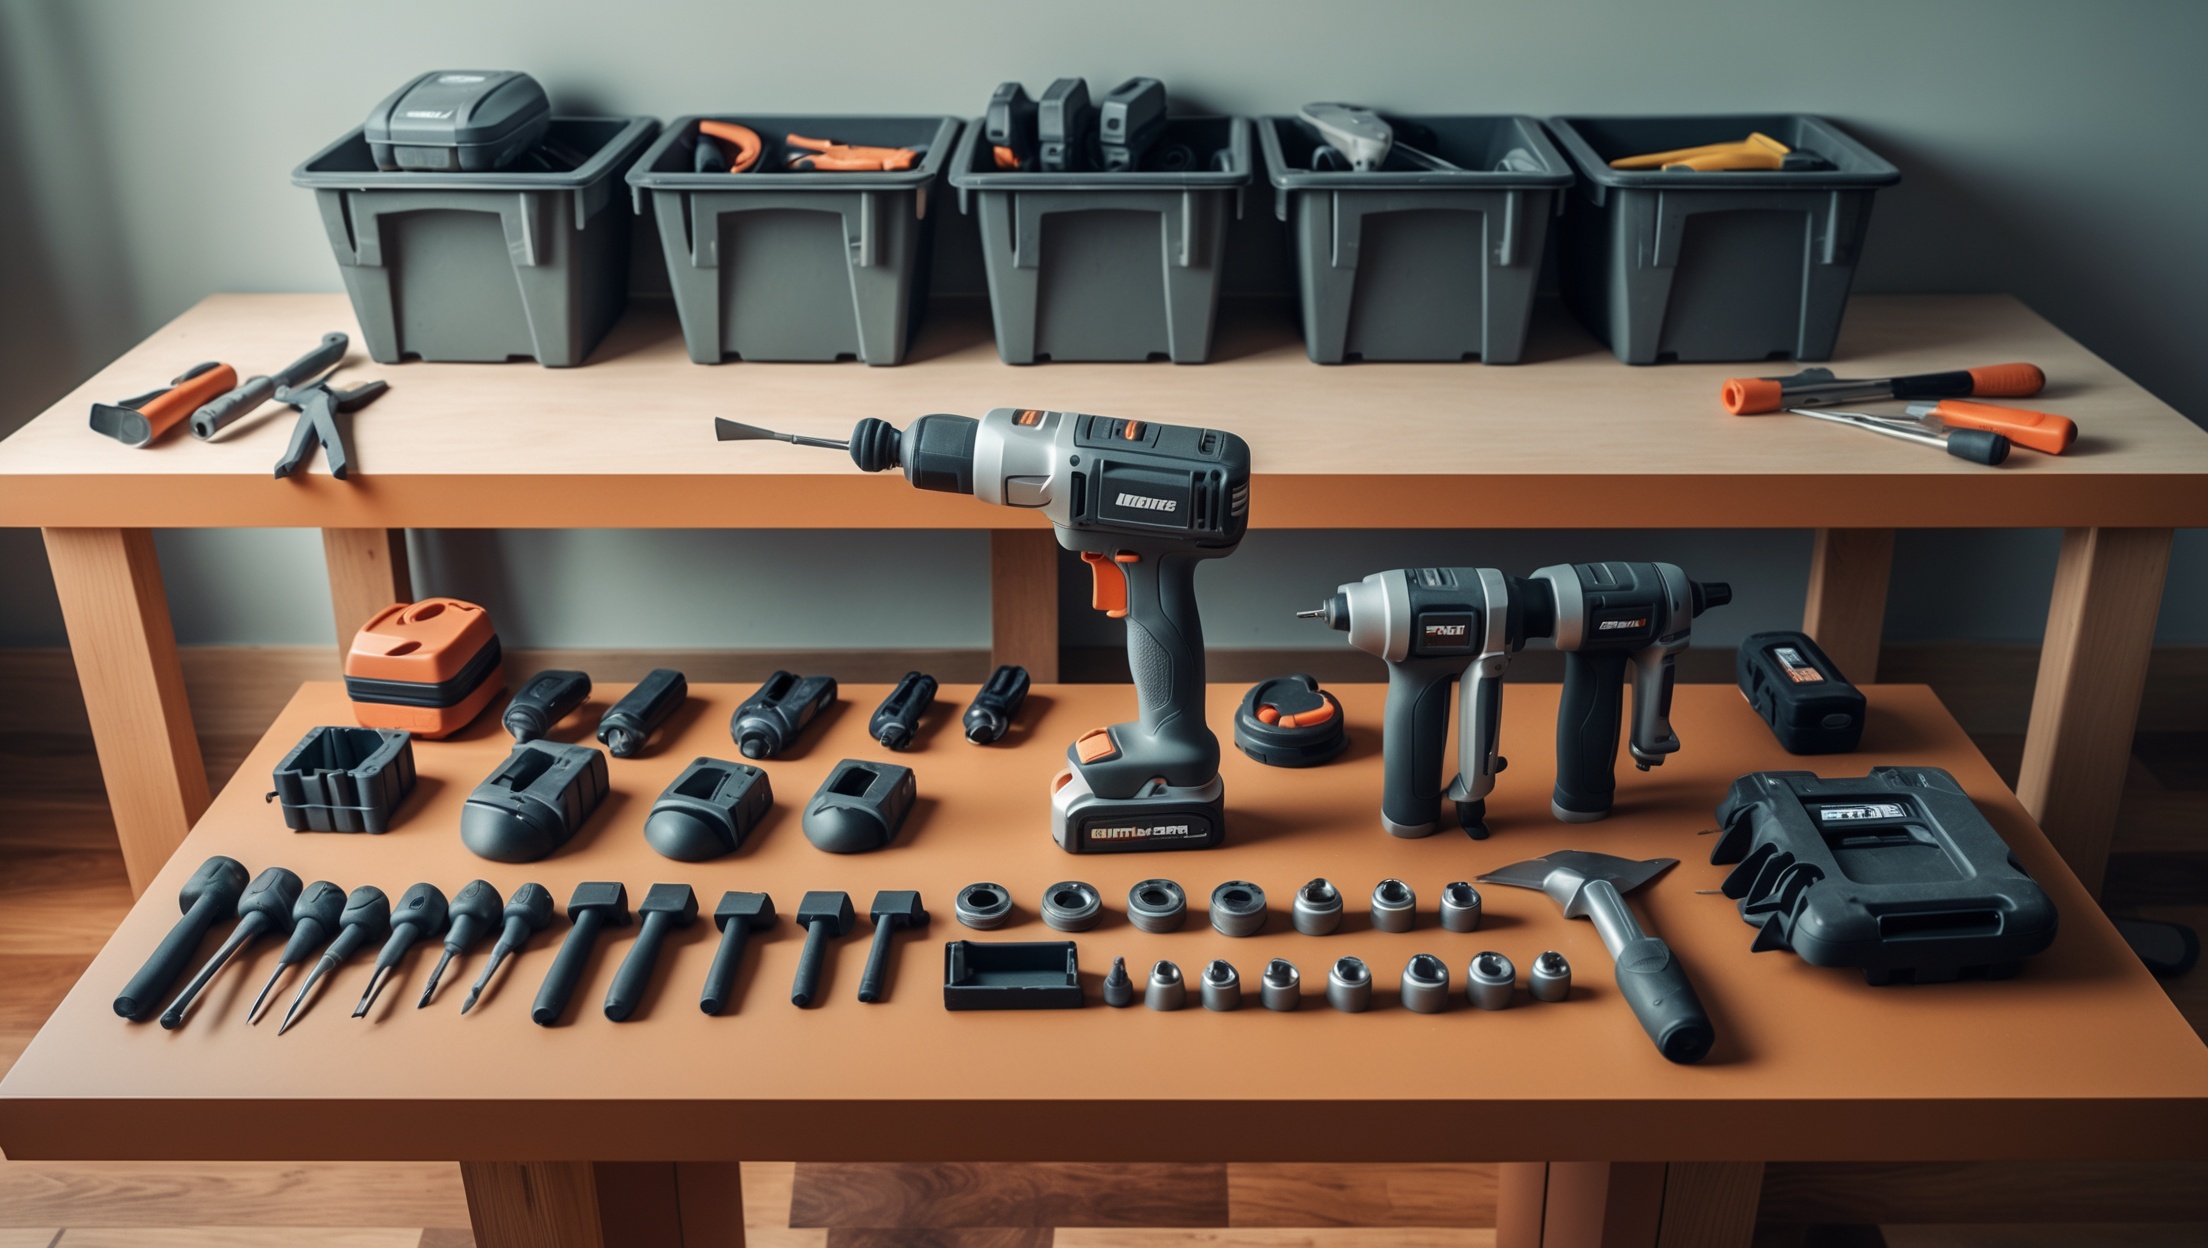
Must-Have Blades and Accessories
- Wood/Metal Plunge-Cut Blade: For cutting wood, drywall, plastic, and softer metals flush to surfaces or in tight spaces.
- Semi-Circle Saw Blade: For longer, straight cuts in flooring, trim, or paneling.
- Rigid and Flexible Scrapers: For removing old paint, adhesive, caulk, or flooring.
- Grout Removal Blade: Tungsten carbide-tipped for cleaning out tile grout lines.
- Sanding Pad and Paper: Triangular shapes fit into corners for detailed sanding; various grits available.
- Flush-Cut Metal Blade: For cutting nails, screws, or copper pipe ends.
Tips for Choosing Quality Blades
- Buy from reputable brands for longevity and safety.
- Consider carbide or bi-metal blades for tougher materials.
- Match blade shape and tooth design to your project (fine-tooth for clean cuts, aggressive for demolition).
- Stock up on extra blades if you plan to cut metal or other abrasive materials.
Step-by-Step: Setting Up Your Oscillating Multi-Tool
1. Safety First
- Always unplug or remove the battery before changing attachments.
- Wear safety glasses, ear protection, and a dust mask when cutting or sanding.
- Use gloves for tasks involving adhesives or sharp materials.
2. Installing Attachments
- Engage the tool-free lever or unscrew the attachment bolt (per your model’s instructions).
- Align the accessory holes or notches with the tool’s drive head.
- Secure the blade or pad firmly—loose attachments may slip or cause uneven cuts.
3. Setting Speed and Oscillation Angle
- Adjust the variable speed dial to match your material (lower for plastic or delicate wood, higher for metal or demolition).
- Select the appropriate oscillation angle if your tool offers the option (wider for cutting, narrower for sanding or detail work).
4. Workspace Prep
- Clear the area of debris and tripping hazards.
- Clamp any loose workpieces securely to prevent movement.
- Mark cut lines or grout removal areas clearly with pencil or masking tape.
Pro Tips for Accurate, Clean Cuts and Finishes
Blade Control and Technique
- Let the tool do the work—don’t force the blade into the material. Excess pressure wears out blades and risks kickback.
- Start at the lowest speed to gain control, then increase as needed.
- For plunge cuts, tip the blade into the material at a shallow angle and gently rock back and forth.
- Keep the blade moving along the cut line to avoid overheating or burning.
Managing Dust and Debris
- Use a shop vacuum with a narrow nozzle to collect dust at the source.
- For sanding, attach a dust extraction adapter if available.
- Work in a well-ventilated area and clean up promptly to prevent slipping hazards.
Extending Accessory Life
- Let blades and sandpaper cool between uses to prevent warping or clogging.
- Clean resin or adhesive from blades after each use with mineral spirits.
- Inspect for dullness, cracks, or missing teeth before each project.
Maintenance Best Practices for Longevity
Routine Cleaning
- Brush or blow out dust from vents and moving parts after every use.
- Wipe the housing with a damp cloth; avoid soaking electrical components.
Lubrication and Inspection
- Some models require periodic lubrication of the drive head—refer to your manual.
- Check power cords or battery terminals for fraying, corrosion, or loose connections.
- Replace worn brushes or contact pads as recommended by the manufacturer.
Storage Tips
- Store in a dry, dust-free area to prevent rust or electronics damage.
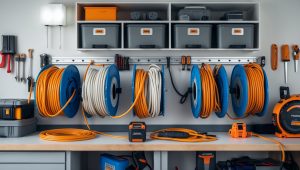
- Keep all attachments in labeled bins or a dedicated case for quick access.
- Charge batteries fully before long-term storage, and cycle them every few months to maintain lifespan.
Cost Breakdown and Budgeting for Homeowners
Initial Investment
- Basic Corded Model with Starter Kit: $60–$100
- Mid-Range Cordless Kit (with battery and charger): $120–$200
- Premium/Professional-Grade: $200–$350+
Accessory Costs
- Individual blades: $8–$25 each (depending on type and quality)
- Multi-piece blade sets: $25–$60
- Sanding pads and sheets: $8–$20 per pack
Long-Term Value
While the upfront cost can seem high, multi-tools pay for themselves by replacing several niche tools and enabling more precise DIY work, which cuts down on wasted materials and contractor fees. For most homeowners, a $120–$200 investment covers all but the most demanding renovation needs.
Safety Checklist: Avoiding Common Multi-Tool Hazards
- Inspect all attachments before use; never use cracked or damaged blades.
- Always disconnect power before switching accessories.
- Use eye, ear, and respiratory protection.
- Keep hands clear of the blade path and hot surfaces.
- Don’t operate around flammable materials (sparks are possible).
- Keep cords and batteries dry and free from oil or debris.
- Let the tool cool after extended use to avoid burns or internal overheating.
Case Study: Real-World DIY Success With Oscillating Multi-Tools
Scenario: Replacing Damaged Floorboards
Maria, a first-time homeowner, discovered water damage to several tongue-and-groove hardwood floorboards. Instead of hiring a contractor, she invested in a mid-range oscillating multi-tool kit. Using a plunge-cut wood blade, she was able to make precise, flush cuts to remove only the damaged boards without disturbing the surrounding floor. The variable speed and thin blade allowed her to work right up to the baseboard. After minimal sanding, she installed new boards and saved over $500 in labor costs, completing the job in a single afternoon. The same tool later proved invaluable for trimming door casings to fit new carpet and scraping old adhesive from bathroom tile.
Conclusion: Unlocking Your DIY Potential With the Right Multi-Tool
Oscillating multi-tools are more than just another gadget—they’re a key to unlocking a world of home repairs, upgrades, and creative projects that might otherwise seem out of reach. By carefully selecting your tool and attachments, setting up your workspace for safety and efficiency, and following best practices for use and maintenance, you’ll maximize both your investment and your results. Avoiding common beginner mistakes—like underpowering your toolkit or neglecting safety—will save you frustration, time, and money in the long run.
With a little practice, you’ll be amazed at how many challenging repairs and upgrades you can tackle solo, from precision trim work to tough grout removal and beyond. As your skills grow, so will your confidence, and your multi-tool can evolve right along with you—thanks to the ever-expanding world of blades and attachments available. Start with a quality model, build your accessory collection as new needs arise, and keep your tool in top shape with regular care. The versatility, efficiency, and satisfaction you’ll gain are well worth the effort. Here’s to fewer calls to the handyman—and more DIY victories, one clean cut at a time!

When using an oscillating multi-tool for the first time, are there any attachments or features I should absolutely avoid as a beginner to prevent damaging either the tool or the project?
As a beginner, it’s best to avoid rigid scraping blades and aggressive carbide or diamond-coated attachments at first, since these can damage surfaces or be difficult to control. Stick with basic wood or metal cutting blades and sanding pads while you get used to the tool. Always make sure the attachment matches your project material and follow the manufacturer’s instructions to prevent accidents or damage.