Introduction: Why Laser Measuring Tools Are Game-Changers for DIYers
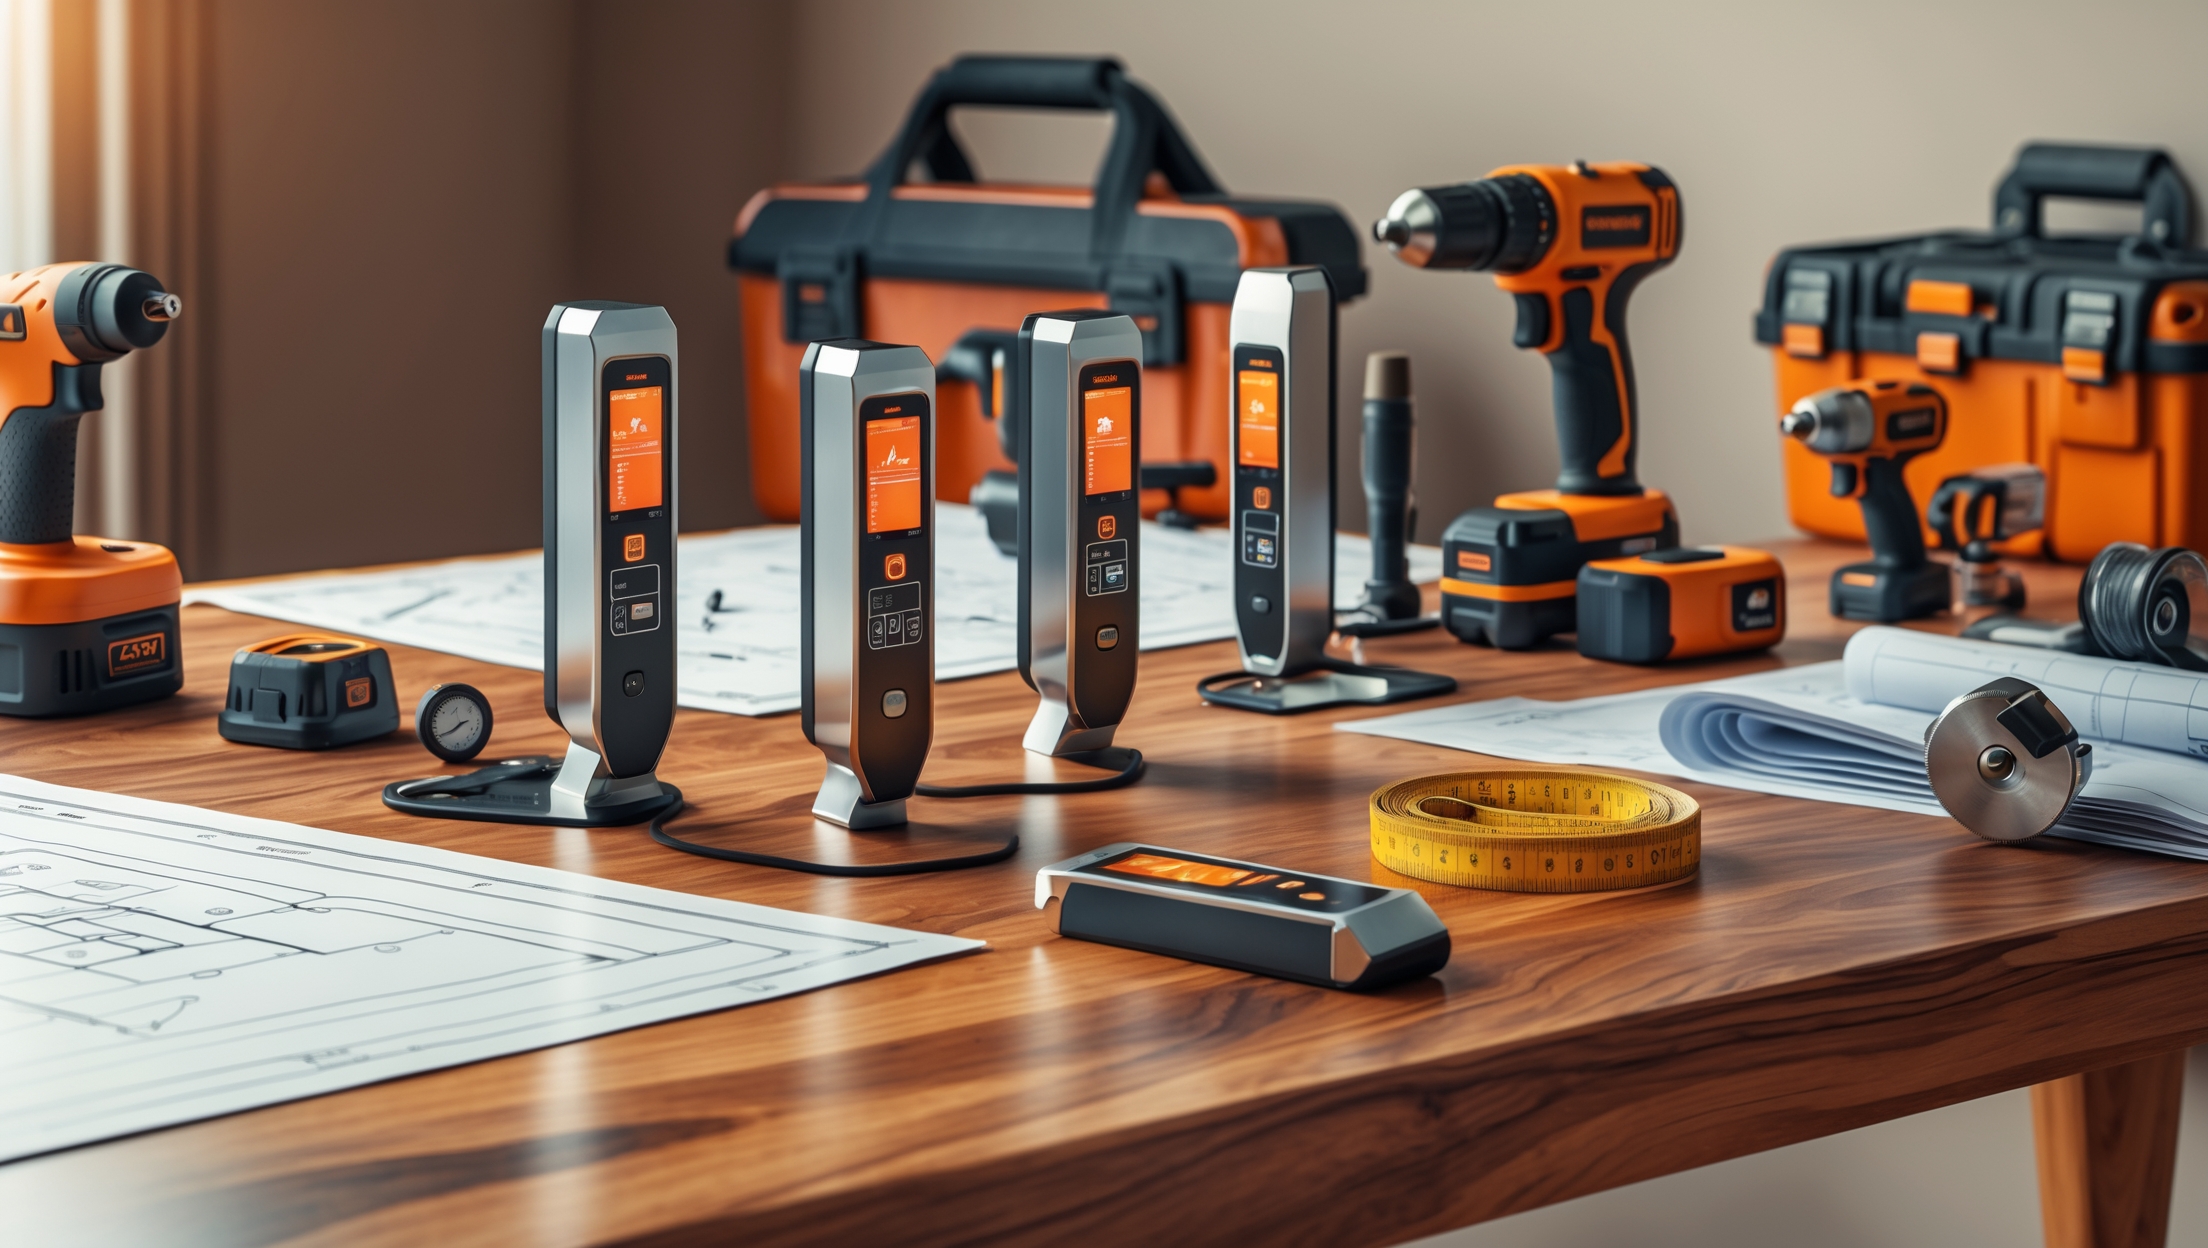
Whether you’re mounting shelves, laying new flooring, or planning a major renovation, precision is key. Traditional tape measures have served homeowners for centuries, but in recent years, laser measuring tools have rapidly gained popularity among both professionals and DIY enthusiasts. These compact devices offer fast, accurate distance measurements at the push of a button—no more wrestling with kinked metal tapes or estimating in tight spaces. But with a growing variety of models boasting differing features and price points, how do you choose the right laser measure for your needs? And once you’ve picked one, how can you maximize its accuracy and utility across a range of home projects?
This comprehensive guide dives deep into the world of laser measuring tools. We’ll compare top-rated models, review their pros and cons, explore real-world DIY applications, and share expert tips for avoiding common accuracy pitfalls. Whether you’re a first-time buyer or looking to upgrade, you’ll find practical advice to make your next measurement project simpler, faster, and more reliable.
Understanding Laser Measuring Tools: Core Features and How They Work
What Is a Laser Measuring Tool?
A laser measuring tool (sometimes called a laser distance meter or laser tape) is a handheld device that uses a laser beam to determine the distance between itself and a target. By calculating the time it takes for the laser to reflect off a surface and return, the tool can instantly compute distances—often to within a fraction of a millimeter.
Key Features to Consider
- Range: The maximum distance the device can accurately measure (typically 30–300 feet for consumer models).
- Accuracy: Most home models offer accuracy to within 1/16 or 1/8 of an inch.
- Units: Look for the ability to switch between metric and imperial measurements.
- Functionality: Basic models measure straight-line distances; advanced options add area, volume, Pythagorean calculations, and memory storage.
- Display: Backlit, legible screens are vital for dim workspaces.
- Durability: Water and dust resistance (look for IP ratings) and rugged casings for demanding environments.
- Battery Life: Rechargeable batteries are convenient, but some models use AA or AAA cells for easy replacement.
Top Laser Measuring Tools Reviewed: Performance, Pros, and Cons
Bosch GLM 50 C Bluetooth Laser Distance Measure
- Range: 165 feet
- Accuracy: ±1/16 inch
- Key Features: Color display, Bluetooth connectivity, area/volume/indirect measurements, memory storage.
- Pros: Intuitive controls, robust app integration, compact design.
- Cons: Bluetooth sync can be finicky; higher price point.
Leica DISTO D2 New
- Range: 330 feet
- Accuracy: ±1/16 inch
- Key Features: Bluetooth, area/volume/Pythagorean functions, memory for 10 measurements, small form factor.
- Pros: Extremely accurate, excellent build quality, pocket-sized.
- Cons: Pricey for DIYers; the display is less vibrant than some rivals.
Huepar 9211G Green Laser Measure
- Range: 131 feet
- Accuracy: ±1/16 inch
- Key Features: Green laser for improved visibility, area/volume/indirect measurement modes, IP54 dust/water resistance.
- Pros: Green laser easier to see in bright conditions, affordable, rugged.
- Cons: Shorter range; fewer advanced features.
Mileseey by RockSeed S2
- Range: 165 feet
- Accuracy: ±1/16 inch
- Key Features: Area/volume/Pythagorean calculations, IP54 rating, backlit display.
- Pros: Inexpensive, straightforward operation, solid accuracy.
- Cons: No Bluetooth or app integration; slower response time.
Comparison Table: Key Specs at a Glance
| Model | Range | Accuracy | Notable Features | Price Range (USD) |
|---|---|---|---|---|
| Bosch GLM 50 C | 165 ft | ±1/16 in | Bluetooth, color display, app | $100–$130 |
| Leica DISTO D2 | 330 ft | ±1/16 in | Bluetooth, compact, memory | $120–$170 |
| Huepar 9211G | 131 ft | ±1/16 in | Green laser, IP54 | $40–$55 |
| Mileseey S2 | 165 ft | ±1/16 in | IP54, backlit, no Bluetooth | $35–$50 |
Practical DIY Applications: Where Laser Measures Shine at Home
Room Dimensioning and Layout
Measuring wall-to-wall distances, ceiling heights, or total room area is fast and highly accurate with a laser measure. This is invaluable for furniture layouts, flooring projects, or calculating paint and flooring needs.
Hanging Shelves, Art, and Cabinets
Laser measures excel at quickly finding the precise distance between anchor points when mounting shelves, picture frames, or cabinets. Some models even let you measure indirectly if obstacles block a straight shot.
Estimating Materials for Renovation
Area and volume calculations help with ordering tiles, drywall, insulation, or paint. Many devices store multiple measurements, making it easy to tally up totals for complex spaces.
Outdoor Projects
Whether you’re plotting a deck, measuring fencing runs, or sizing up a garden shed, laser tools handle long outdoor distances that would be tedious (and less accurate) with a tape measure. Choose a model with a visible green laser for daylight work.
Leveling and Alignment
Some advanced laser measures double as basic levels, projecting straight lines for aligning tiles, backsplashes, or trim.
DIY Accuracy: Pro Tips for Getting Reliable Results
Common Accuracy Pitfalls
- Shaky Hands: Slight movements can skew readings, especially over long distances. Use both hands or a tripod for stability.
- Target Surfaces: Glossy, dark, or transparent surfaces can reflect lasers unpredictably. Place a piece of white paper or tape at the target point if needed.
- Obstructions: Anything blocking the laser’s path (furniture, moldings) will return a false short measurement. Double-check your line of sight.
- Measurement Reference Point: Some tools measure from the front, some from the back. Confirm your device’s settings before you start.
- Ambient Light: Bright sunlight can wash out the laser dot. Green lasers offer better outdoor visibility, or create shade when possible.
How to Calibrate and Test Your Laser Measure
- Compare a few short measurements (<6 feet) against a physical tape measure to confirm accuracy.
- Check both minimum and maximum ranges to ensure consistency.
- Reset or recalibrate per the manufacturer’s instructions if you notice discrepancies.
- Store your device in a protective case to avoid lens scratches.
Best Practices for Repeatable Results
- Always measure at a right angle to the target surface when possible.
- Take several readings and average them for critical measurements (like cabinetry or flooring cuts).
- Use the memory or note-taking features of your device to avoid misreading the screen or forgetting results.
- Replace batteries as soon as you notice dimming laser brightness or slow response.
Laser Measuring Tools vs. Tape Measures: When to Use Each
Laser Measure Advantages
- Lightning-fast measurements—ideal for large spaces or high ceilings.
- No need for a second person on long runs.
- Built-in calculations for area, volume, or indirect distances.
- Reduces human error from tape sag or misreading.
Where Tape Measures Still Win
- When you need to measure around corners or odd shapes.
- For very short distances (<2 feet) where setup time outweighs benefits.
- Marking and transferring dimensions directly onto materials.
Choosing the Right Laser Measuring Tool for Your Needs
Questions to Ask Before Buying
- What’s the maximum distance you’ll need to measure?
- Will you use it outdoors in daylight?
- Do you need Bluetooth/app integration or just basic measurements?
- How rugged does it need to be for your work environment?
- What is your budget?
Recommended Picks by User Type
- Casual DIYers: Mileseey S2 or Huepar 9211G offer excellent value and all essential functions.
- Advanced Hobbyists/Pros: Bosch GLM 50 C or Leica D2 for their superior accuracy, advanced features, and app connectivity.
- Outdoor Users: Prioritize green lasers (like Huepar) or longer-range models with high visibility.
Maintenance Tips: Keeping Your Laser Measure Accurate for Years
- Store in a dry, dust-free case to protect the lens and electronics.
- Clean the lens gently with a microfiber cloth—never use harsh chemicals.
- Remove batteries during long-term storage to prevent corrosion.
- Update firmware/app when available for connected models.
- Regularly retest accuracy using a tape measure.
Conclusion: Make Precision Your DIY Superpower
Laser measuring tools have transformed home projects, bringing professional-grade precision to the hands of everyday DIYers. With the right tool, you can measure entire rooms in seconds, estimate materials with confidence, and tackle renovations that would have been daunting with analog tape measures. The convenience and accuracy of these devices encourage better planning, reduce costly mistakes, and ultimately streamline every step of your repair, maintenance, or upgrade journey.
Choosing your ideal laser measure comes down to understanding your project needs—considering range, visibility, durability, and advanced features. By applying the practical accuracy tips outlined above, you’ll avoid common errors and get the most out of your investment. Remember, while a tape measure still has its place, a laser measure is an indispensable upgrade for anyone serious about DIY efficiency and precision.
Ready to make your next project easier and more precise? Explore the reviewed models, test one out with your next project, and watch your productivity—and results—improve dramatically. Happy measuring!


When comparing different laser measuring tools, how much of a difference does the maximum range make for typical home DIY projects? I’m mostly doing things like mounting shelves and measuring room sizes, so I’m not sure if it’s worth paying extra for a model with a longer range.
For most home DIY projects like mounting shelves or measuring room sizes, the maximum range of a laser measuring tool isn’t usually critical. Most rooms and indoor tasks rarely exceed 30–50 feet, so a basic model with a moderate range should work well. Paying extra for a long-range model is only worthwhile if you plan to measure large outdoor areas or very spacious interiors.
The article mentions switching between metric and imperial units on laser measures—do most devices make that easy to do, or is it buried in complicated menus? I sometimes work on projects using both systems.
Most modern laser measuring tools let you switch between metric and imperial units quite easily. Usually, there’s a dedicated button or a straightforward menu option, often shown with ‘m/ft’ or ‘unit’ symbols. In most cases, you can change units with just a couple of button presses, so you shouldn’t have to dig through complicated menus during your projects.
Can you explain how switching between imperial and metric units works on these devices? Are there any models that make changing units especially easy, or is it a standard feature across most consumer laser measures?
Most consumer laser measuring tools let you switch between imperial (feet/inches) and metric (meters/centimeters) units, typically with the press of a dedicated button or through the device’s settings menu. Some models, like those from Bosch or Leica, make this particularly straightforward with a clearly labeled button. It’s generally a standard feature, but checking the user manual or product specs for your model will confirm how the unit switching works.
I’m interested in buying my first laser distance meter, but I’m on a tight budget. Are entry-level models with basic straight-line measurements good enough for medium-sized rooms, or do you think the extra features on pricier options are actually worth the investment for most home projects?
Entry-level laser distance meters with basic straight-line measurement are usually accurate and reliable enough for measuring medium-sized rooms, especially for typical home projects like checking wall lengths or planning furniture layout. Advanced features, like area calculation or Bluetooth connectivity, can be convenient but aren’t essential for basic tasks. If your needs are straightforward, a budget model should serve you well.
I’m curious about how laser measuring tools handle uneven surfaces or obstacles like furniture when measuring distances in a typical home. Do you have any advice on maintaining accuracy in these scenarios, especially for beginners?
Laser measuring tools work best with a clear line of sight, so obstacles like furniture or uneven surfaces can affect accuracy. For best results, try to measure above or around obstacles rather than through them. If you need to measure a space with furniture in the way, place a flat object (like a book or board) against the wall and aim the laser at it. This gives the laser a clear target and helps ensure accurate readings, even for beginners.
When comparing basic models that only measure straight-line distances versus more advanced options with area and volume functions, is it usually worth investing in those extra features for someone who mostly takes basic measurements, or do those added functions end up going unused for most DIYers?
For most DIYers who primarily take straight-line measurements, a basic laser measuring tool is usually sufficient and more cost-effective. The extra area and volume functions in advanced models can be handy for specific projects, but they may go unused if you rarely need to calculate room sizes or material quantities. Unless you foresee needing those additional features regularly, sticking with a basic model should meet your needs.
You mentioned that consumer models typically have a range between 30 and 300 feet. For someone mostly working indoors on smaller projects like hanging shelves or measuring rooms, do the more advanced range options really make a difference, or is a basic model enough?
For indoor projects like hanging shelves or measuring typical room sizes, a basic laser measuring tool with a range of 30 to 100 feet is usually more than sufficient. The advanced range options are generally useful only for large spaces or outdoor use. A simpler model should meet your needs while being easier to use and often more affordable.
Could you share tips on using a laser measure for oddly shaped rooms or spaces with a lot of windows and open doorways? I want to avoid common mistakes, especially since I’m planning a DIY flooring project soon.
When measuring oddly shaped rooms or areas with many windows and open doorways, break the space into smaller, simple sections. Measure each section separately and add up the areas. For spaces with open doorways, measure wall-to-wall rather than doorframe-to-doorframe to ensure accuracy. Always aim the laser at a solid, flat surface, and avoid windows as they can reflect the beam. Double-check each measurement, and jot down details as you go to prevent mix-ups during your flooring calculations.
Could you provide more details about the reliability of entry-level versus premium laser measurement models, especially regarding their stated accuracy of 1/16 or 1/8 inch? I am interested in knowing if it is worth spending extra for home DIY projects.
Entry-level laser measuring tools often claim accuracy within 1/8 inch, while premium models may advertise up to 1/16 inch. In practice, environmental factors and build quality can affect results. For typical home DIY tasks, entry-level devices generally provide enough accuracy and reliability. However, if your projects demand highly precise measurements or you’ll use the tool frequently, investing in a premium model could be worthwhile for extra consistency and durability.
You mention some models can switch between metric and imperial units. Have you noticed if this feature tends to make the devices less accurate or slower, or is the conversion seamless when measuring lots of rooms back-to-back?
Switching between metric and imperial units on most laser measuring tools is typically seamless and does not affect the accuracy or speed of the device. The conversion is handled instantly by the internal software, so you can measure multiple rooms back-to-back without any noticeable lag or errors. Just make sure you select your preferred unit before starting a set of measurements to avoid confusion.
If I mostly do small home projects like hanging pictures and installing shelves, is it worth getting a more advanced laser measure with area or volume functions, or would a basic model be enough to cover those needs?
For small home projects like hanging pictures or installing shelves, a basic laser measure should be more than sufficient. Advanced features like area or volume calculations are typically used for larger renovation work, flooring, or painting. A simpler model will cover your needs, be easier to use, and usually cost less.
You mention that some advanced models can calculate area and volume in addition to simple distance. Are these extra features worth the higher price for someone mostly doing standard home improvement tasks, or would a basic model be sufficient?
For most standard home improvement tasks like measuring walls, furniture, or simple room dimensions, a basic laser measuring tool is usually sufficient. The area and volume calculation features are most helpful if you frequently need those measurements, such as for flooring, paint, or air conditioning estimates. If those tasks are occasional, the extra features may not justify the higher price.
When using a laser measuring tool for renovations like laying new flooring, have you noticed any accuracy issues when measuring over carpet or uneven surfaces? Any tips to get reliable measurements in those tricky situations?
Measuring over carpet or uneven surfaces can definitely affect the accuracy of laser measuring tools. The laser might not reflect properly or the device could sit unevenly, leading to slightly off readings. For better accuracy, try placing a flat, sturdy object (like a tile or board) on the surface before measuring. Also, take multiple measurements from different points and use the average for more reliable results.