


Introduction: Why Upgrade to a Smart Garage Door Opener?
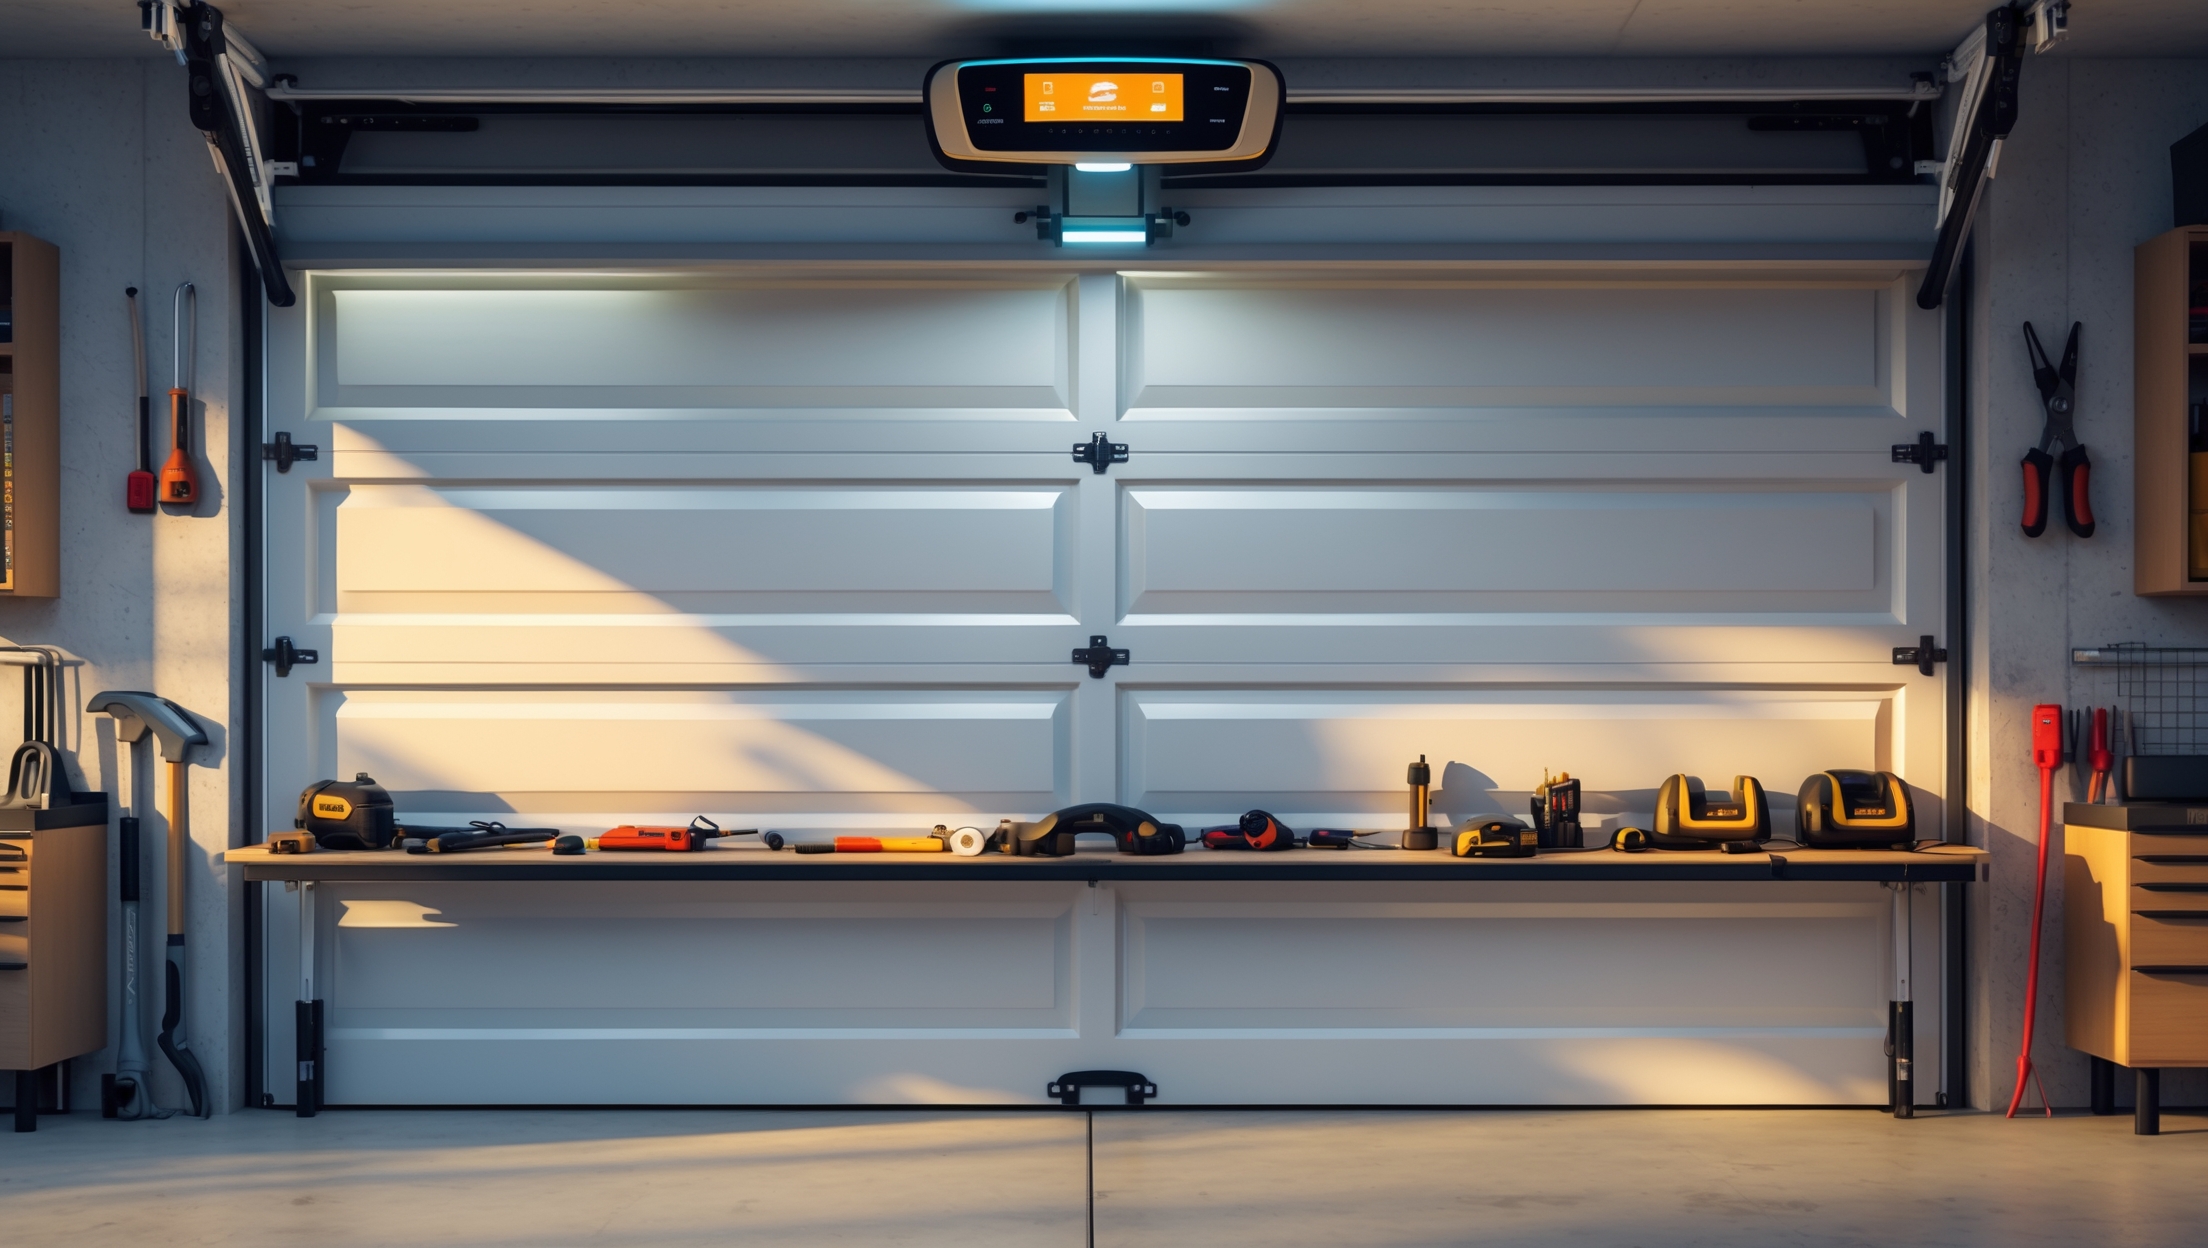
The garage is more than a place to park your car—it’s a gateway to your home, a workshop, and often a storage hub for your most valuable tools and equipment. Yet, many homeowners overlook the garage door opener, sticking with outdated models that lack modern security and convenience features. Enter the smart garage door opener: a transformative gadget that empowers you to control access remotely, monitor real-time status, integrate with smart home systems, and enhance your overall home security.
If you’re a DIY enthusiast who enjoys simplifying home upgrades and repairs, installing a smart garage door opener is an excellent project. This guide will take you through each step of the installation process, from choosing the right model to wiring, mounting, app integration, and troubleshooting. Whether you’re seeking better package security, improved convenience, or just love tinkering with the latest gadgets, this detailed walkthrough will equip you with practical know-how and confidence to get the job done—without the need to call a professional.
Let’s roll up our sleeves and transform your garage with a smart opener that adds value, security, and a touch of high-tech convenience to your home.
Choosing the Right Smart Garage Door Opener
Compatibility and Requirements
Not all smart garage door openers are created equal. Before making a purchase, consider the following:
- Existing Door Type: Is your current garage door sectional, tilt-up, or roll-up? Most smart openers are designed for sectional doors, but adapters exist for others.
- Opener Compatibility: Are you replacing the entire opener or adding a smart controller to an existing system? Some devices retrofit onto older openers, while others require full replacement.
- Wi-Fi Strength: Your garage needs a reliable 2.4GHz Wi-Fi signal. Test connectivity before installation; consider a Wi-Fi extender if needed.
Top Features to Look For
- Remote App Control: Allows open/close operations and notifications via a smartphone app.
- Integration: Works with Alexa, Google Assistant, Apple HomeKit, IFTTT, etc.
- Activity Logs: Tracks door usage for added security.
- Guest Access: Lets you temporarily share access with family or delivery services.
- Battery Backup: Keeps the system functional during power outages.
- Auto-Close and Safety Sensors: Prevents accidental closures and enhances safety.
Popular Models Compared
- Chamberlain MyQ: Great retrofit option for existing openers; broad app support; no monthly fees for basic features.
- Genie Aladdin Connect: Compatible with most openers; supports voice control and monitoring.
- Tailwind iQ3: Advanced automation and geofencing; excellent for tech enthusiasts.
- Meross Smart Garage Door Opener: Budget-friendly; easy installation; Apple HomeKit support.
Tools and Supplies Checklist
- Philips and flathead screwdrivers
- Adjustable wrench and socket set
- Power drill with drill bits
- Step ladder (6-8 feet recommended)
- Wire stripper and electrical tape (if wiring is required)
- Stud finder (for mounting brackets)
- Measuring tape and pencil
- Level
- Safety goggles and gloves
- Smartphone (for setup and testing)
- Wi-Fi extender (optional, if connectivity is weak)
Preparation: Safety and Pre-Installation Steps
Safety First
- Unplug the existing garage door opener before starting any work.
- Ensure the garage door is fully closed and locked in place.
- Wear safety goggles and gloves to protect against debris and sharp edges.
- Keep children and pets away from the workspace.
Assessing Your Garage and Opener
Take a few minutes to:
- Inspect the garage door for smooth operation and balance. Lubricate hinges and rollers if needed.
- Check existing wiring and power outlets. Plan a cable route if installing a new unit.
- Locate a suitable place for the opener’s hub or controller—ideally near your existing opener and within Wi-Fi range.
Step-by-Step Installation Guide
1. Remove Old Opener (If Replacing Entire Unit)
- Unplug and disconnect all wiring from the old opener.
- Support the opener with a ladder and unbolt from the mounting brackets.
- Carefully lower and remove the old unit.
- Retain mounting hardware if compatible with the new opener.
2. Assemble the New Smart Opener
- Follow manufacturer instructions to assemble the rail, carriage, and motor unit.
- Lay out all parts and hardware before beginning assembly.
- Attach mounting brackets to the ceiling joist using a stud finder for secure placement.
3. Mount the Opener
- Lift the motor unit onto the ladder or a helper’s support.
- Align the rail with the center of the garage door.
- Secure the opener to the mounting brackets and check that the rail is level.
- Attach the rail to the door header bracket above the garage door.
4. Connect Door Arm and Safety Sensors
- Attach the door arm to the carriage and to the door bracket.
- Mount safety sensors 6 inches above the floor on each side of the door track.
- Run wiring along the wall and ceiling, securing with cable clips or staples.
- Plug in and test sensor alignment—most units indicate correct alignment with a solid LED.
5. Wire the Wall Control and Accessories
- Install the wall-mounted control panel near the garage entry door.
- Connect wiring to the opener as per the instruction manual.
- Mount any additional keypads or remotes, following manufacturer guidelines.
6. Power Up and Initial Test
- Plug in the opener and restore power.
- Test the open/close function with the wall control and remote.
- Observe for smooth operation—listen for unusual noises, and ensure the door reverses when blocked.
7. Smart Features Setup and Wi-Fi Connection
- Download the manufacturer’s app on your smartphone.
- Follow in-app prompts to connect the opener to your home Wi-Fi network.
- Name your garage door for easy identification (helpful for multi-garage homes).
- Test app control to open and close the door remotely.
8. Integrate with Other Smart Home Devices
- Connect the opener to voice assistants (Alexa, Google Assistant, Apple HomeKit) if supported.
- Set up routines or automations—e.g., auto-close at night or open when you arrive home.
- Enable notifications for door status, activity, or failed closures.
Troubleshooting Common Issues
Wi-Fi Connection Problems
- Ensure your garage is within Wi-Fi range; use a Wi-Fi extender if needed.
- Connect to a 2.4GHz network, as many openers don’t support 5GHz bands.
- Reboot your router and the opener if initial pairing fails.
Sensor Alignment Errors
- Double-check sensor alignment; adjust until both LEDs are solid.
- Clear any obstructions or cobwebs from sensor lenses.
- Replace sensor wires if damaged or frayed.
Mechanical Issues
- If the door sticks or jerks, lubricate all moving parts and check for track obstructions.
- Ensure the opener rail is level and all mounting bolts are tight.
- Adjust force and travel limits per the instruction manual if the door won’t fully open or close.
Maintenance Best Practices for Longevity
- Test the safety reversal system monthly by placing an object in the door’s path.
- Check and tighten all bolts, brackets, and hardware every 6 months.
- Lubricate door hinges, rollers, and opener rail twice a year.
- Inspect safety sensors and clean lenses regularly.
- Update opener firmware through the app when notified.
- Back up access codes and app credentials in a secure location.
Safety and Security Tips
- Use strong, unique passwords for app and device login.
- Enable two-factor authentication if available.
- Set auto-close timers for added security if you forget to close the door.
- Limit shared access to trusted users and revoke guest permissions promptly.
- Keep the emergency release cord accessible but out of easy reach from outside.
- Regularly review opener access logs for any unusual activity.
Cost Breakdown and Budgeting
- Smart Garage Door Opener: $120–$350, depending on features and brand.
- Installation Accessories: $10–$30 for wiring, brackets, fasteners, and adhesives.
- Wi-Fi Extender (if needed): $25–$50.
- Optional Tools: Most homeowners will already have basic tools; otherwise, budget $40–$80.
- Total DIY Installation Estimate: $130–$430, much less than the $500–$700 charged by professional installers.
Don’t forget to check for rebates or smart home upgrade incentives from your utility provider or local municipality.
Conclusion: Enjoying the Benefits of a Smarter Garage
Installing a smart garage door opener is a rewarding DIY project with immediate and long-term benefits. You gain peace of mind knowing you can check and control your garage door from anywhere, enhance your home’s security, and even streamline package deliveries or guest access. The convenience of integrating with your existing smart home ecosystem, setting automated routines, and receiving real-time notifications transforms the humble garage into a tech-savvy entry point—all without monthly fees or complex wiring.
Beyond the high-tech perks, this upgrade also means fewer lockouts, less worry about forgetting to close the door, and a safer environment for your family. With the detailed step-by-step instructions above, you’ll save money compared to hiring a pro, learn valuable installation skills, and have the satisfaction of a job well done.
Remember to maintain your new opener with regular tests and firmware updates, keep security settings tight, and continue exploring new integrations as smart home technology evolves. By taking this project into your own hands, you’re not just enhancing your garage—you’re investing in a smarter, safer, and more convenient home for years to come. Happy upgrading!


The article mentions that most smart garage door openers are designed for sectional doors, but adapters exist for other types. Could you elaborate on which brands or models are best for tilt-up or roll-up garage doors and any unique installation steps to be aware of?
For tilt-up and roll-up garage doors, brands like Chamberlain and Genie offer models that are compatible with adapter kits. The Garadget and Nexx Garage controllers also work well with these door types when paired with the correct adapters. During installation, you’ll often need to mount sensors differently—typically to the door frame rather than the panels. Always check the manufacturer’s compatibility list and follow their specific instructions for alternative door types to ensure safe operation.
In the section about opener compatibility, you mention adapters for tilt-up and roll-up doors. Are there any well-known brands or models you recommend for those specific door types, or is there anything important to watch out for during installation?
For tilt-up and roll-up garage doors, Chamberlain and Genie offer adapter kits that work with most smart openers. When choosing an adapter, be sure it matches your door type and opener model. During installation, pay special attention to how the adapter mounts—tilt-up doors often need extra clearance, and roll-up doors may require reinforced brackets. Always follow the manufacturer’s instructions for safety.
If my current garage door is a tilt-up rather than a sectional, do you recommend any specific adapters or brands that are easier for beginners to install? I’m a bit concerned about finding the right fit on my first try.
For tilt-up garage doors, compatibility can be a bit trickier since most smart openers are designed for sectional doors. Look for retrofit kits like the Garadget or Tailwind iQ3, which are known for wider compatibility and come with clear instructions. These kits often use sensors and universal controls, making installation easier for beginners. Double-check the product specs to confirm support for tilt-up doors before purchasing.
I noticed you mentioned adapters for tilt-up or roll-up doors—do those typically require extra wiring or special tools beyond what’s included in most smart opener kits?
Adapters for tilt-up or roll-up garage doors sometimes do require extra wiring, as they need to detect door movement differently from standard sectional doors. Most smart opener kits include the basic hardware, but you might need additional mounting brackets or wiring extensions, depending on your door type. Specialized tools usually aren’t necessary—just basic hand tools like a screwdriver and drill should do the job.
You mentioned the importance of Wi-Fi strength in the garage. What are some reliable ways to test the signal before installing the opener, and do you have a recommendation for cost-effective Wi-Fi extenders if my signal is weak?
To check your garage’s Wi-Fi strength, try standing in the garage with your smartphone and see how many Wi-Fi bars you get or use a free Wi-Fi analyzer app for more detailed signal info. If the signal is weak, consider plug-in Wi-Fi extenders from brands like TP-Link or Netgear. They’re easy to set up and usually offer good performance at a reasonable price.
I noticed you mentioned checking Wi-Fi strength in the garage before installing a smart opener. If my garage only gets a weak signal, do you recommend a specific Wi-Fi extender or type of setup that works best for smart door controls?
A mesh Wi-Fi system or a dual-band Wi-Fi extender located midway between your router and garage usually works best for smart garage door openers. Look for extenders that support both 2.4GHz and 5GHz bands, since many smart devices use 2.4GHz. Popular brands like TP-Link, Netgear, and Google Nest Wi-Fi are reliable options. Place the extender where it still receives a strong signal from your main router for the best results.
I noticed it recommends checking whether you’re adding a smart controller to an existing opener or doing a full replacement. If I have an older lift system from the early 2000s, is retrofitting with a smart controller usually reliable, or do those tend to have compatibility issues?
Retrofitting older garage door openers from the early 2000s with a smart controller can work, but compatibility depends on the make and model of your opener. Many smart controllers are designed to work with openers that use standard wall button controls, but some very old models use different wiring or lack the necessary terminals. Before buying, check the smart controller’s compatibility list and compare it to your opener’s specifications. You may also need to verify if your system uses a rolling code or fixed code, as this can affect reliability.
About the installation process—how long should a typical DIYer expect to spend on this project from unboxing to app integration? I have a busy weekend and want to know if this can reasonably be done in just one afternoon.
Most DIYers can complete the installation of a smart garage door opener in about 2 to 4 hours. This includes unboxing, mounting the hardware, wiring, and going through the app setup and integration. Assuming you have basic tools and follow the step-by-step instructions, it’s definitely reasonable to finish this project in a single afternoon.
I noticed adapters are available for tilt-up and roll-up doors, but are there any major installation challenges or extra steps to expect if I’m not working with a standard sectional garage door?
Yes, installing a smart garage door opener on tilt-up or roll-up doors can present a few extra steps. For tilt-up doors, you may need a special bracket to securely attach the opener, and aligning the lifting arm can be trickier. Roll-up doors often require specific adapters and may need extra clearance for the opener’s mechanism. Always check your opener’s compatibility and follow any manufacturer instructions for your door type to avoid installation issues.
When testing the Wi-Fi signal in my garage before installation, is there a particular app or method you’d recommend to make sure it’s strong enough for the smart opener? Also, how far from the router should my garage ideally be?
To check your garage’s Wi-Fi strength, you can use apps like WiFi Analyzer (for Android) or AirPort Utility (for iPhone). Just walk to your garage with your phone and check the signal bars or dBm reading—ideally, you want at least -67 dBm for a reliable connection. There’s no set distance from the router; instead, focus on minimizing walls and obstructions. If the signal is weak, consider adding a Wi-Fi extender.
Testing Wi-Fi strength in the garage makes sense, but what’s the best way to tell if my signal is good enough before I start? If I end up needing a Wi-Fi extender, is there a specific type or placement I should use for smart garage setups?
To check your Wi-Fi signal in the garage, use your smartphone to see if you have at least two or three bars of Wi-Fi where the opener will be installed. You can also run a speed test app and look for at least 2 Mbps upload and download speeds. If the signal is weak, a Wi-Fi extender designed for your router brand works well—place it about halfway between your main router and the garage, ideally with a clear line of sight to both.
When choosing between retrofitting a smart controller onto an older opener versus replacing the whole system with a new smart opener, what are the main pros and cons in terms of cost, features, and installation time?
Retrofitting a smart controller onto your existing opener is usually more affordable and quicker to install, often taking under an hour. However, it may lack some advanced features like quiet operation or built-in security of newer smart openers. Replacing the whole system costs more and takes longer (several hours), but you’ll get updated hardware, potentially better safety features, and smoother performance. Your choice depends on your budget and feature priorities.
The article talks about deciding between a full replacement opener and just adding a smart controller. For a small business owner on a tight budget, is there a noticeable difference in performance or features between the add-on controllers versus getting a whole new smart opener?
Add-on smart controllers are usually much more affordable and allow you to keep your existing opener. They offer basic smart features like remote control, scheduling, and status alerts. However, a full smart opener may run more quietly, have better security, and include advanced features like battery backup or integration with more platforms. If you’re mainly after smartphone control and cost savings, an add-on controller should cover your needs.
When deciding between retrofitting a smart controller to an old opener versus replacing the entire system, what should I consider in terms of security and long-term reliability? Are there situations where retrofitting just isn’t worth it?
When choosing between retrofitting a smart controller and replacing your opener, think about your current system’s age, compatibility, and safety features. Retrofitting is often cost-effective, but older openers may lack modern security protocols or rolling code technology, making them more vulnerable. If your opener is over 15 years old, unreliable, or missing essential safety features, replacing it is usually safer and more reliable in the long run.
How long does the whole installation process usually take for someone who’s fairly handy but hasn’t done much wiring before? I’m wondering if this is something I could get done in an afternoon or if I should set aside a whole weekend.
If you’re fairly handy but new to wiring, you can usually complete the installation in about 2 to 4 hours. Most DIYers find it manageable in one afternoon, including setup and testing, as long as you follow the instructions closely and have the basic tools ready. You likely won’t need the whole weekend unless unexpected issues come up.
When it comes to integrating the new smart opener with an existing setup versus doing a full replacement, are there specific brands or models that make retrofitting easier for older garage door systems without much rewiring?
Yes, several smart garage door openers are designed specifically for easy retrofitting with older systems. Brands like Chamberlain (with the myQ Smart Garage Hub) and Nexx Garage offer models that work with most existing openers by connecting wirelessly or with minimal wiring. These tend to avoid the need for a full replacement and usually require just mounting the device and connecting two wires to your opener’s terminals. Always check compatibility with your current opener model before purchasing.
If my garage door is a tilt-up style, is installation with adapters significantly more complicated compared to a standard sectional door? Any particular challenges or tips for making the process go smoothly?
Installing a smart opener on a tilt-up garage door can be a bit more complex than with a standard sectional door because the opener must move the entire door as one solid piece. You’ll likely need a compatible adapter kit, and carefully follow both the opener and adapter instructions. Pay extra attention to securely attaching mounting brackets and ensure nothing obstructs the door’s movement. Double-check all clearances and test the system manually before connecting the opener for smooth operation.
If I want to keep my existing older opener and just add smart control, are there particular retrofit brands or models that work best with tilt-up doors, or do those adapters tend to mostly support sectional doors as mentioned here?
Most retrofit smart garage door controllers on the market are designed for sectional doors with safety sensors, so compatibility with tilt-up doors can vary. Some brands, like Meross and Nexx, may work with tilt-up doors, but it’s important to check whether their sensors and mounting hardware will fit your setup. Look for controllers that use a wired sensor instead of a door-mounted tilt sensor, as these may adapt better to tilt-up styles. Always double-check the manufacturer’s compatibility list or contact their support before purchasing.
You mentioned adapters for tilt-up or roll-up doors. Are those adapters easy to install, or do they require additional tools or drilling? I want to avoid anything too complicated since this is my first DIY garage project.
Adapters for tilt-up or roll-up garage doors are generally designed to be user-friendly, especially for first-time DIYers. Most kits include clear instructions and basic mounting hardware. You might need simple tools like a screwdriver or wrench, and in some cases, minor drilling could be required. However, many adapters use adhesive pads or existing holes to minimize extra work. If you want to avoid drilling entirely, look for an adapter labeled as no-drill or specifically made for easy installation.
If I’m adding a smart controller to an existing opener, are there brands or models that tend to be easier to retrofit for older garage doors, particularly tilt-up types? Any installation steps that might be trickier in that case?
For older tilt-up garage doors, retrofit kits from brands like Meross, Tailwind, and Nexx are often easier to install because they support a wide range of opener types. The trickiest part with tilt-up doors is positioning the sensor correctly, since their movement is different from sectional doors. Make sure to securely attach the sensor to the door itself so it registers open and close positions accurately.
For homes with weaker Wi-Fi signals in the garage, do you have any specific recommendations on Wi-Fi extenders or placement tips to ensure a smooth setup and operation of the smart garage door opener?
For garages with weak Wi-Fi, placing a Wi-Fi extender midway between your router and the garage can help boost the signal. Look for extenders that support at least dual-band (2.4GHz and 5GHz) to minimize interference. Avoid placing the extender on the floor or near metal objects, as this can reduce performance. Mesh Wi-Fi systems are also effective if you need broader coverage throughout your home.
When choosing between retrofitting a smart controller to an existing opener versus replacing the whole unit, what are the main pros and cons for a DIYer on a moderate budget? Are there any potential compatibility issues to watch out for?
Retrofitting a smart controller to your existing opener is usually cheaper and less work—ideal for a moderate budget. The downside is that not all older openers are compatible, especially very old or non-standard models, so check the smart controller’s compatibility list before buying. Replacing the whole unit gives you the latest features and often better reliability, but it’s more expensive and involves more installation effort. For DIYers, retrofitting is often the better balance unless your opener is outdated or incompatible.
You mentioned testing Wi-Fi connectivity in the garage before installing the smart opener. If my garage has only a weak 2.4GHz signal, do you think adding a Wi-Fi extender will be enough, or should I consider hardwiring an ethernet connection for better reliability?
A Wi-Fi extender is often enough to boost a weak 2.4GHz signal in most garages, making smart openers work reliably. However, if you regularly have issues with slow speeds or dropped connections even after adding an extender, hardwiring an ethernet connection would offer the most stable and consistent performance for your smart garage system.
I noticed you mentioned the importance of having a reliable 2.4GHz Wi-Fi signal in the garage. Have you come across any smart openers that also support 5GHz networks, or is 2.4GHz really the only practical option for most systems?
Most smart garage door openers on the market today are designed to work only with 2.4GHz Wi-Fi, mostly because this frequency has a longer range and better penetration through walls—important for garages. A few newer models are starting to offer dual-band (2.4GHz and 5GHz) compatibility, but they’re still rare. For now, 2.4GHz is usually the most practical and supported option.
I have an older tilt-up garage door, and you mention that most smart openers are designed for sectional doors. Are there any specific adapters or brands you recommend for making a smart opener work with a tilt-up style?
Tilt-up garage doors can be a little trickier with smart openers, as most kits are made for sectional doors. However, brands like Chamberlain and Genie sometimes offer conversion kits or adapters for older door types. It’s important to check with the opener manufacturer for compatibility with tilt-up doors. You may also want to consider universal smart garage controllers, like those from Nexx or Tailwind, which can sometimes be adapted with creative mounting or additional hardware.
If my garage is detached from the main house and my Wi-Fi signal is weak out there, are there specific smart garage door opener models that handle poor connectivity better, or is a Wi-Fi extender my only option?
Some smart garage door openers do offer better Wi-Fi range or dual-band support, but all of them still depend on a stable connection for reliable operation. If your signal is weak, using a Wi-Fi extender or mesh system near your garage is usually the most effective solution. This ensures the opener can consistently connect to your network, regardless of the brand or model.
I noticed you mentioned needing a strong 2.4GHz Wi-Fi signal in the garage. If my Wi-Fi is spotty out there, would a Wi-Fi extender be enough, or are there specific extenders you recommend for garages?
A Wi-Fi extender can definitely help improve your garage’s signal, and most standard models will work if they’re rated for 2.4GHz. For garages, consider extenders that offer long-range coverage and can handle temperature fluctuations. Mesh Wi-Fi systems are another alternative if you want seamless coverage throughout your home and garage. Place the extender as close to the garage as possible, but still within good range of your main router.
I noticed you mentioned that most smart garage door openers are designed for sectional doors. My garage has a roll-up door. Do you have any recommendations or tips for finding adapters that actually work well with those?
Roll-up garage doors can be a bit more challenging since many smart openers are made for sectional doors with standard rails and lifting arms. Look for retrofit kits or universal smart garage controllers that specifically mention compatibility with roll-up doors. It’s also helpful to check with your door manufacturer for recommended adapters. Some users have found success using wireless controllers with door sensors, but make sure the mounting hardware fits your door style.
I see you mentioned Wi-Fi strength as an important consideration before installing a smart garage door opener. If my garage is a bit far from the main house and the signal is weak, do you have any specific recommendations or tips for setting up a reliable connection?
If your garage is far from your main Wi-Fi router and the signal is weak, consider using a Wi-Fi range extender or mesh Wi-Fi system to boost coverage. Place the extender midway between your router and the garage for best results. Alternatively, powerline adapters can transmit your network signal through electrical wiring if Wi-Fi is very spotty. These options should help ensure your smart garage door opener stays reliably connected.
I noticed you mentioned checking the Wi-Fi strength in the garage before installing a smart opener. How can I accurately test if my 2.4GHz signal is reliable enough, and are there specific signal strength values I should be aiming for to avoid connection issues?
To test your 2.4GHz Wi-Fi signal in the garage, use your smartphone or a Wi-Fi analyzer app to check the signal strength where the opener will be installed. Ideally, you want at least -67 dBm or better (closer to zero). If it’s weaker, like -75 dBm or lower, you may need a Wi-Fi extender or to reposition your router for a stable connection.
In the section about compatibility, you mention that some smart garage door openers are designed specifically for sectional doors. Are there any particular retrofit kits or adapters you recommend for people who have tilt-up or roll-up doors?
You’re correct—many smart garage door openers are made for sectional doors. For tilt-up (one-piece) or roll-up doors, look for retrofit kits like the Garadget or Tailwind iQ3, which are known for broader compatibility. Always check the manufacturer’s compatibility guide before purchase, and be ready to use additional mounting brackets or sensors for a secure fit on these door types.
How long should a first-timer expect the whole installation to take, including wiring and app integration? I want to make sure I set aside enough time, especially since my workshop gets cold if I leave the garage open too long.
A first-timer should plan for about 2 to 3 hours to complete the full installation, including wiring and setting up the app. This allows plenty of time to carefully follow instructions, mount hardware, connect wiring, and pair the system with your smartphone. It’s a good idea to gather everything you need beforehand so you can work efficiently and minimize the time your garage door is open.
When adding a smart controller onto an existing opener, how complicated is the wiring for someone with basic DIY electrical skills? Are there any common mistakes or troubleshooting issues you ran into during installation that I should watch out for?
If you have basic DIY electrical skills, wiring the smart controller is usually straightforward. Most smart controllers require connecting just two low-voltage wires to the same terminals as your wall button. Be sure to turn off power before starting, and double-check the wiring diagram. A common mistake is mixing up the terminals or not securing connections tightly. If the opener doesn’t respond after installation, check for loose wires or incorrect placement. Also, ensure your Wi-Fi signal is strong in the garage for smooth app control.
For a DIY install, how important is it to have a strong 2.4GHz Wi-Fi signal in the garage? I’m a bit worried since my router is on the other side of the house. Would a Wi-Fi extender in the hallway be enough, or do you have tips for boosting signal just for the opener?
A strong 2.4GHz Wi-Fi signal in your garage is essential for the smart opener to work reliably, especially for remote access and notifications. A Wi-Fi extender in the hallway can help if it brings the signal closer, but placement matters—put it as close to the garage as possible. Alternatively, consider a mesh Wi-Fi system or even running an Ethernet cable to a second access point near the garage for best results.
My garage is pretty far from my router, and I’m worried my Wi-Fi might not be strong enough for a smart opener. Can you suggest specific steps or products to boost the Wi-Fi signal, or is a Wi-Fi extender the only effective option for most setups?
If your garage is far from your router, a Wi-Fi extender is a common and effective solution, but not the only one. You could also consider a mesh Wi-Fi system, which creates multiple access points for better coverage. Another option is a powerline adapter, which uses your home’s electrical wiring to carry the internet signal closer to your garage. Choose the option that best fits your home layout and budget.
When looking at smart garage door openers, which features are truly the most useful day-to-day, like app notifications or home automation integration, and which ones end up being less important in practice?
For everyday use, app notifications (like alerts when the door is opened or left open) and the ability to control your garage remotely are very handy. Integration with home automation platforms, such as Alexa or Google Home, is also valuable for convenience. Features like voice control and scheduling are helpful, too. On the other hand, advanced features like built-in cameras or guest access codes may not be used as often unless you have specific security needs or multiple users.
When choosing between retrofitting an existing opener and installing a completely new smart opener, what are the main pros and cons for a small business owner who wants to balance cost, convenience, and long-term reliability?
Retrofitting your current opener is usually cheaper and quicker since you won’t need to replace the whole unit. It’s also less disruptive for daily operations. However, a retrofitted system may not offer all the features or reliability of a brand-new smart opener. Installing a new opener has a higher upfront cost but often comes with better long-term reliability, support, and advanced functions, which could be helpful as your business grows.
If I decide to install a smart garage door opener myself, about how much time should I set aside for the full process, including wiring and app setup for someone with basic DIY skills?
For someone with basic DIY skills, you should plan to set aside about 2 to 3 hours to complete the entire installation, including mounting the opener, handling the wiring, and setting up the smartphone app. This allows time for reading instructions and troubleshooting any minor issues that might come up.
When considering adding a smart controller to an existing older opener versus replacing the entire opener, how do I know which option will offer better reliability and long-term compatibility with future smart home devices?
If your older opener is in good working order, adding a smart controller can be a cost-effective way to gain smart features, but compatibility varies by model and some advanced features might be limited. Replacing the entire opener ensures long-term reliability and full integration with the latest smart home systems, plus ongoing software support. For best long-term compatibility, check if your current opener is listed as compatible with major smart controllers and consider how often manufacturers update their technology.
I see there are options to either retrofit a smart controller onto an existing opener or replace the whole opener. How can I tell if my current opener is compatible with those retrofits, and is there a big difference in features or performance between retrofitting and buying a new smart opener?
To check if your existing opener is compatible with a smart retrofit controller, look for a list of supported brands and models on the retrofit kit’s packaging or website. Most units work with openers made after 1993 with standard safety sensors. Retrofitting keeps your current opener but adds smart features like app control, though a full smart opener may offer quieter operation, built-in WiFi, and more advanced security options. Retrofitting is usually more affordable and less hassle if your opener is still in good shape.
When it comes to app integration and monitoring, do most models let you check the door’s status and control access remotely if you’re traveling, or are some features only available when you’re on the same Wi-Fi network?
Most smart garage door openers let you check the door’s status and control access remotely through their companion apps, even when you’re traveling. These features usually work over the internet, not just your home Wi-Fi, so you can monitor and operate your garage door from anywhere. Just make sure the model you choose specifically mentions remote access in its app features.
I noticed you mention the importance of a reliable 2.4GHz Wi-Fi signal in the garage for smart openers. Do you have any tips for improving Wi-Fi coverage in detached garages where signal is often weak, or would a Wi-Fi extender be enough?
Improving Wi-Fi in a detached garage can be a challenge, but you have a few good options. A Wi-Fi extender may help if placed between the house and garage, but sometimes a mesh Wi-Fi system is more reliable for longer distances. Powerline adapters (if your garage shares an electrical circuit with your home) can also work. Consider running an outdoor-rated Ethernet cable for the most robust connection if wireless options aren’t strong enough.
Could you clarify if the installation process is different for tilt-up or roll-up doors compared to sectional garage doors? I have an older tilt-up model and want to make sure I buy something that will actually work for my setup before getting started.
Yes, the installation process can differ depending on your garage door type. Most smart garage door openers are designed for sectional doors, which use tracks and bend as they open. Tilt-up and roll-up doors often require specific hardware or compatible openers, so you’ll need to check that any system you buy explicitly supports tilt-up models. Look for products that mention compatibility with tilt-up doors, or consider contacting the manufacturer to confirm before purchasing.