
Introduction: Why DIY Sump Pump Maintenance Matters
Water damage in the basement is every homeowner’s nightmare, often leading to expensive repairs, ruined possessions, and persistent mold problems. One unsung hero that quietly safeguards your home is the sump pump. Yet, it’s easy to overlook sump pump maintenance—until you discover an inch of water in your basement during a storm. Regular upkeep is straightforward, cost-effective, and can add years to your pump’s life, saving you from emergency replacements and insurance headaches. In this guide, we’ll walk you through the essential tools, an actionable annual maintenance checklist, and practical troubleshooting tips for common sump pump issues. Whether you’re a seasoned DIYer or just learning the ropes, this hands-on approach will help you keep your basement dry and your home protected, without always relying on costly professional help. Let’s dive in and demystify sump pump care, step by step!
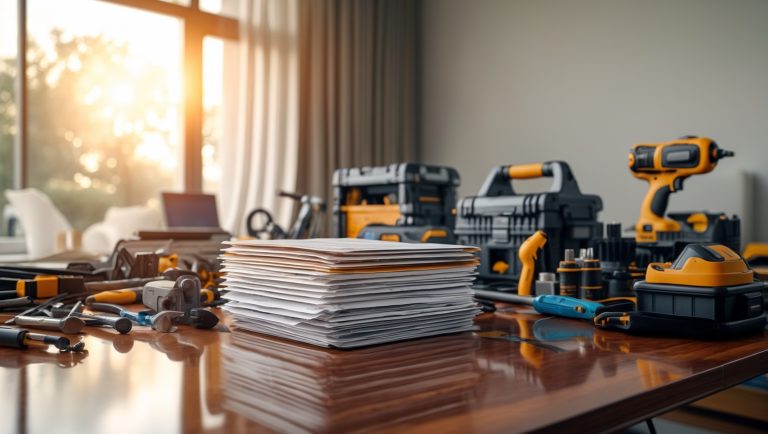
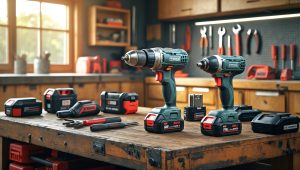
Essential Tools and Equipment for Sump Pump Maintenance
You don’t need a plumber’s van full of tools to maintain your sump pump. A small, dedicated kit will cover most tasks, and investing in quality gear pays off over time. Here’s what you’ll need:
- Screwdriver set: For removing and reattaching pump covers and float switches.
- Adjustable wrench: For tightening or loosening hose clamps and fittings.
- Flashlight or headlamp: Sump pits can be dark; good lighting is essential for inspection.
- Large bucket or shop vacuum: For removing water and debris from the sump pit.
- Gloves (rubber or nitrile): Protects your hands from grime, bacteria, and sharp edges.
- Garden hose: Useful for rinsing the pit and pump components during cleaning.
- Old towels or rags: To wipe down parts and control any spills.
- Level: To ensure the pump sits upright in the pit, preventing operational issues.
- Replacement check valve (optional): Handy if you find your current one is faulty.
- Non-toxic cleaner or vinegar: For scrubbing mineral build-up from the pump and basin.
Pro Tip: Build a Sump Pump Maintenance Kit
Keep all these items in a small plastic tote labeled “Sump Pump Maintenance.” Store it near the pump or in your main tool area for quick access when it’s time for your annual check.
Annual Sump Pump Maintenance Checklist
Consistent, thorough maintenance improves performance and helps you catch small problems before they become catastrophic. Here’s an annual checklist to follow, ideally at the start of the wet season:
1. Safety First
- Unplug the pump before touching anything inside the pit to avoid electrical shock.
- If your pump is hardwired, switch off the relevant circuit breaker.
- Wear gloves and ensure adequate lighting.
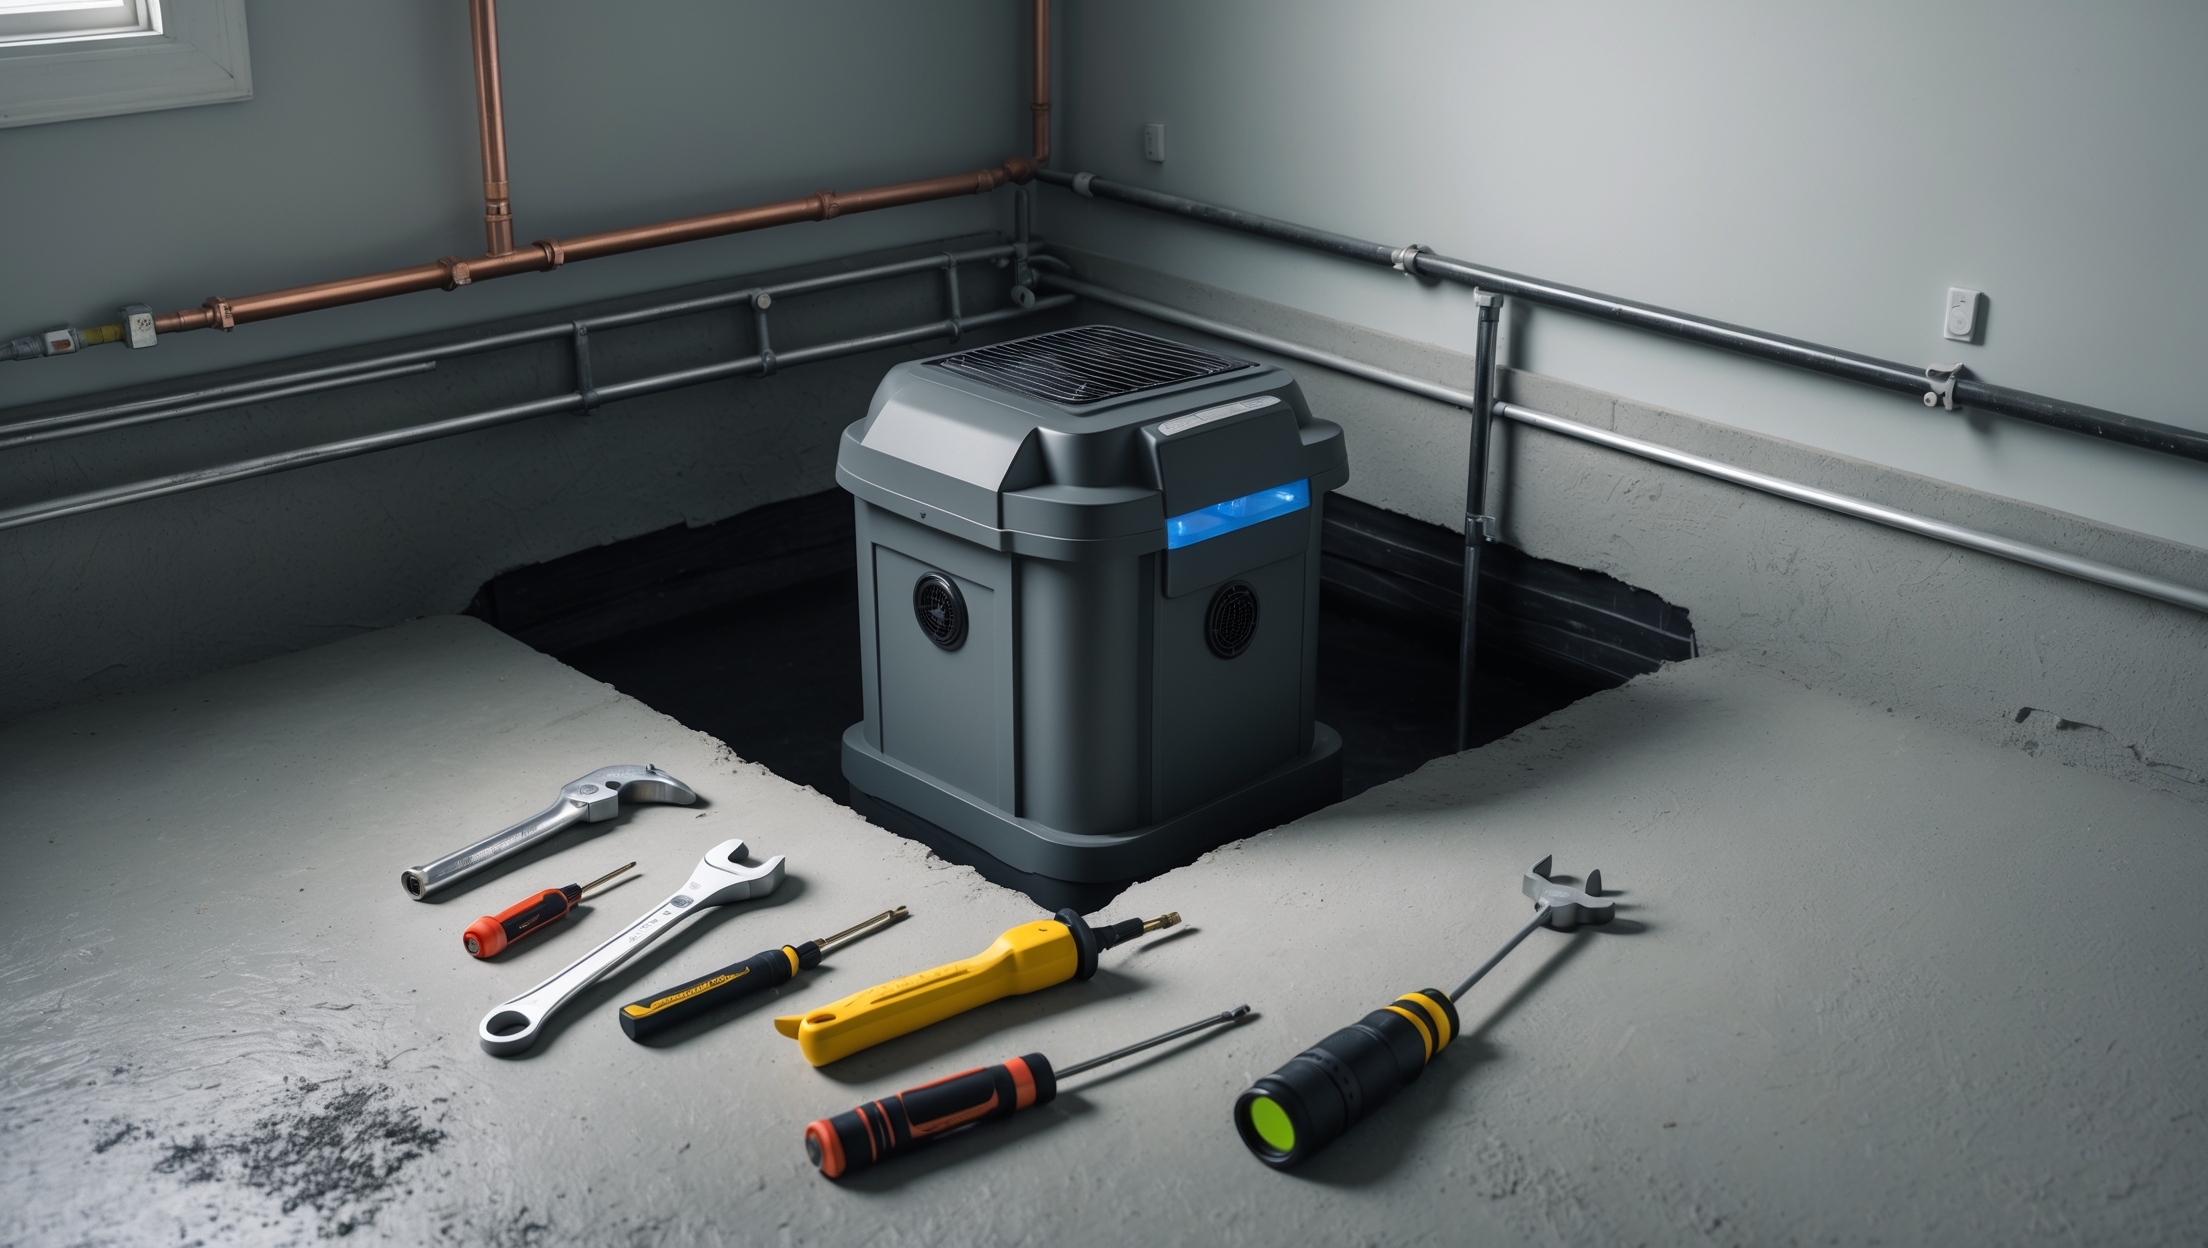
2. Inspect the Sump Pit
- Remove the pit cover and check for debris (gravel, dirt, toys, etc.).
- Use a shop vacuum or bucket to remove standing water and loose debris.
- Check pit walls for cracks or mold. Address minor mold with diluted vinegar; cracks may need professional assessment.
3. Examine the Pump Itself
- Carefully lift the pump out of the pit (it may be heavy; check your footing).
- Inspect the power cord for nicks, fraying, or corrosion.
- Look for rust, scale, or mineral build-up on the pump housing.
- Check the intake screen for blockages and clean it thoroughly with water and a non-abrasive brush.
- Rinse the pump exterior with a garden hose if needed.
4. Test the Float Switch
- With the pump still out, move the float up and down. It should move freely without sticking.
- If it catches or feels gritty, clean the float and pivot point with a damp cloth.
- Consider replacing the switch if movement is impeded or the mechanism feels loose.
5. Inspect the Discharge Line and Check Valve
- Ensure the discharge pipe isn’t frozen, clogged, or cracked.
- Remove and check the check valve (the one-way valve that keeps water from flowing back into the pit).
- Shake or run water through the valve; replace if it rattles, leaks, or doesn’t seal tightly.
6. Clean the Sump Pit
- Scrub the pit walls with a brush and non-toxic cleaner or vinegar solution.
- Remove sludge, sediment, and any lingering debris.
- Rinse and dry the pit thoroughly with towels or rags.
7. Reinstall and Test the Pump
- Return the pump to the pit, ensuring it sits level and upright.
- Reconnect the discharge pipe and check valve securely.
- Plug the pump back in or switch the breaker on.
- Pour several gallons of water into the pit to confirm activation. The pump should turn on, empty the pit, and shut off smoothly.
8. Final Checks
- Listen for unusual noises like grinding, rattling, or humming.
- Check for leaks around fittings and the check valve.
- Replace the pit cover securely.
Troubleshooting Common Sump Pump Problems
Even with regular maintenance, issues can crop up. Here’s a practical troubleshooting guide for the most common DIY-addressable problems:
1. Pump Won’t Turn On
- Check the power source: Ensure the pump is plugged in and the breaker isn’t tripped.
- Inspect the float switch: If it’s stuck in the “down” position, clean or reposition it.
- Test the outlet with another device to rule out electrical issues.
- If the motor hums but doesn’t run, the impeller may be jammed. Unplug and clean as needed.
2. Pump Runs Continuously
- Float switch may be stuck in the “up” position. Free it and test again.
- Check valve may be faulty, allowing water to flow back into the pit. Replace if necessary.
- Excess groundwater or a high water table may require a secondary pump.
3. Strange Noises During Operation
- Rattling: Loose pipes or fittings—tighten clamps and supports.
- Grinding: Debris in the impeller—unplug, remove pump, and clean thoroughly.
- Gurgling: Discharge pipe may be too short or not vented. Extend or reconfigure as needed.
4. Weak or No Water Discharge
- Clogged intake screen—clean thoroughly.
- Frozen or blocked discharge line—inspect and clear obstructions.
- Impeller damage—may require pump replacement.
5. Foul Odors from the Sump Pit
- Stagnant water or organic debris—clean pit and rinse with a mild vinegar solution.
- Poor drainage—ensure the pit empties fully after each cycle.
When to Call a Professional
While most routine maintenance and minor fixes are DIY-friendly, some situations require a pro:
- Repeated circuit breaker trips or electrical shocks.
- Cracked or shifting pit walls.
- Major mold infestations or standing water that won’t drain.
- Extensive rust, corrosion, or pump body damage.
- Persistent failure after basic troubleshooting.
If you’re ever in doubt, don’t risk your safety—expert help is a smart investment.
Advanced DIY: Upgrades and Backup Systems
Want extra peace of mind? Consider these DIY-friendly upgrades:
- Water-powered backup pumps: Use municipal water pressure to keep your basement dry during power outages.
- Battery backup systems: Provide hours of protection if the main pump fails or during storms.
- High-water alarms: Alert you via phone or smart home system if water rises above a safe level.
- Wi-Fi smart sump pump monitors: Track pump status and receive alerts remotely.
All these upgrades are available at most home improvement stores and come with detailed installation guides. Always follow manufacturer instructions and double-check local code requirements.
Conclusion: Keep Your Basement Dry and Your Mind at Ease
Like any piece of essential home equipment, your sump pump deserves regular attention. Neglect can lead to costly water damage, mold growth, and emergency repairs right when you least expect them. By assembling a simple toolkit, following the annual maintenance checklist, and learning how to troubleshoot common problems, you can dramatically reduce the risk of basement flooding and extend the life of your pump. Remember to inspect your setup every year—ideally before the rainy season starts—and keep an ear out for unusual noises or performance changes. While most maintenance is well within reach for DIYers, don’t hesitate to call in a professional for complex electrical issues or structural concerns. With a bit of planning and elbow grease, you’ll enjoy peace of mind knowing your home is protected—rain or shine. Your future self (and your dry basement) will thank you!