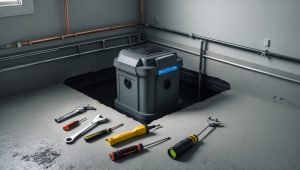
Introduction: Why the Right Shop Vacuum Matters for DIYers
If you’ve tackled any home project—be it cutting lumber, sanding drywall, or cleaning up after a plumbing disaster—you already know that a regular household vacuum simply isn’t up to the mess. Enter the shop vacuum, a powerful and versatile tool designed specifically for DIYers, hobbyists, and homeowners who need more than just a quick crumb pickup. But with a broad range of wet/dry shop vacuums on the market, varying in everything from capacity to filtration to horsepower, choosing the right model can be overwhelming. Pick the wrong shop vac, and you could waste money, struggle with clogs, or even find yourself inhaling hazardous dust. Get the right one, and you’ll transform the way you clean, maintain, and even execute projects around your home.
This comprehensive guide will walk you through how to select the best shop vacuum for your specific needs. We’ll compare wet/dry models, demystify features that actually matter for DIY applications, cover essential attachments, and share expert maintenance tips to ensure your investment lasts. Whether you’re renovating a room or just want to keep your garage spotless, understanding your options will save you time, money, and headaches down the line.
Understanding Wet/Dry Shop Vacuums: Key Features Explained
What Makes a Shop Vacuum Different?
Unlike standard household vacuums, shop vacuums are built to handle larger debris, liquids, and sometimes even hazardous materials. Their robust motors, larger hoses, and durable canisters make them the go-to choice for cleaning up sawdust, drywall dust, broken glass, and even flooded basements. Wet/dry models are especially useful for DIYers who need versatility across a range of cleaning and maintenance tasks.
Essential Specs to Compare
- Tank Capacity: Ranges from 2 to 20+ gallons. Smaller units are portable but require frequent emptying; larger ones are better for major cleanups.
- Horsepower (HP): Indicates motor strength. For most home projects, 3–6 HP suffices; higher HP is better for heavy-duty construction debris or water removal.
- Hose Diameter & Length: Wider hoses (1.5–2.5 inches) are less likely to clog with large debris. Longer hoses provide reach but may reduce suction if not matched with a powerful motor.
- Filtration: HEPA filters are essential for fine dust (e.g., drywall, concrete); standard filters suffice for general dirt and liquid.
- Portability & Storage: Consider wheel design, handle placement, and onboard accessory storage for ease of movement and organization.
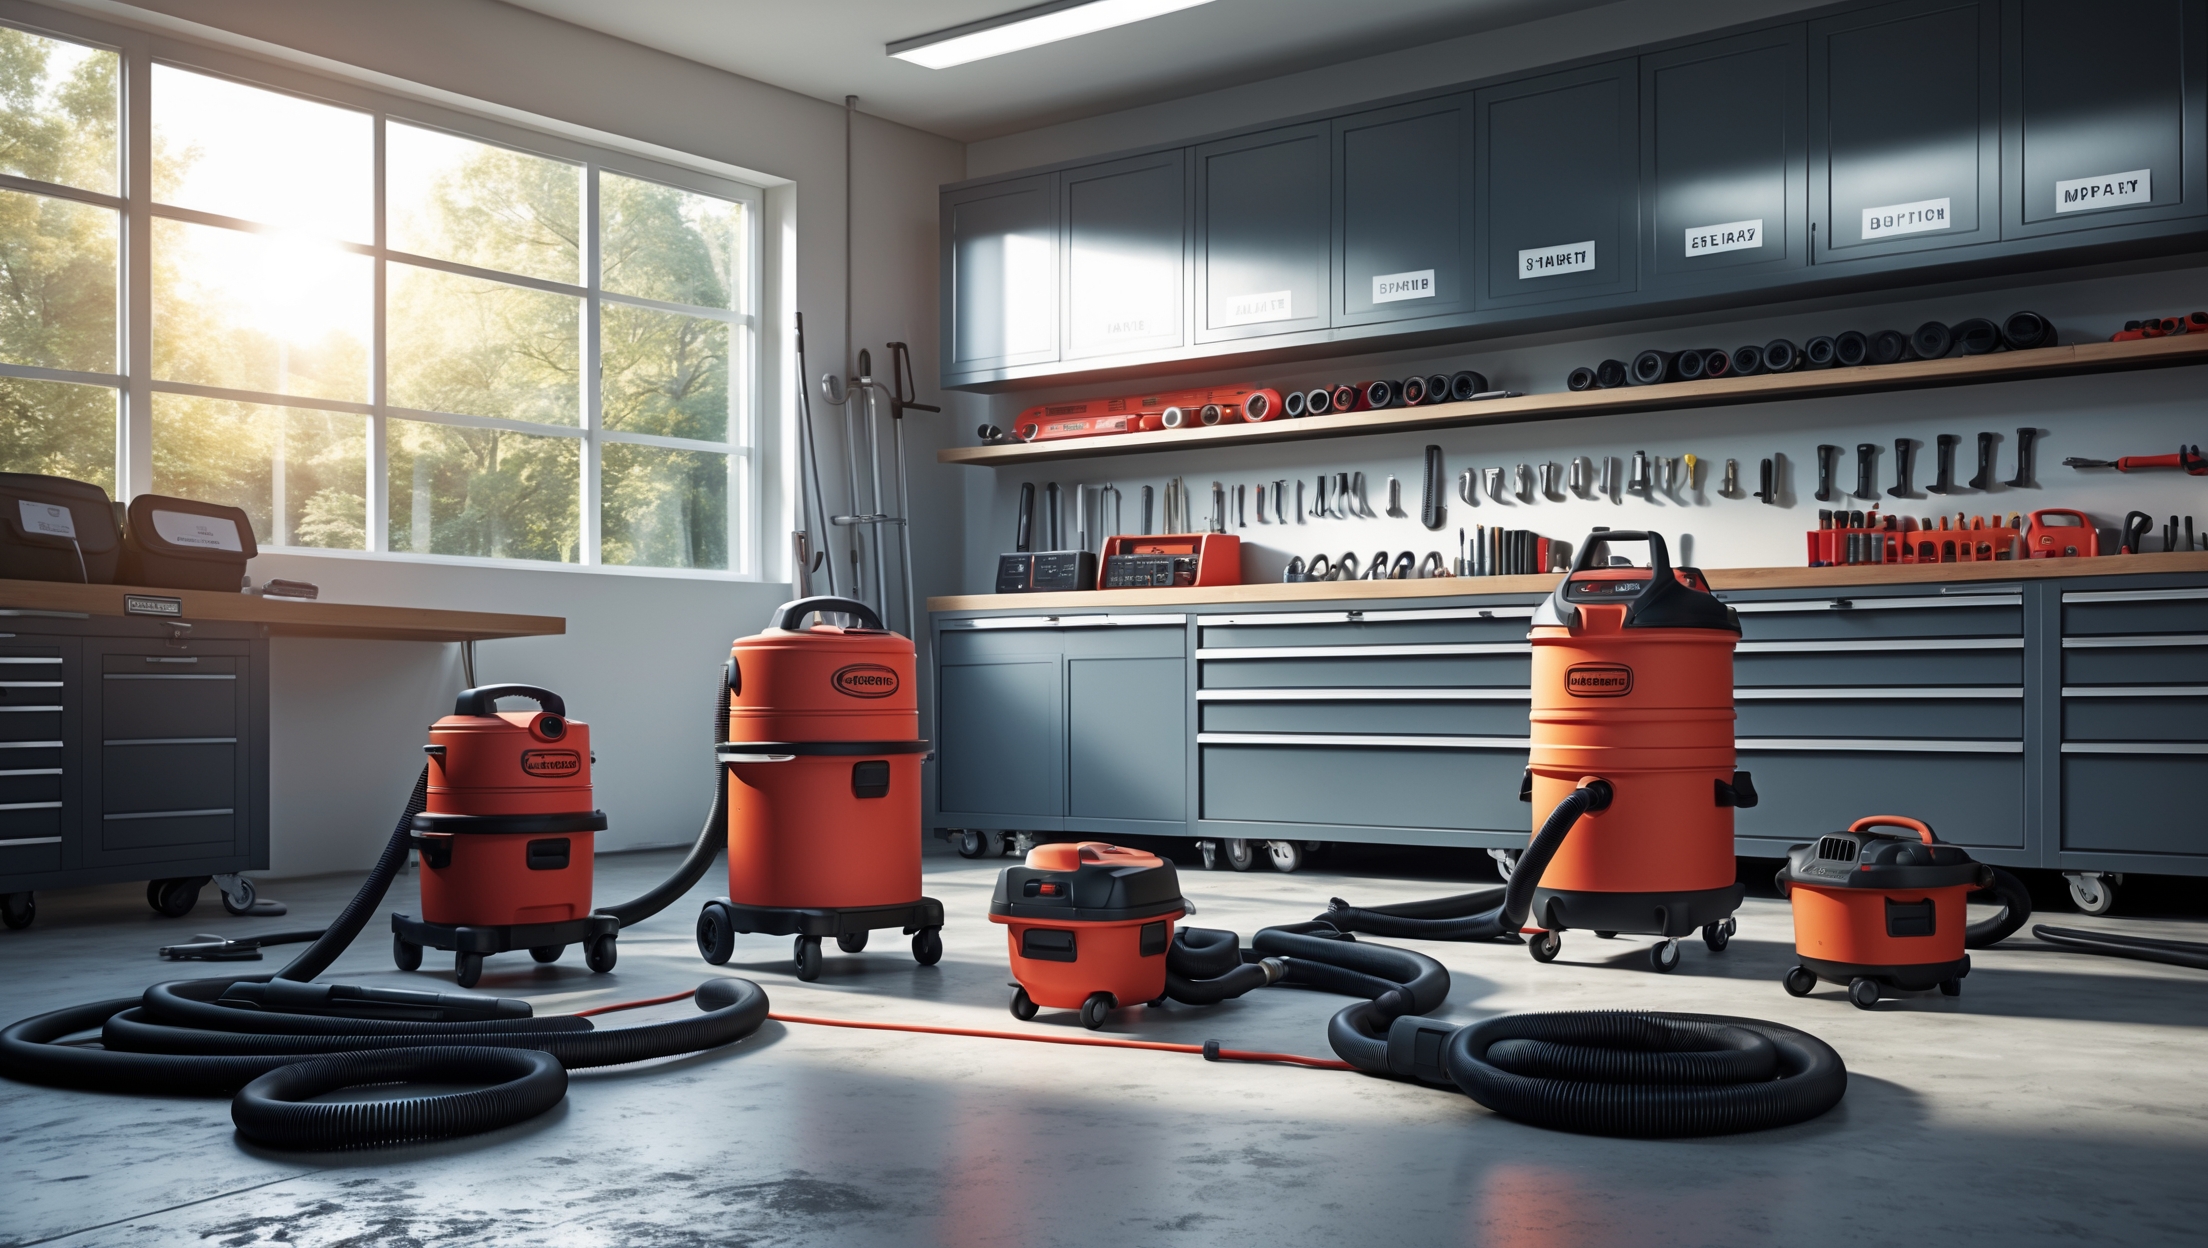
Comparing Wet/Dry Shop Vacuums: Which Model Fits Your DIY Needs?
Entry-Level Models (2–6 Gallons)
- Best for: Quick cleanups, car interiors, light sawdust, and small workshops.
- Example Features: 2–3 HP motors, compact design, basic filtration, short hoses.
- Pros: Lightweight, easy to store, affordable.
- Cons: Frequent emptying, limited suction for heavy debris or liquids.
Mid-Range Models (8–14 Gallons)
- Best for: General garage and workshop cleanup, woodworking, minor flooding, and renovation debris.
- Example Features: 4–6 HP motors, improved filtration options, longer hoses, wheeled bases.
- Pros: Balanced size and performance, suitable for most DIY projects.
- Cons: Heavier, takes up more storage space.
Professional & Heavy-Duty Models (16–20+ Gallons)
- Best for: Major renovations, jobsite cleanup, water removal after leaks, and large debris.
- Example Features: 6+ HP, extra-large tanks, industrial-grade hoses, HEPA filtration, drain ports.
- Pros: Handles big messes without frequent interruptions.
- Cons: Bulky, expensive, can be challenging to maneuver in tight spaces.
Specialty Models: Wall-Mounted and Compact Cordless
- Wall-Mounted: Ideal for permanent garage setups, freeing up floor space; limited portability.
- Cordless: Convenient for quick jobs or remote locations, but limited battery life and suction compared to corded models.
Key Attachments and Accessories: What’s Worth Buying?
Must-Have Attachments for DIY Projects
- Crevice Tool: Perfect for getting into tight spaces and corners—essential for baseboard and vehicle cleaning.
- Extension Wands: Increase reach for high shelves or deep under workbenches.
- Brush Nozzles: Gentle for dusting delicate surfaces or upholstery.
- Gulper/Floor Nozzle: Wide, flat head for covering large surface areas efficiently.
- Wet/Dry Nozzle: Designed for liquid pickup, often with squeegee attachments.
- HEPA Filter Cartridge: Captures fine dust and allergens—critical when sanding drywall or working with hazardous materials.
Optional Upgrades
- Dust Collection Bags: Make emptying and disposal cleaner, especially when dealing with fine or hazardous dust.
- Auto-Start Adapters: Sync your shop vac with power tools for instant dust collection during operation.
- Drain Port/Hose: Makes emptying wet contents far easier, especially in large models.
DIY Applications: Shop Vacuum Uses Beyond Basic Cleaning
Workshop Dust Collection
Connect your shop vac directly to miter saws, sanders, or table saws to capture sawdust at the source. Many power tools have dust ports sized for standard shop vac hoses or can be adapted with inexpensive couplers. This not only keeps your workspace cleaner but also protects your health by minimizing airborne particulates.
Water Extraction and Emergency Cleanup
Wet/dry models shine when you need to remove spilled water, clear a flooded laundry room, or even unclog a slow-draining sink (by reversing the suction to a blow function, if available). Always remove paper filters before sucking up liquids and empty the tank promptly to avoid mildew.
Renovation Debris Removal
From broken tile shards to drywall dust, shop vacuums can handle debris that would ruin a standard vacuum. For fine dust, use a high-efficiency or HEPA filter to prevent clogs and preserve air quality.
Outdoor and Vehicle Cleaning
Use a shop vac to clear leaves from gutters, clean out car interiors, or even inflate air mattresses and pool toys if your model has a blower port. The tough hoses and powerful suction outperform household units on both dirt and stubborn debris.
Beginner Mistakes to Avoid When Using Shop Vacuums
- Not Matching the Model to the Task: Using a small-capacity model for a large renovation leads to frustration and wasted time.
- Neglecting Filter Maintenance: Failing to clean or replace filters regularly reduces suction and can damage the motor.
- Using the Wrong Filter for Wet Pickup: Never use a paper or HEPA filter when vacuuming liquids—switch to a foam sleeve or remove the filter as instructed.
- Forgetting to Check for Blockages: Clogs in the hose or nozzle are common—always unplug before attempting to clear a blockage.
- Improper Storage: Leaving wet debris in the tank promotes mold and unpleasant odors. Always empty and dry the canister after use.
Cost Breakdown and Smart Budgeting for Shop Vacuums
Initial Purchase Costs
- Entry-Level (2–6 gal): $40–$80
- Mid-Range (8–14 gal): $90–$170
- Heavy-Duty (16–20+ gal): $180–$400+
Accessory and Maintenance Costs
- HEPA or High-Efficiency Filters: $15–$40 each, replaced every 3–6 months with frequent use.
- Dust Bags: $10–$30 for multipacks, optional for most models.
- Specialty Attachments: $10–$25 each.
Long-Term Considerations
- Investing in a quality filter and maintaining it extends the vacuum’s lifespan and performance.
- Avoid under-buying; a mid-range model often provides the best balance of price, power, and longevity for most DIYers.
Maintenance Best Practices for Shop Vacuums
Routine Cleaning
- Empty the tank after each use, especially after collecting liquids.
- Rinse and air-dry the tank to prevent mold growth.
- Clean or replace filters according to manufacturer recommendations or more often if you notice reduced suction.
Preventing Clogs and Odors
- Inspect hoses and nozzles regularly for blockages.
- Store the vacuum with the tank lid open after wet use, allowing residual moisture to evaporate.
- Add a small amount of baking soda to the tank to neutralize odors when vacuuming wet messes.
Annual Deep Maintenance
- Disassemble the hose and attachments, soak in soapy water, and scrub away debris.
- Check all gaskets and seals for wear—replace if they appear cracked or brittle.
- Inspect wheels and handles for loose hardware.
Safety Checklist: Using Shop Vacuums Safely
- Always unplug the vacuum before performing maintenance or clearing blockages.
- Wear a dust mask and eye protection when cleaning up hazardous or fine dust.
- Double-check filter compatibility before switching between wet and dry modes.
- Use grounded outlets and avoid extension cords when possible to prevent electrical hazards.
- Never vacuum flammable or combustible materials (e.g., gasoline, solvents, hot ashes).
Conclusion: Transforming Your DIY Experience with the Right Shop Vacuum
A shop vacuum is more than just an afterthought for cleaning up messes; it’s a powerful ally that simplifies repairs, streamlines maintenance, and even enhances your safety during home upgrades. By carefully comparing wet/dry models, understanding the features that truly impact performance, and investing in the right accessories, you can match your vacuum to your specific needs—saving time, protecting your health, and getting better results from every project.
Don’t let a poorly chosen vacuum slow you down or damage your tools and workspace. Prioritize capacity, filtration, and ease of maintenance when shopping, and remember that regular care will keep your vacuum running strong for years. Whether you’re an occasional DIYer or a dedicated home workshop enthusiast, the right shop vacuum can make every project cleaner, safer, and more enjoyable. Take the time to choose wisely, outfit your vacuum with the right attachments, and follow best practices for maintenance—you’ll thank yourself every time you tackle a new challenge in your home.