
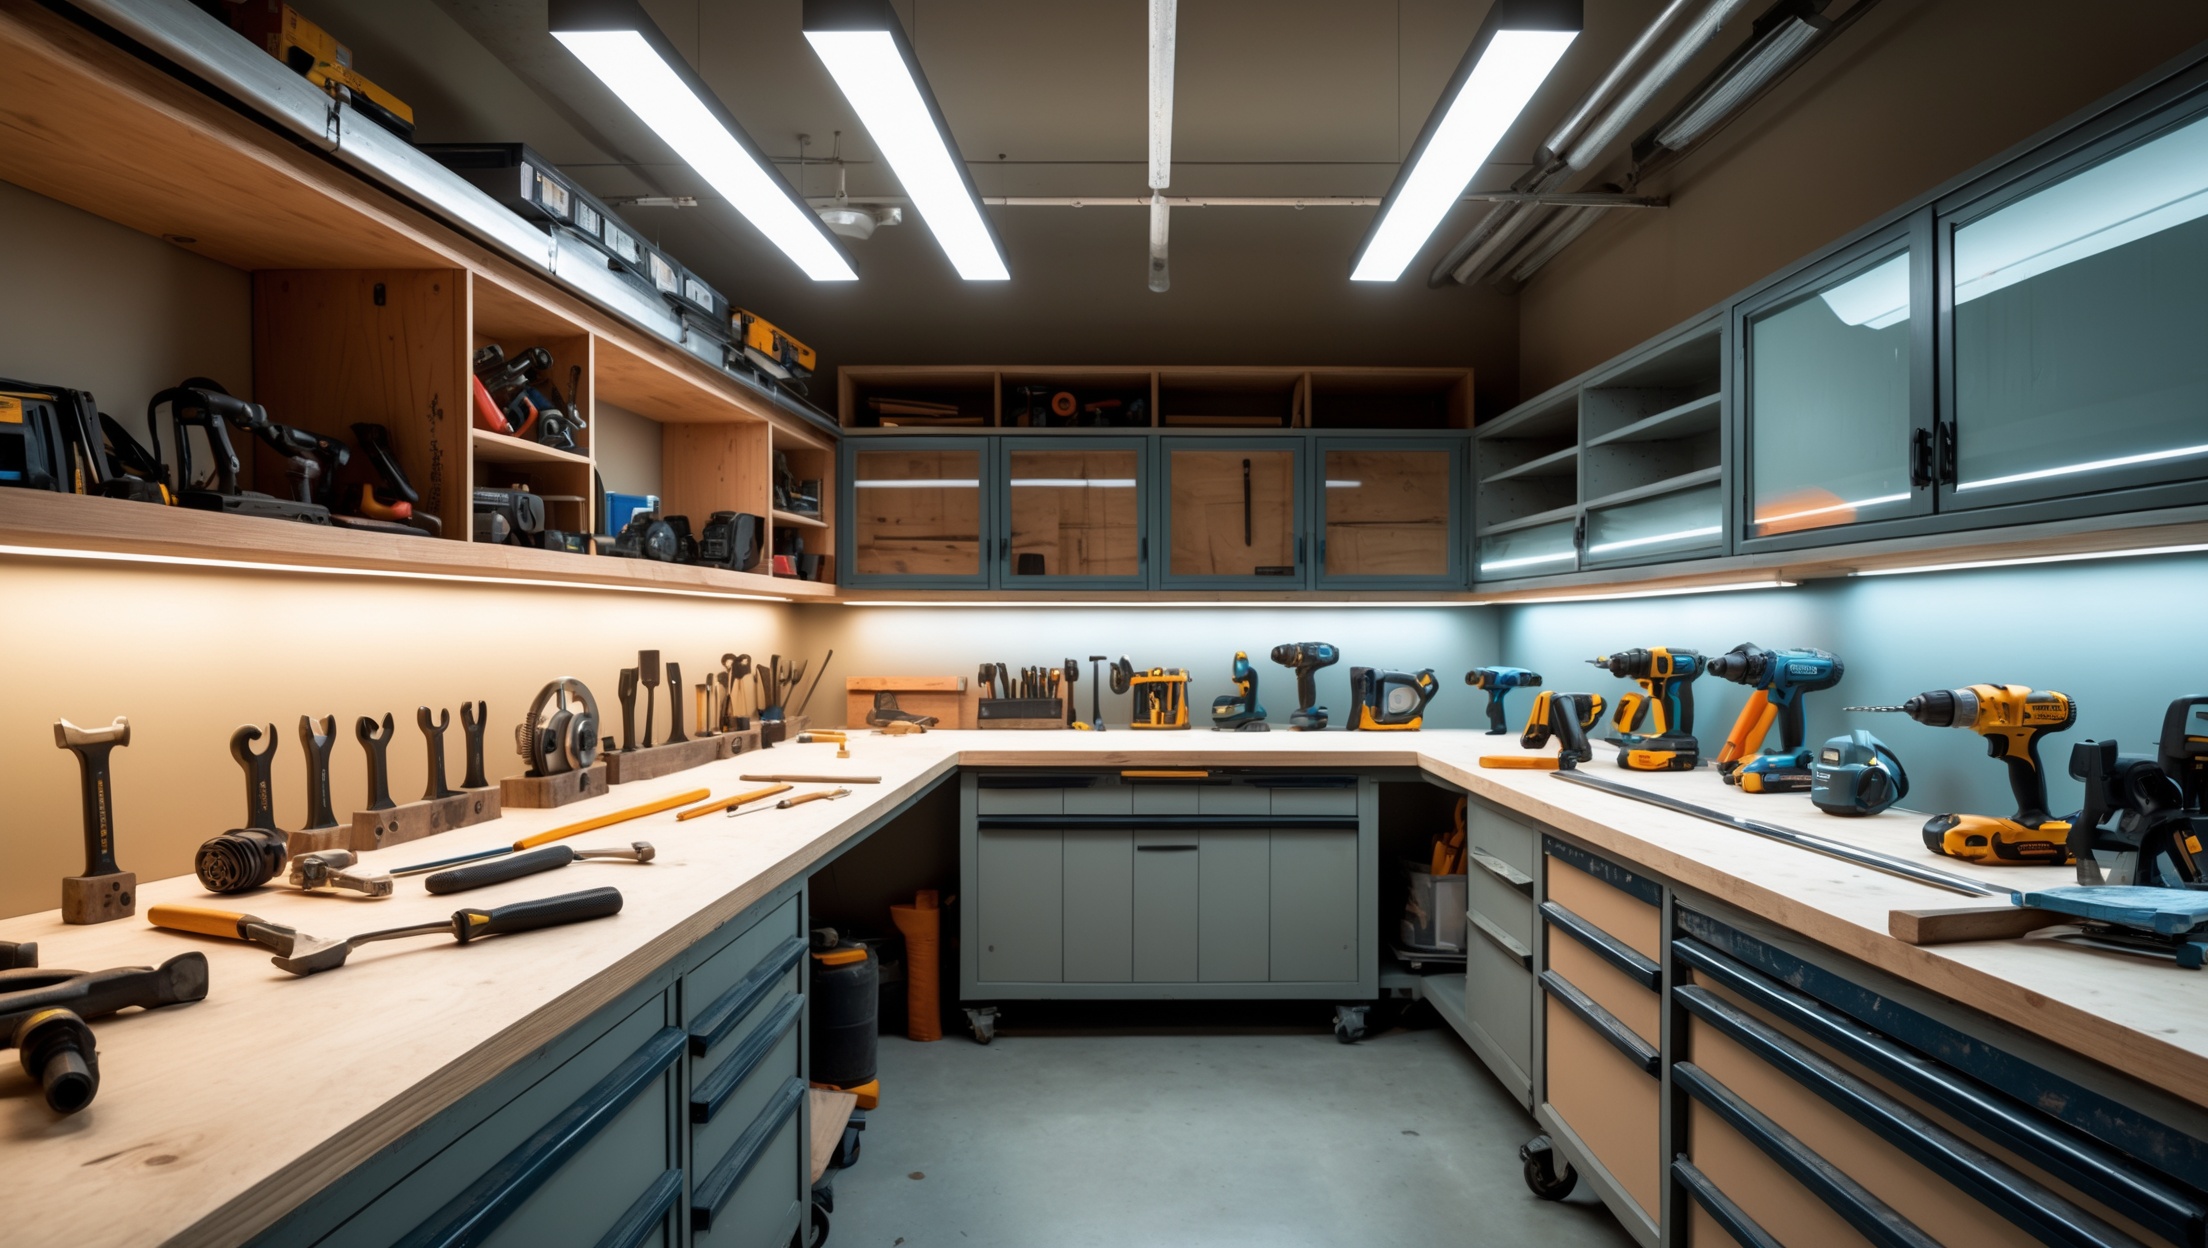
Good lighting is the unsung hero of any productive home workshop. Whether you’re repairing appliances, building furniture, or maintaining household gadgets, the quality of your shop lighting directly impacts your safety, precision, and comfort. Yet, many DIYers overlook lighting upgrades, either sticking with outdated fixtures or underestimating the dramatic difference that proper illumination makes. With the explosion of LED technology, smart lighting, and advanced fixture designs, upgrading your workshop lighting is not only affordable but can also boost your efficiency, reduce eye strain, and even lower your energy bills. In this comprehensive guide, we’ll compare LED, fluorescent, and smart lighting options specifically for home workshops. You’ll learn about key features, installation advice, cost analysis, and maintenance best practices, empowering you to choose—and install—the perfect lighting solution for your DIY haven.
Why Lighting Quality Matters in a Home Workshop
The Impact on Safety and Precision
Dim or uneven shop lighting isn’t just inconvenient—it can be dangerous. Poor visibility increases the risk of accidents, from minor cuts to serious power tool injuries. On the other hand, bright, even lighting enhances your ability to measure, cut, and assemble with confidence, reducing costly mistakes and boosting your project success rate.
Fatigue and Eye Strain
Inadequate lighting forces your eyes to work harder, causing fatigue, headaches, and reduced productivity over long sessions. Well-designed lighting mimics natural daylight, keeping you focused and comfortable even during hours of detailed work.
Energy Efficiency and Cost Savings
Outdated fixtures can drain your wallet with high electricity bills and frequent bulb replacements. Upgrading to modern solutions can pay for itself in energy savings, while smart controls allow you to fine-tune brightness and usage.
Understanding Shop Lighting Types: LED, Fluorescent, and Smart Fixtures
LED Lighting: The Modern Standard
- Energy Efficiency: LEDs consume up to 75% less energy than incandescent or fluorescent bulbs.
- Long Lifespan: Quality LED fixtures last 25,000–50,000 hours—often a decade or more with regular use.
- Instant On: No warm-up time; full brightness the moment you flip the switch.
- Color Choices: Available in cool white (5000K+), ideal for task lighting, or warmer tones for ambient areas.
- Low Heat Output: LEDs stay cool, reducing fire risk and keeping your shop comfortable.
- Form Factor Flexibility: From slim panels and tubes to high-bay fixtures, there’s an LED for every workshop layout.
Fluorescent Lighting: The Longtime Workhorse
- Cost-Effective Upfront: Traditional shop fluorescents are widely available and affordable.
- Decent Efficiency: T5 and T8 bulbs outperform older T12s, offering reasonable energy savings.
- Even Illumination: Fluorescent tubes distribute light over long workbenches or garage bays.
- Drawbacks: Flickering, slow startup in cold weather, and mercury content make disposal and handling more challenging.
Smart Fixtures: Customizable, Connected Lighting
- Wireless Control: Adjust brightness, color temperature, and on/off schedules via smartphone apps or voice assistants.
- Automation: Integrate motion sensors, daylight harvesting, or routines for hands-free operation.
- Color Tuning: Switch between crisp daylight for tasks and softer tones for relaxation or mood lighting.
- Energy Monitoring: Some smart fixtures track usage, helping you optimize your energy spending.
- Compatibility: Many smart shop lights are LED-based, combining efficiency with convenience.
Comparing Workshop Lighting Options: Key Considerations
Brightness and Coverage
Workshop lighting is measured in lumens, not just watts. For general workspace areas, aim for 70–100 lumens per square foot. Task areas, such as workbenches or tool stations, benefit from focused lighting at 200–300 lumens per square foot. LEDs are the clear winner here, with compact fixtures delivering high output without glare.
Color Rendering Index (CRI)
CRI measures how accurately a light source reveals true colors. A CRI of 80+ is suitable for most DIY work, but for painting or detailed repairs, look for 90+ CRI LEDs or smart lights to avoid distortion.
Startup and Flicker
Fluorescents can flicker or be slow to start, especially in unheated garages. LEDs and most smart fixtures provide instant, flicker-free illumination even in cold conditions.
Fixture Placement and Shadow Reduction
Even the brightest light won’t help if it creates harsh shadows. Combine overhead fixtures with under-cabinet strips or movable task lights. LEDs and smart bars are especially versatile for targeted illumination.
Cost Breakdown: Upfront vs. Long-Term Investment
Initial Purchase and Installation
- LED Shop Lights: $30–$90 per 4-foot fixture; DIY installation is straightforward with plug-and-play models.
- Fluorescent Fixtures: $20–$60 per fixture; may require ballast changes if retrofitting old T12 housings.
- Smart Lighting: $50–$150 per fixture; additional cost for smart switches, hubs, or sensors if not included.
Operating Costs and Energy Savings
- LEDs: Use about 40–60% less energy than fluorescents and up to 85% less than incandescents. Average annual operating cost for a 32-watt LED running 8 hours/day: ~$11 (at $0.12/kWh).
- Fluorescents: Slightly higher energy use and more frequent tube replacements. Annual cost for similar use: ~$17.
- Smart Fixtures: Comparable to LEDs, with potential for even lower costs through automation and dimming.
Maintenance and Replacement
- LEDs: Replace every 10–15 years with normal use; little to no maintenance.
- Fluorescents: Tubes last 2–5 years; ballasts may need replacement every 8–10 years.
- Smart Fixtures: Similar lifespan to LEDs, but ensure firmware can be updated for long-term compatibility.
Choosing the Best Fixture for Your Workshop
Assess Your Needs
- Measure your workspace for total area and ceiling height.
- Identify task zones (benches, tool walls, machinery) needing extra light.
- Check existing wiring and outlet placement for easy fixture installation.
- Consider temperature extremes if your shop is unheated or uncooled.
LED Fixture Recommendations
- Ceiling-Mounted Panels: For broad, shadow-free light in large shops.
- Shop Light Bars: 4-foot or 8-foot bars are ideal for garages and basement workshops.
- Under-Cabinet and Magnetic Strips: For workbenches and tool chests.
- Portable Work Lights: For flexibility and detailed repairs.
Fluorescent Fixture Recommendations
- T8 or T5 Ballasted Fixtures: For budget upgrades or when reusing existing housings.
- Corded Shop Lights: For renters or those seeking plug-and-play simplicity.
Smart Fixture Recommendations
- Wi-Fi/Bluetooth Integrated Shop Lights: For app or voice control.
- Smart LED Bulbs or Tubes: Retrofitting existing fixtures with color-tunable, dimmable bulbs.
- Motion Sensor Add-Ons: For hands-free entry and energy savings.
Installation: Step-by-Step Setup for DIYers
Tools and Supplies Needed
- Drill and driver
- Level and measuring tape
- Wire stripper (for hardwired fixtures)
- Anchors, screws, or mounting brackets (as required by your fixture)
- Voltage tester (for safety)
- Ladder or step stool
LED Shop Light Installation (Plug-and-Play Model)
- Plan Fixture Placement: Mark mounting points to ensure even light distribution.
- Install Mounting Hardware: Use included brackets, anchors, or screws. Confirm they’re level.
- Attach Fixture: Snap or screw the light bar or panel into place.
- Connect Power: Plug into a nearby outlet. Use cord management clips for safety.
- Test and Adjust: Turn on the light, check for shadows, and reposition as needed.
Hardwired Installation (LED, Fluorescent, or Smart Fixtures)
- Turn Off Power: Shut off the circuit at your breaker panel and verify with a tester.
- Remove Old Fixture: Unscrew and disconnect wiring as needed.
- Wire the New Fixture: Match wires (black to black, white to white, ground to ground), secure with wire nuts, and tuck wires neatly.
- Mount Fixture: Attach using provided hardware, ensuring a secure fit.
- Restore Power and Test: Check that the fixture operates correctly and adjust settings if smart-enabled.
Maintenance Best Practices for Shop Lighting
- Clean Fixtures Regularly: Dust and debris can reduce brightness. Wipe down lenses and housings every 3–6 months.
- Check for Loose Connections: Periodically inspect plugs, cords, and hardwired connections.
- Replace Aging Bulbs or Tubes: LEDs rarely fail suddenly, but dimming or color shift is a sign to replace.
- Update Firmware: For smart fixtures, install app or firmware updates to maintain compatibility and security.
- Dispose Properly: Take old fluorescent tubes to hazardous waste centers due to mercury content.
Common Lighting Upgrade Mistakes to Avoid
- Underestimating Lumens Needed: Don’t rely on wattage alone; calculate total lumens for your space.
- Ignoring Color Temperature: For DIY work, 4000K–5000K “daylight” is best; avoid overly warm bulbs that distort detail.
- Overlooking Shadows: Combine general and task lighting to minimize shadow zones.
- Skipping Surge Protection: Use surge protectors, especially for smart fixtures, to prevent damage from power spikes.
- Poor Fixture Placement: Mount fixtures overhead, centered on work areas, and avoid glare in your line of sight.
Case Study: Transforming a Cluttered Garage into a Pro-Level Workshop
Consider the example of a homeowner who upgraded a dim, cluttered garage into a bright, organized workspace. By replacing two aging fluorescent tubes with four 48-inch LED shop lights (totaling 16,000 lumens), adding LED strips under cabinets, and integrating a smart switch with motion detection, they achieved:
- Increased Brightness: No more shadowy corners—every tool, part, and surface is easy to see.
- Lower Energy Use: Annual lighting costs dropped by 60% compared to the old setup.
- Convenient Automation: Lights turn on automatically when entering with full hands and shut off after leaving, saving energy and time.
- Improved Project Results: Detailed repairs and builds are easier, with fewer mistakes and less fatigue.
Conclusion: Brighten Your Workshop, Brighten Your DIY Success
If you’re still working under buzzing fluorescents or a single bare bulb, a lighting upgrade could be the most impactful DIY improvement you make all year. Modern LED and smart fixtures deliver superior brightness, color accuracy, and energy savings, transforming both the look and functionality of your home workshop. By carefully assessing your needs—considering lumens, color temperature, fixture placement, and smart controls—you can create a workspace that’s safer, more comfortable, and genuinely enjoyable to use. Remember to measure your space, plan your layout, and select fixtures that match your workflow. Installation is straightforward for most plug-and-play LEDs, while smart fixtures add flexibility and automation with minimal extra effort. Don’t forget to maintain your lighting by cleaning and checking connections, and always dispose of old bulbs responsibly. Investing a little time and money in your shop’s lighting pays off every time you tackle a project—reducing mistakes, fatigue, and costs while elevating your DIY results. Start your upgrade today, and discover how the right lighting can illuminate your creativity and productivity for years to come.
If I’m on a tight budget and want to upgrade from old fluorescent tubes, is it worth switching straight to LED, or do newer fluorescent options still make sense for smaller shops? Curious about maintenance and energy savings in the long run.
Switching to LED is usually the better long-term choice, even on a tight budget. LEDs use less energy, last much longer, and require less frequent bulb changes than fluorescents. While newer fluorescents can be cheaper upfront, they don’t offer the same energy savings or low maintenance. For a small shop, even a few LED fixtures can noticeably cut your electricity use and reduce hassle over time.
I see that smart lighting lets you fine-tune brightness, but do the smart fixtures you recommend hold up to sawdust and the vibrations from tools in a busy workshop? Wondering if durability is an issue compared to regular LED shop lights.
The smart fixtures mentioned in the article are generally built to handle typical indoor conditions, but they may not be as rugged as traditional LED shop lights designed specifically for workshops. Sawdust and vibrations can affect the longevity of smart fixtures if they’re not rated for tougher environments. If your workshop generates a lot of dust or vibrations, look for smart lights with sealed housings and higher durability ratings, or stick with heavy-duty LED shop lights for maximum reliability.