Introduction: Why Your Home Circuit Breaker Panel Deserves Attention
Behind every light switch, outlet, and appliance in your home is an often-overlooked but critical component: the circuit breaker panel. While it may not have the instant appeal of a shiny new power tool or smart gadget, the breaker panel is the nerve center of your home’s electrical system. A neglected panel can cause nuisance trips, hidden fire risks, and expensive outages. Conversely, a well-maintained panel ensures safety, convenience, and peace of mind—especially as you add more devices and upgrades to your home. This comprehensive guide will walk you through the process of safely inspecting, maintaining, and even upgrading your circuit breaker panel. You’ll learn what tools you’ll need, which steps you can do yourself, when to call a pro, and how to spot early warning signs of trouble. Whether you’re a hands-on DIYer or just want to make informed decisions, understanding your breaker panel is a must. Let’s demystify what goes on behind that metal door and empower you to keep your home’s electrical heart in top shape.
Understanding Your Circuit Breaker Panel: Components and Function
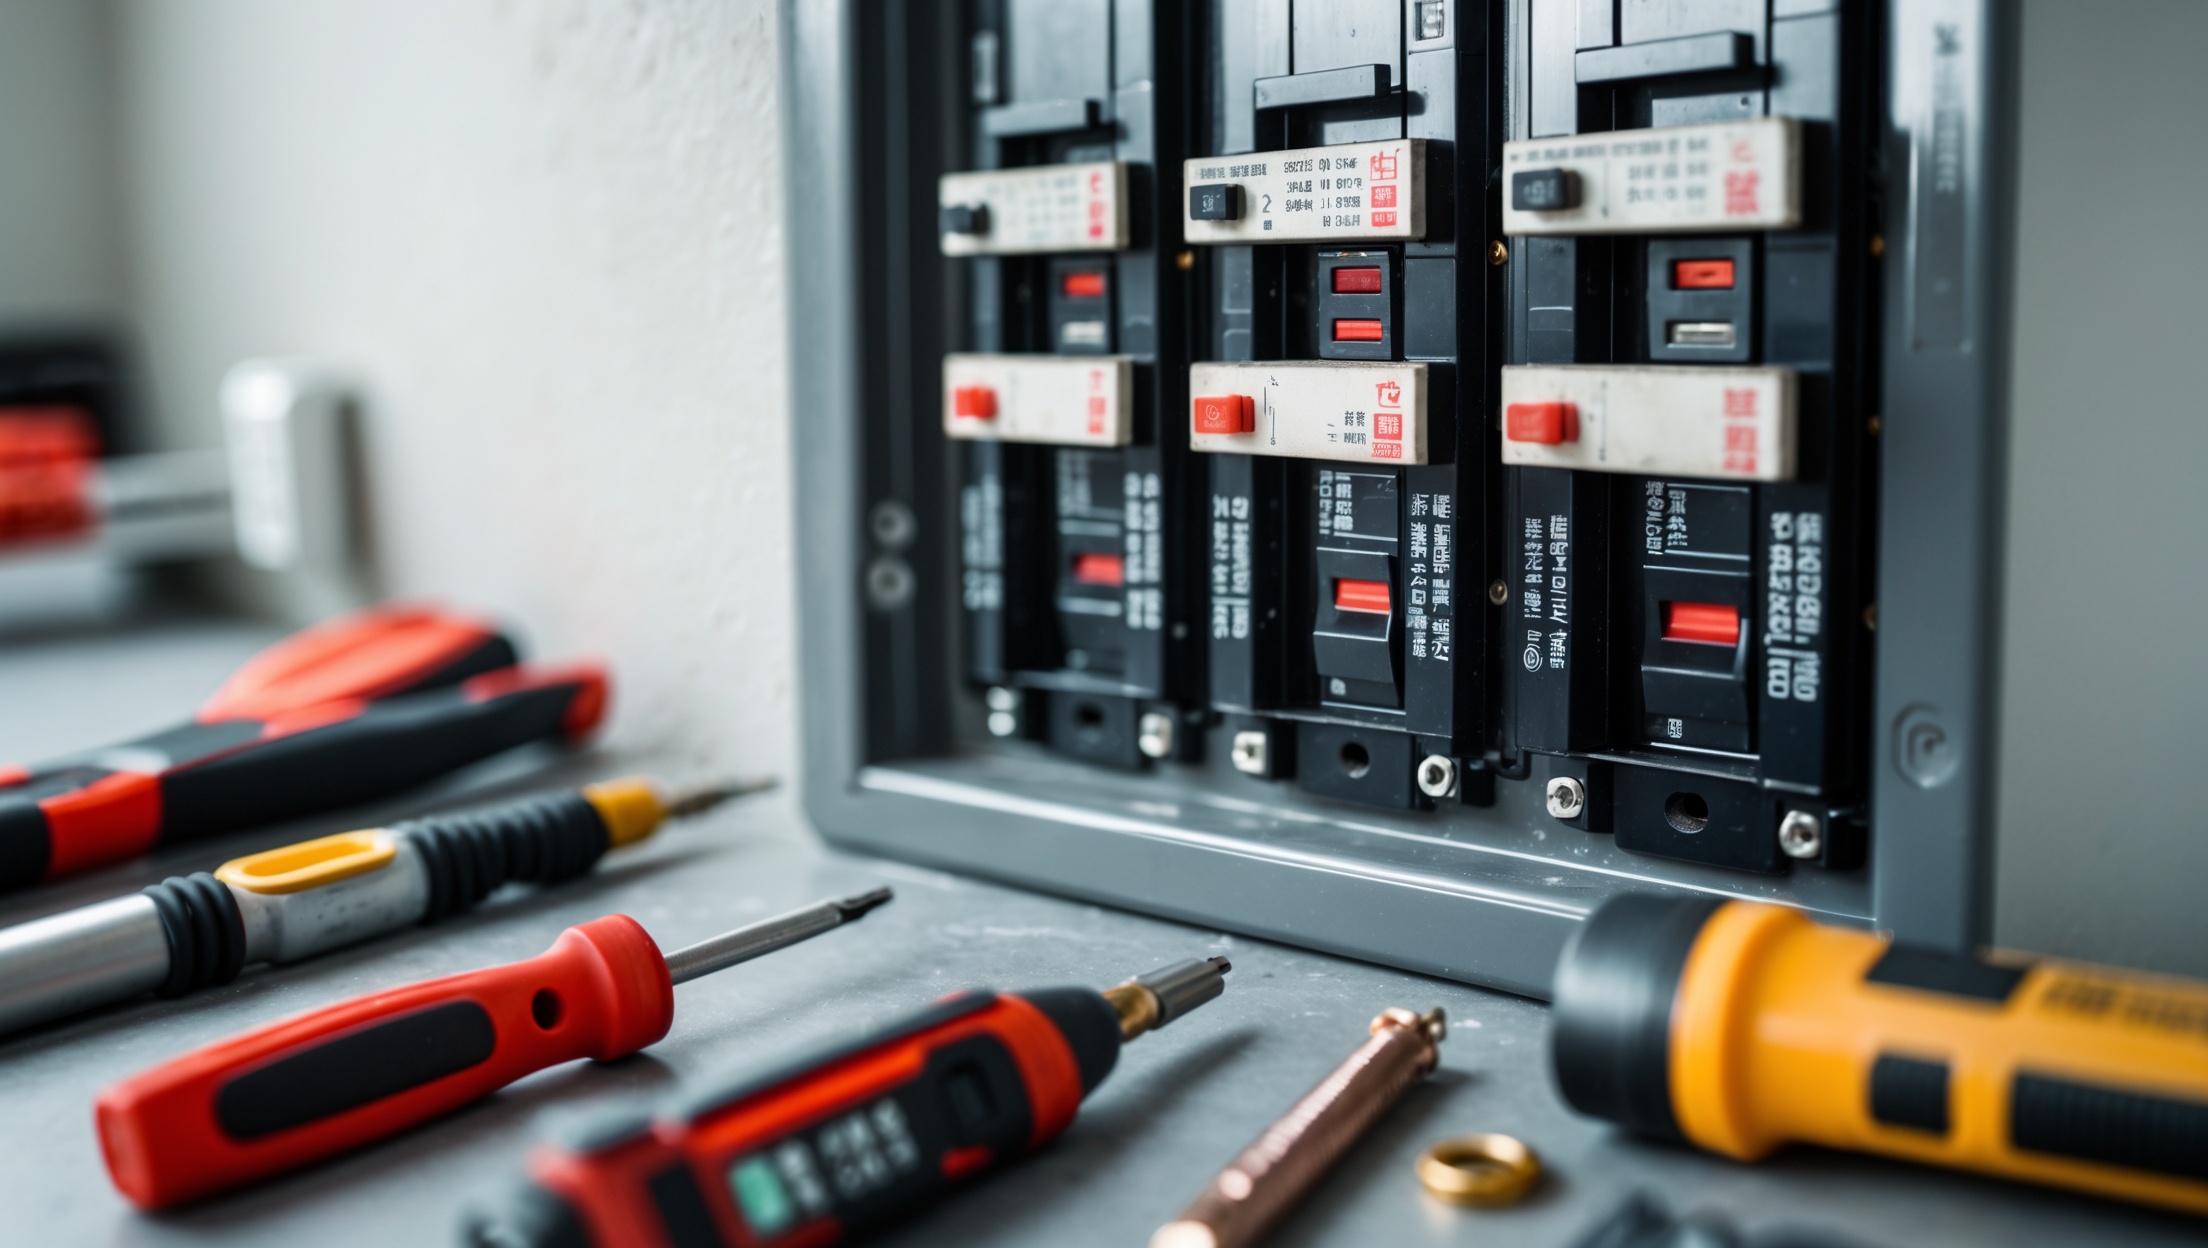
Main Elements of a Home Breaker Panel
- Main Breaker: Shuts off all power to the panel—your first safety feature.
- Branch Circuit Breakers: Individual switches controlling different circuits (lighting, outlets, appliances).
- Bus Bars: Metal bars that distribute electricity from the main breaker to the individual circuit breakers.
- Neutral and Ground Bars: Collect return currents and provide a safe path to earth in case of faults.
- Panel Cover (Dead Front): Shields live components while allowing access to breaker switches.
- Labeling: A directory that should clearly identify what each breaker controls.
How It Works
Electricity enters your home via the utility service line, passes through the main breaker, and is distributed by the branch circuit breakers. Each breaker is designed to “trip” (shut off) if it detects an overload or short circuit, preventing wiring damage or fire.
Safety First: Precautions Before Inspecting Your Breaker Panel
- Turn Off High-Load Appliances: Before opening the panel, turn off major appliances (HVAC, oven, etc.) to minimize electrical load.
- Wear Protective Gear: Use insulated gloves and safety glasses. Wear shoes with rubber soles and stand on a dry surface.
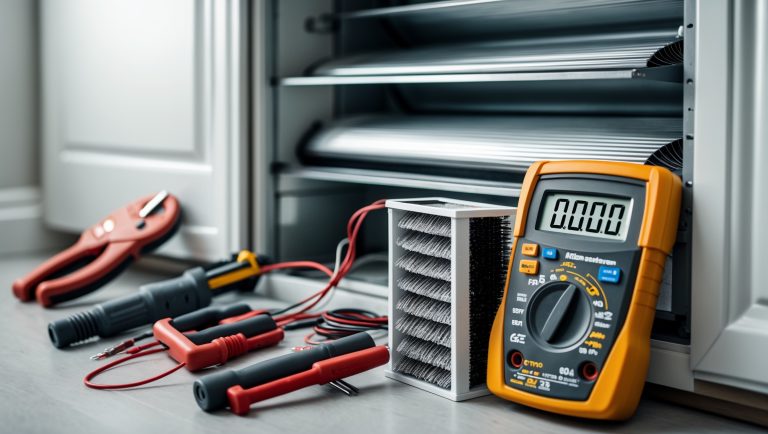
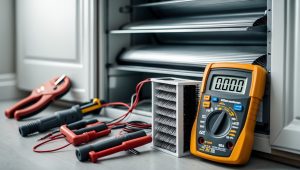
- Use the Right Tools: Insulated screwdrivers, non-contact voltage tester, flashlight, and a digital camera for documentation.
- Work in Daylight: If possible, work during the day to ensure you have backup lighting if you need to turn off power.
- Never Touch Bare Wires: Even with the main breaker off, some panel components may remain energized (like the service lugs).
- Know When to Stop: If you see signs of arcing, burning, or heavy corrosion, stop and call a licensed electrician immediately.
Essential Tools for Breaker Panel Inspection and Maintenance
- Non-Contact Voltage Tester: For checking if wires or breakers are live without making contact.
- Insulated Screwdrivers: Prevent accidental shorts when removing the panel cover or tightening connections.
- Headlamp or Flashlight: Panels are often installed in dimly lit basements or closets.
- Digital Camera or Smartphone: Snap photos of labeling, wiring, or any issues for reference or to show a pro later.
- Label Maker or Permanent Marker: For updating or creating clear breaker directories.
- Shop Vacuum or Small Brush: Clean out dust, cobwebs, or debris from inside the panel.
- Replacement Breakers (if upgrading): Always use brand/model-specific breakers; never mix brands.
Step-by-Step DIY Circuit Breaker Panel Inspection
1. Locate and Identify Your Panel
Find your main panel (sometimes called a load center), typically in a basement, garage, or utility closet. Look for the labeling chart and verify if it accurately reflects your home’s current layout. If not, plan to update it as you go.
2. Visual Safety Check
- Inspect the area around the panel for leaks, rust, or water stains. Moisture near electrical panels is a major hazard.
- Check for signs of insects, rodents, or dust accumulation that could interfere with electrical connections.
3. Remove the Panel Cover
- With a screwdriver, carefully remove the screws securing the panel cover (dead front).
- Hold the cover with one hand to prevent it from falling; they can be surprisingly heavy.
- Set the cover aside in a safe place.
4. Inspect Breakers and Wiring
- Look for discoloration, melted insulation, or scorch marks on breakers or wiring.
- Check for loose breakers (they should not wiggle excessively).
- Ensure that no double-tapping is present (two wires connected to a single breaker terminal unless listed as acceptable).
- Inspect for corrosion or white/green buildup on wires or bus bars, which indicates moisture or chemical reaction.
5. Test Breaker Operation
- One at a time, flip each breaker off and on to ensure it moves freely and clicks into place.
- Reset any tripped breakers and note which circuits they control.
6. Check Tightness of Connections
- Using an insulated screwdriver, gently test the tightness of breaker terminal screws and neutral/ground bar screws. Do not overtighten, as this can damage the wiring.
7. Use a Voltage Tester
- Before touching anything, verify (with a non-contact tester) that no unintended voltage is present on panel surfaces or loose wires.
8. Clean Out Debris
- Use a small brush or shop vacuum to remove dust, cobwebs, or debris. Never use water or cleaning solutions.
9. Replace and Secure the Panel Cover
- Carefully reinstall the panel cover and secure all screws.
- Double-check that all breakers are labeled and update your directory as needed.
Common Breaker Panel Issues and Troubleshooting
Frequent Breaker Trips
- Overloaded Circuit: Too many devices on one circuit. Unplug some items or redistribute loads.
- Faulty Appliance: Disconnect recently added devices to isolate the culprit.
- Short Circuit: If the breaker trips instantly, suspect a wiring fault. Inspect outlets/devices or consult an electrician.
Flickering Lights or Intermittent Power
- Loose connections at breaker terminals or in outlets/switches can cause intermittent issues. Tighten connections (with power off) or call a pro if unsure.
Burning Smell or Warm Panel
- Immediate red flag—turn off the main breaker and call an electrician. Do not attempt further inspection until a pro has checked the panel.
Outdated or Recalled Panels
- Some brands (e.g., Federal Pacific, Zinsco) have known safety recalls. If you have one of these, plan for replacement.
DIY Breaker Panel Upgrades: What You Can (and Can’t) Do
When a DIYer Can Replace a Breaker
- Replacing a like-for-like breaker (same brand/model/amp rating) is usually allowed for a homeowner, provided local codes permit.
- Always shut off the main breaker and verify with a voltage tester before removing a breaker.
- Never replace a breaker with a higher-amp version “to stop trips”—this is a fire hazard.
Adding Circuits or Subpanels
- Adding new circuits, subpanels, or upgrading the main service typically requires permits and should be done by a licensed electrician.
- DIYers can help with prep work (mounting boxes, running conduit), but final connections should be inspected and approved.
Upgrading for New Appliances or Gadgets
- If you’re adding high-load devices (EV chargers, tankless water heaters), consult an electrician to ensure your panel can handle the additional demand.
- Panel upgrades often require service disconnects and utility coordination—beyond DIY scope.
Arc Fault (AFCI) and Ground Fault (GFCI) Breakers
- Modern codes may require these specialized breakers for certain circuits. They install like standard breakers, but always check compatibility with your panel and local code requirements.
Maintenance Best Practices for Longevity and Safety
Annual Panel Inspection Checklist
- Inspect for moisture, corrosion, and debris inside and around the panel.
- Check breaker and wire labeling; update as your home’s layout changes.
- Test breaker operation and reset GFCI/AFCI units.
- Verify tightness of visible connections with an insulated screwdriver.
- Listen for buzzing or humming (signs of loose connections or overloaded circuits).
Updating Your Breaker Directory
- Clearly label each breaker with the area and main devices it controls.
- Use a label maker or permanent marker for readability.
- Photograph your panel and directory for digital backup.
Keep the Area Around Your Panel Clear
- Maintain at least 36 inches of clear space in front of the panel for quick access in an emergency.
- Do not store flammable materials nearby.
Know Your Limits
- If you are unsure, uncomfortable, or encounter anything unexpected (burning smell, melted parts, heavy corrosion), stop and call a licensed professional.
- Never attempt repairs on the service entrance cable or main lugs.
Breaker Panel Upgrades: Budgeting and Planning
Budgeting for Replacement or Upgrades
- Replacing a single breaker: $10–$50 per breaker, depending on type and brand.
- Full panel replacement: $1,000–$3,000+ including labor; higher if service upgrades are needed.
- Adding AFCI/GFCI breakers: $40–$100 each, depending on brand and features.
DIY vs. Professional Costs
- DIY Inspection & Maintenance: Minimal cost—mainly time and basic tools.
- DIY Breaker Replacement: Cost of breaker + your time. Permitted in many areas for homeowners, but always check local codes.
- Professional Panel Upgrade: Labor is the main expense; ensures code compliance and safety.
Permit and Compliance Considerations
- Most jurisdictions require permits for panel replacements or adding new circuits.
- DIY work (beyond simple breaker replacement) may require inspection before power is restored.
Frequently Asked Questions About Breaker Panels
- Can I replace an old fuse box with a breaker panel myself? This is a complex upgrade that should be done by a licensed electrician due to code, permitting, and safety requirements.
- How often should I inspect my panel? At least annually, or after any major home electrical changes.
- Is it dangerous to open my breaker panel? There is some risk; always use appropriate safety precautions and stop if you encounter anything unusual.
- Can I add more breakers to my panel? Only if there are open slots and the panel’s total amperage rating is not exceeded. Never install “tandem” breakers unless your panel is listed for them.
Conclusion: Empowering Homeowners Through Knowledge and Caution
Electrical systems can seem intimidating, but a basic understanding of your home’s circuit breaker panel pays dividends in safety, convenience, and cost savings. Regular inspection and maintenance help you spot minor issues before they become major hazards. With the right tools and safety mindset, many homeowners can confidently perform routine breaker panel checks, update labeling, and even replace a worn-out breaker or two. However, the line between DIY and professional work is especially important in electrical projects—never hesitate to call a licensed electrician for upgrades, troubleshooting, or anything that feels out of your depth.
By making breaker panel care part of your regular home maintenance routine, you protect your family, your property, and your investments in gadgets, appliances, and upgrades. And when it’s time to expand your home’s electrical capacity or address a major issue, you’ll be equipped with the knowledge to ask the right questions and budget wisely. Remember: in the world of electricity, caution is the best tool in your kit. Stay safe, stay informed, and your home’s electrical heart will keep beating strong for years to come.