Introduction: Why DIY Smart Thermostat Installation?
The modern home is smarter than ever, and one of the most impactful upgrades you can tackle yourself is installing a smart thermostat. Not only can this project enhance your comfort and energy efficiency, but it can also add value to your home and provide you with greater control over your environment. Yet, the prospect of pulling off a successful DIY smart thermostat installation can be intimidating. Between deciphering wiring diagrams, choosing the right tools, and ensuring safety, there’s plenty to consider. The good news? With the right guidance, a solid tool kit, and practical wiring knowledge, this is a project well within reach for most handy homeowners. In this guide, we will break down every step of the process, covering the essential tools you’ll need, the most common mistakes (and how to avoid them), and practical wiring tips to make your installation seamless and safe. Whether you’re upgrading from a basic programmable thermostat or starting fresh, this detailed walkthrough will empower you to install and configure your smart thermostat with confidence.
Understanding Smart Thermostats: Features and Benefits
Before jumping into the installation process, it’s important to understand what sets a smart thermostat apart from its predecessors. Today’s smart thermostats offer features like learning your schedule, remote control via smartphone apps, geofencing, energy usage reports, and seamless integration with smart home platforms such as Alexa, Google Assistant, and Apple HomeKit. The result? Lower energy bills, increased comfort, and a step forward in home automation.
- Learning Algorithms: Adapts to your habits for optimal comfort and efficiency.
- Remote Access: Control your HVAC system from anywhere using your phone.
- Energy Reports: Track usage and identify savings opportunities.
- Smart Integrations: Connects with various home automation ecosystems.
However, these advanced features can also make installation a bit more complex, especially around wiring and compatibility. That’s where a careful, tool-guided approach comes in.
Essential Tools and Equipment Checklist
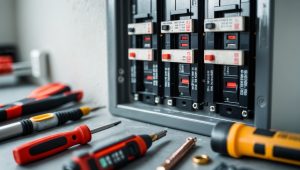
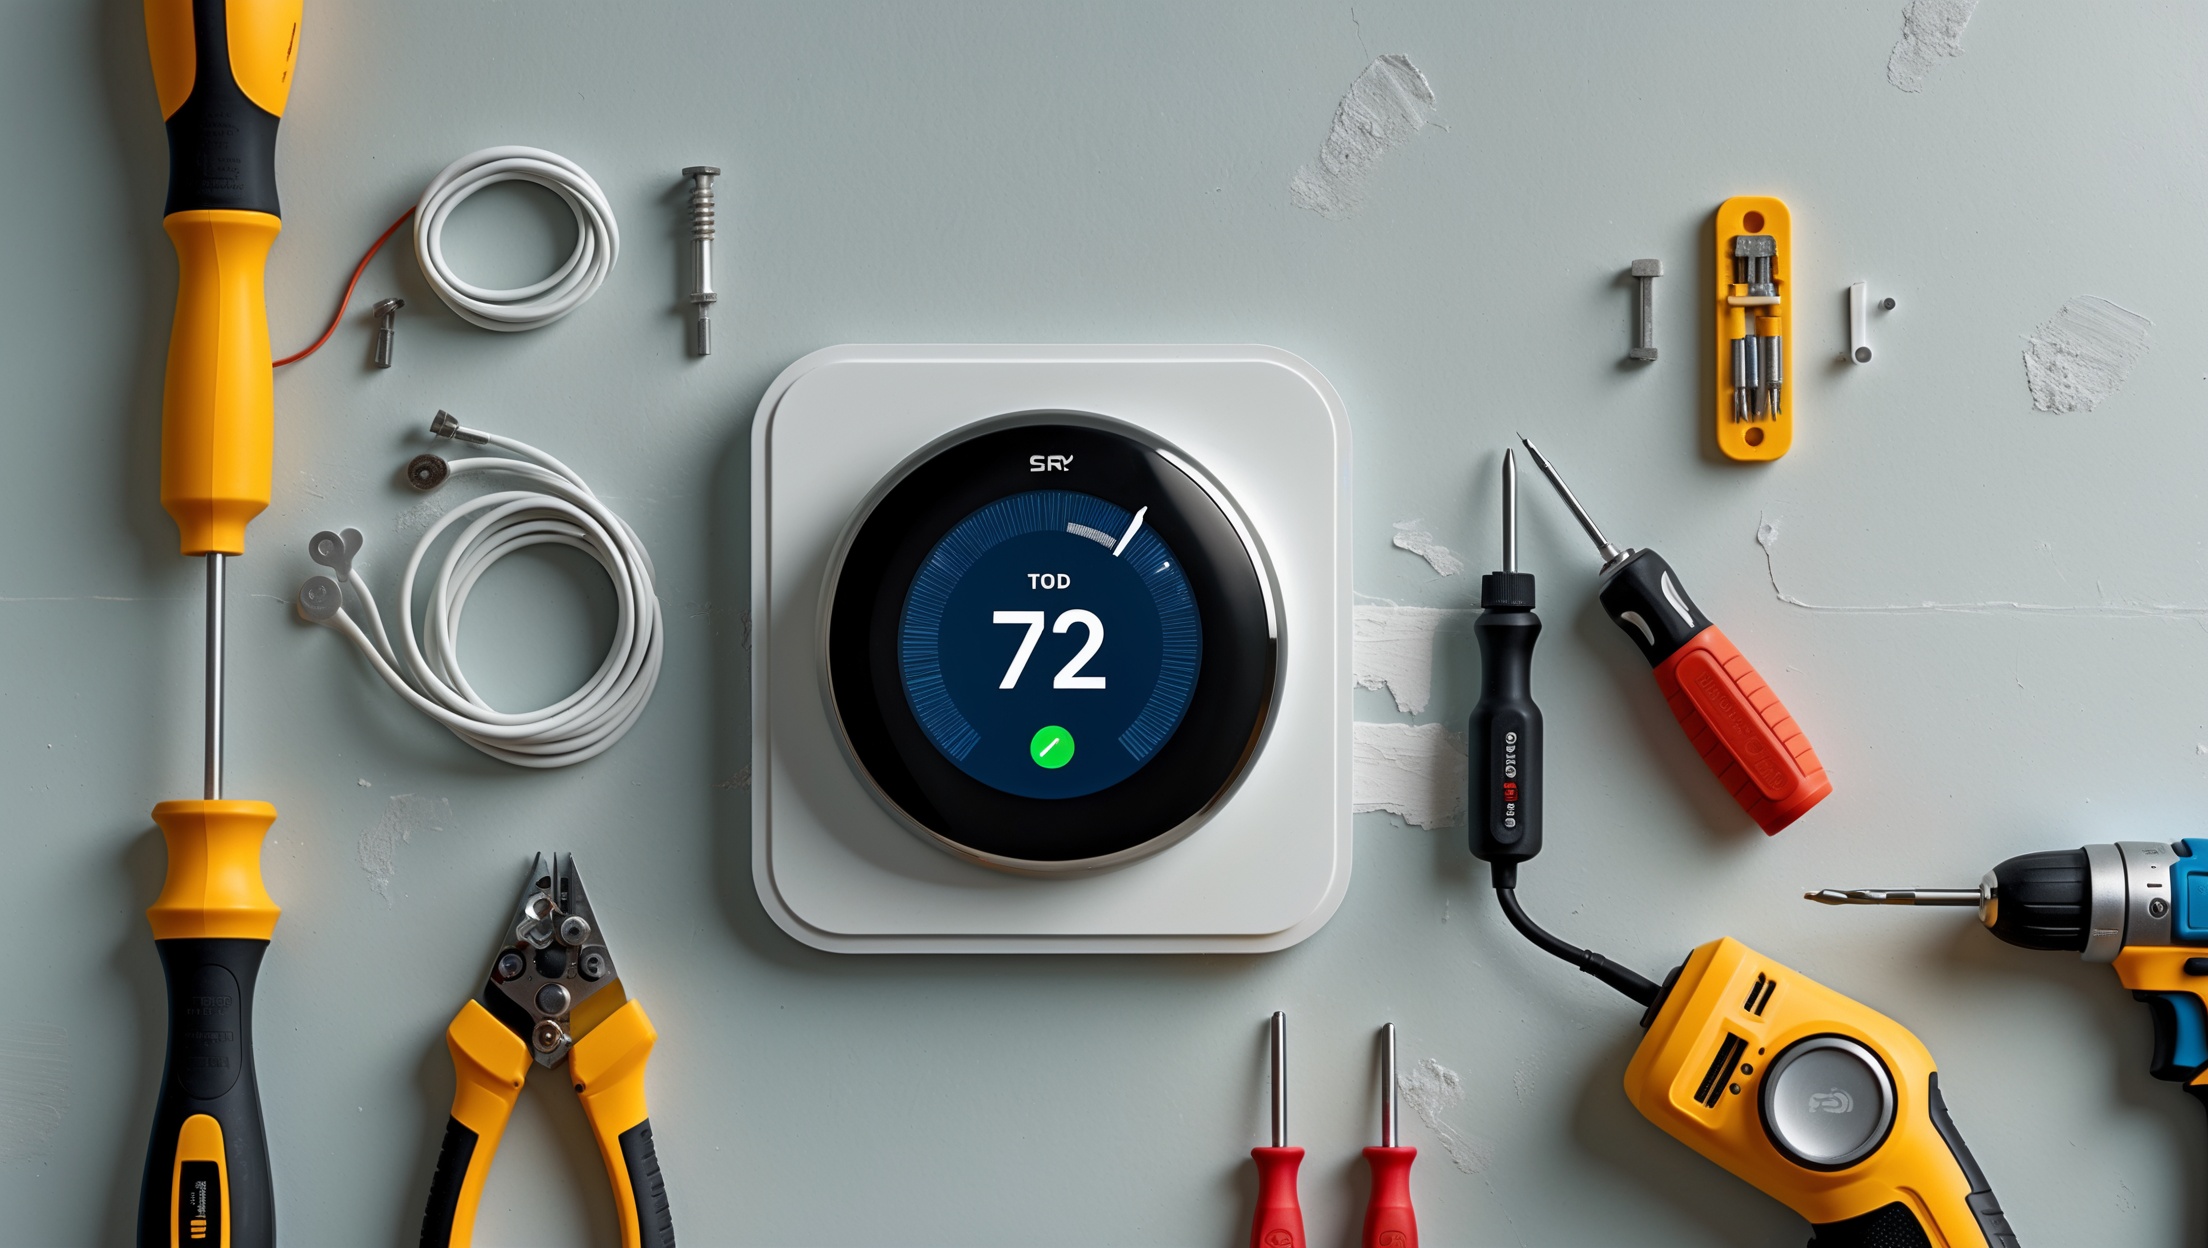
Having the right tools on hand is half the battle. Here’s a breakdown of what you’ll need for a straightforward, safe smart thermostat installation:
- Small Phillips and Flathead Screwdrivers: For removing the old thermostat and installing the new base plate.
- Wire Strippers: To cleanly strip thermostat wires if needed.
- Needle-Nose Pliers: Useful for bending or repositioning wires in tight spaces.
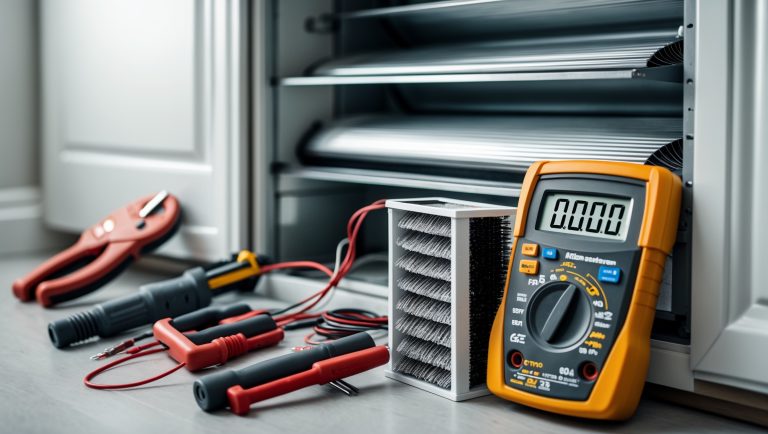
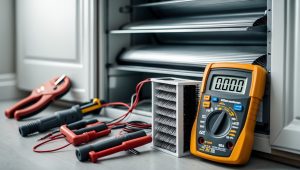
- Voltage Tester or Non-Contact Voltage Detector: To verify power is off before touching any wires.
- Drill with Assorted Bits: For mounting the new thermostat, especially on drywall, plaster, or masonry.
- Level: Ensures the thermostat is mounted straight for both aesthetics and proper function.
- Labeling Stickers or Tape: For marking wires before disconnecting them from the old thermostat.
- Pencil: To mark screw holes for the new base plate.
- Smartphone or Camera: Highly recommended for taking a photo of the original wiring for reference.
Optional but recommended:
- Drywall Anchors: For secure mounting if the existing holes don’t align.
- Wire Nuts: For safely capping unused wires.
- Vacuum Cleaner: To clean up dust and debris when drilling new holes.
Assessing Compatibility and Preparing for Installation
Confirming System Compatibility
Not all HVAC systems are compatible with every smart thermostat. Most leading models work with the majority of 24V systems (found in the U.S.), but some older or proprietary setups require adapters or are incompatible. Here’s how to confirm:
- Check the existing thermostat for wire labels (e.g., R, W, Y, G, C).
- Consult your HVAC system’s manual or the manufacturer’s website for compatibility charts.
- Use the online compatibility checker provided by most thermostat brands.
Pay special attention to whether you have a C-wire (common wire), which supplies continuous power to your thermostat. Many smart thermostats require it, though some offer alternative power options.
Power Down Safety
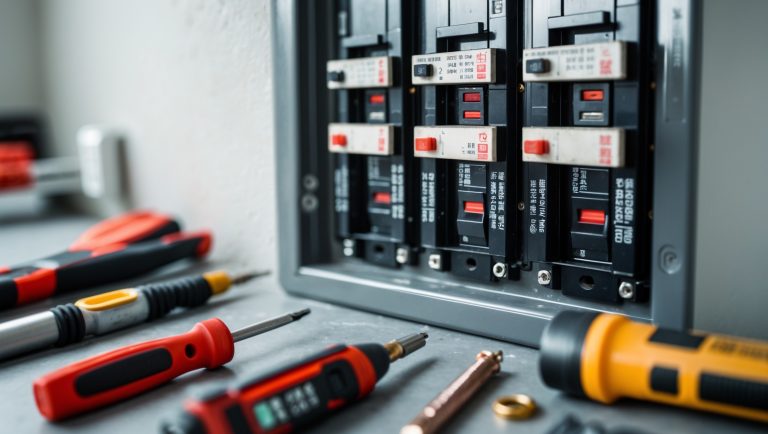
Before touching any wires, turn off your HVAC system at the breaker panel. Use your voltage tester to confirm there is no live voltage at the thermostat wires. This step is non-negotiable for your safety and to avoid damaging your new device.
Labeling and Documenting Wires
Before disconnecting anything, label each wire according to its terminal letter. If the thermostat came with stickers, use them; otherwise, a piece of masking tape works well. Take a well-lit photo of the wiring as a backup reference. These precautions will save you headaches during installation and troubleshooting.
Step-by-Step Installation Process
1. Remove the Old Thermostat
- Gently remove the thermostat cover (usually snaps off or is held by a small screw).
- Loosen the terminal screws and detach each wire, labeling as you go.
- Unscrew the mounting plate from the wall.
Be careful not to let wires fall back into the wall cavity. Wrapping them around a pencil can help keep them accessible.
2. Prepare the Wall and Wires
- Clean the area around the hole. Patch and paint if needed for aesthetics.
- Straighten and strip wires as needed using the wire strippers. Expose about 1/4 inch of copper for a secure connection.
- Check for frayed or broken wires and trim back if necessary.
3. Mount the New Thermostat Base Plate
- Hold the new base plate against the wall and use a level to ensure it’s straight.
- Mark screw hole positions with a pencil.
- Drill pilot holes and use drywall anchors if the wall is soft or the screws don’t bite securely.
- Thread the labeled wires through the center of the base plate and secure the plate to the wall.
4. Connect the Wires
- Match each wire to its corresponding terminal on the new thermostat base (using your labels and photo).
- Insert each wire fully and tighten the terminal screws or spring clips.
- If you don’t have a C-wire, follow your thermostat’s instructions for alternative wiring solutions (often a power extender kit or adapter is included).
- Cap any unused wires with wire nuts for safety.
5. Attach the Thermostat Faceplate
- Align the faceplate with the base and snap or screw it into place, as per the manufacturer’s instructions.
6. Restore Power and Configure
- Go back to your breaker panel and restore power to the HVAC system.
- The thermostat should power up automatically. If not, re-check wiring and power supply.
- Follow the on-screen prompts to connect the thermostat to your Wi-Fi and configure basic settings (system type, schedules, etc.).
Wiring Tips: Avoiding Common DIY Pitfalls
Understanding Wire Labels
Typical residential systems use the following wires (not all may be present):
- R (Red): Power from transformer
- C (Blue/Black): Common wire (continuous power)
- W (White): Heat
- Y (Yellow): Cool
- G (Green): Fan
- O/B (Orange/Blue): Heat pump reversing valve
Never guess a wire’s function by color alone—always refer to the old terminal labels and your system’s manual.
What If You Don’t Have a C-Wire?
If your system lacks a C-wire, consider these options:
- Use a Power Extender Kit: Many smart thermostats include these to create a C-wire from existing wires.
- Install a C-Wire Adapter: Available for purchase, these can bridge the gap for simple systems.
- Hire an Electrician: If you’re unsure, a professional can safely run a new wire from your HVAC control board.
Double-Checking Connections
Loose or partially inserted wires are a top source of installation failure. Ensure each wire is securely fastened and that no copper is exposed outside the terminal block. Gently tug each wire to confirm it is locked in place.
Common Mistakes to Avoid (and How to Fix Them)
- Skipping the Power-Off Step: Always verify power is off to avoid shock or thermostat damage.
- Neglecting to Document Old Wiring: Take clear photos and label before disconnecting anything.
- Incorrect Wire Placement: Double-check terminal assignments before powering on.
- Mounting the Thermostat Crooked: Use a level for a professional look and proper sensor function.
- Over-tightening Screws: Secure the base plate and wires, but don’t strip screws or break the housing.
- Forgetting to Set System Type: Configure the thermostat for your specific HVAC setup (e.g., heat pump vs. conventional).
- Wi-Fi Setup Errors: Place the thermostat within a strong Wi-Fi range and follow app prompts carefully.
- Ignoring Firmware Updates: After installation, check for updates to ensure optimal performance and security.
Post-Installation Checklist and Maintenance Tips
Testing System Functionality
- Test heating, cooling, and fan settings from the thermostat and app to ensure all modes work.
- Check that room temperature readings are accurate and that the thermostat responds promptly to setting changes.
Routine Maintenance
- Keep the thermostat clean and free of dust for accurate sensor readings.
- Check for firmware updates regularly.
- Test Wi-Fi connectivity every few months, especially after router changes.
- Review energy reports to spot unusual spikes that may indicate HVAC issues.
- Replace HVAC filters on schedule to maintain system efficiency.
Advanced Tips: Integrating with Other Smart Home Devices
Maximize your investment by connecting your smart thermostat with other smart home devices and routines:
- Voice Assistants: Use Alexa, Google Assistant, or Siri for hands-free temperature control.
- Home Automation Routines: Set up geofencing to automatically adjust temperatures when you leave or arrive.
- Smart Sensors: Add remote temperature sensors for more precise room control.
- Energy Management: Integrate with smart plugs or energy monitors for whole-home efficiency insights.
Conclusion: Empowering Your DIY Home Upgrades
Installing a smart thermostat may seem daunting at first glance, but with the right preparation, tools, and attention to detail, it’s a highly rewarding DIY project that pays dividends in comfort, convenience, and energy savings. By following this step-by-step guide, you’ve learned how to choose and use the essential tools, assess compatibility, and wire your thermostat safely and correctly. You’ve also gained an understanding of the most common mistakes—like neglecting to document wiring or skipping the all-important power-off step—and how to avoid them. But your journey doesn’t end here. Maintaining your smart thermostat and exploring its advanced features, from home automation integrations to energy usage analytics, will keep your home running efficiently and intelligently. If you encounter unique wiring scenarios or uncertain compatibility, don’t hesitate to consult a professional—knowing your limits is part of being a savvy DIYer. Ultimately, this project is about taking control of your environment and embracing the technology that makes modern living easier. With your new skills and confidence, you’re ready to tackle future upgrades and repairs, one smart solution at a time.