



Introduction: Why Cordless Drill Maintenance Matters
Cordless drills are the workhorses of the modern DIY toolkit, powering through repairs, furniture assembly, home upgrades, and countless projects with unmatched convenience. Their portability and versatility are only matched by the frustration of a drill that loses power, overheats, or jams at the worst possible moment. Many DIYers treat their cordless drill as a maintenance-free gadget—until it fails. The reality is, regular upkeep is essential for preserving both performance and longevity. Proper care not only saves you money on premature replacements and repairs, but also ensures each project goes smoothly, with fewer interruptions and safer operation.
This comprehensive guide dives deep into practical, step-by-step maintenance for cordless drills. We’ll address overlooked cleaning routines, smart battery care, lubrication techniques, and troubleshooting common issues. You’ll learn exactly what to inspect, how often to perform checks, and which products to use (and which to avoid). By following these best practices, you’ll maximize the lifespan of your drill, maintain peak torque and efficiency, and prevent avoidable breakdowns—making every home project simpler, safer, and more satisfying.
Understanding Your Cordless Drill: Anatomy and Key Components
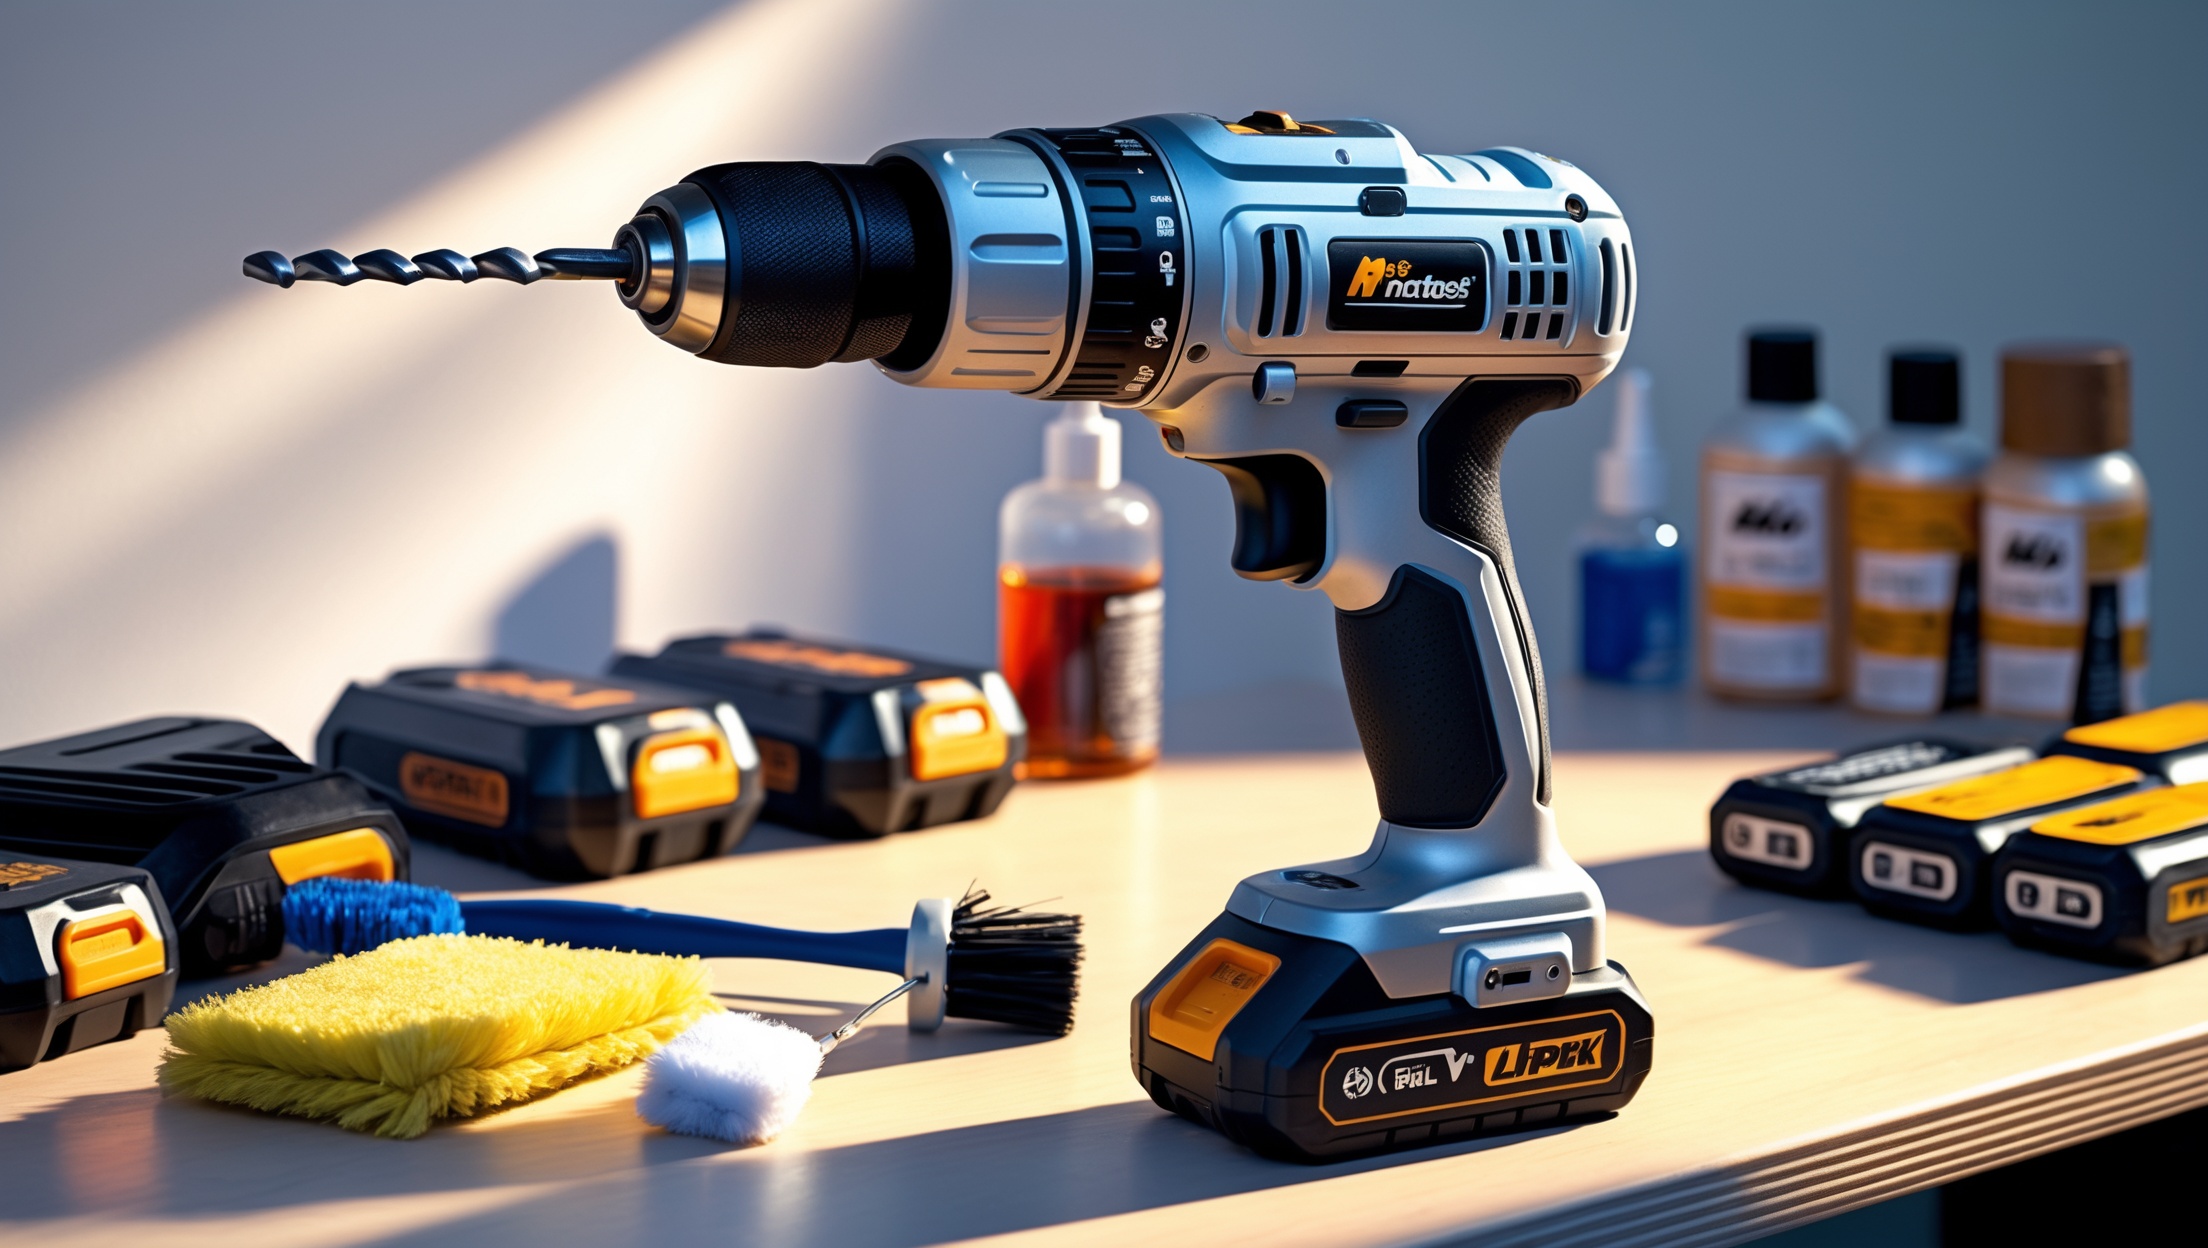
Before you can maintain your drill effectively, it’s important to know its core parts and how they work together. Here’s a quick breakdown:
- Chuck: The rotating part that holds drill or driver bits.
- Motor: Provides the power to turn the chuck; often brushless in newer models.
- Gearbox: Adjusts torque and speed.
- Trigger and Speed Controls: Govern operation and variable speed.
- Battery Pack: Supplies power; typically lithium-ion or NiMH.
- Ventilation Ports: Prevent overheating by allowing airflow.
- LED Worklight (on some models): Illuminates the workspace.
- Grip and Housing: Protects internal components and provides ergonomics.
Routine Cleaning: Remove Dust, Debris, and Residue
Why Cleaning Matters
Dust, wood shavings, and debris can clog vents, jam the chuck, and cause overheating or reduced torque. Regular cleaning prevents build-up and keeps moving parts functioning smoothly.
Cleaning Steps
- Unplug and Remove Battery: Always disconnect power before maintenance.
- Wipe Exterior: Use a soft, slightly damp cloth to remove surface dust and grime. Avoid getting water into ventilation ports.
- Clean the Chuck: Open the jaws and use a stiff brush or compressed air to dislodge trapped debris. For sticky residue, a cotton swab dipped in isopropyl alcohol can help.
- Inspect and Clean Vents: Blow out dust using compressed air, keeping the can upright to avoid moisture.
- Detail Crevices: Use a soft brush (such as a toothbrush) to clean around triggers, switches, and seams.
Battery Care: Maximize Run Time and Battery Life
Battery Types and Their Needs
Most modern drills use lithium-ion batteries, which offer high energy density and no memory effect. Older models may use nickel-metal hydride (NiMH) or nickel-cadmium (NiCd) batteries, which require different care. Always consult your manufacturer’s manual for battery-specific advice.
Best Practices for Battery Maintenance
- Avoid Deep Discharge: Recharge lithium-ion batteries before they are fully depleted to extend their lifespan.
- Store at Moderate Temperatures: Extreme heat or cold damages batteries. Store and charge between 50°F and 85°F (10°C–30°C) when possible.
- Remove Battery When Not in Use: Detach the battery for storage to prevent slow drain and reduce risk of corrosion.
- Keep Contacts Clean: Wipe terminals with a dry cloth to ensure good electrical connection.
- Avoid Overcharging: Use only manufacturer-recommended chargers with auto shutoff features. Don’t leave batteries on the charger indefinitely.
- Rotate Batteries: If you have multiple packs, rotate their use to equalize wear.
- Store Partially Charged (Li-Ion): For long-term storage, lithium-ion batteries should be about 40–60% charged.
Lubrication: Keep Moving Parts Running Smoothly
Why Lubricate?
Friction in the chuck, gearbox, or trigger can lead to premature wear, loss of power, or jamming. A little lubrication goes a long way—too much can attract dust, so use sparingly.
Where and How to Lubricate
- Chuck: Apply a drop of lightweight machine oil (not WD-40) to the moving parts, open and close the jaws several times, then wipe off any excess.
- Gearbox: Most gearboxes are sealed and maintenance-free. If your manual allows, add a small amount of manufacturer-approved grease during annual maintenance.
- Trigger and Switches: Do not apply oil directly. If sticking occurs, use compressed air to blow out dust; consult a technician for persistent issues.
Never spray lubricant into the motor vents or electronics.
Check and Tighten: Prevent Loose Parts and Malfunctions
Over time, vibration can cause screws and fasteners to loosen. This can result in rattling, reduced accuracy, or even electrical hazards.
- Inspect Housing Screws: With the battery removed, check all exterior screws and gently tighten with an appropriate screwdriver. Do not overtighten, as plastic housings are prone to cracking.
- Check Chuck Tightness: Ensure the chuck is securely fastened to the spindle. If you notice wobble, consult the manual for re-tightening instructions.
- Examine Belt Clips and Accessories: Tighten or replace as needed to avoid accidents during use.
Proper Storage: Protect Your Investment
How you store your drill can dramatically affect its lifespan. Here’s what to keep in mind:
- Use a Case or Bag: Store the drill in its case to protect against dust, moisture, and impacts.
- Avoid Humidity: Store in a dry, well-ventilated area. Moisture can corrode contacts and damage electronics.
- Temperature Matters: Don’t leave drills in vehicles or unheated garages where temperatures fluctuate widely.
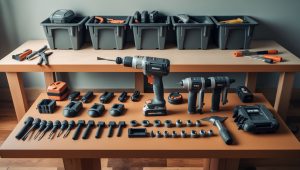
- Organize Accessories: Use separate compartments or holders for bits, batteries, and chargers to prevent loss or damage.
Periodic Inspections: What to Check and When
Regular inspections help catch small issues before they become major problems. Create a simple schedule:
- After Each Use: Quick exterior wipe-down, remove dust from chuck, and detach battery.
- Monthly: Clean vents, inspect for loose screws, check battery terminals for corrosion.
- Quarterly: Lubricate chuck, inspect gearbox if accessible, test battery run time.
- Annually: Deep clean, check for unusual noises, replace worn brushes (if applicable), consider professional servicing for high-use tools.
Troubleshooting Common Cordless Drill Issues
Drill Won’t Start
- Check if the battery is fully charged and correctly inserted.
- Inspect battery contacts for corrosion or debris.
- Test with a known-good battery to isolate the problem.
- If the trigger feels loose or doesn’t click, the switch may need professional replacement.
Loss of Power or Short Run Time
- Old or damaged batteries lose capacity—replace if run time drops significantly.
- Overheating can trigger safety cutoffs; let the drill cool before resuming.
- Clean vents and inspect for obstructions.
Chuck Wobble or Bit Slippage
- Clean and lubricate the chuck.
- Ensure the bit is seated correctly and the jaws are tight.
- Persistent wobble may indicate a damaged spindle—seek repair if under warranty.
Unusual Noises or Smells
- A burning smell may indicate worn motor brushes (on brushed motors) or overheating—stop use immediately and inspect.
- Grinding noises often signal debris in the gearbox or chuck.
- Address promptly to avoid further damage.
When to Replace: Recognizing End-of-Life Signs
Even with best practices, all tools eventually reach the end of their service life. Replace or professionally repair your cordless drill if you notice:
- Cracked or warped housing that compromises safety.
- Battery run time is less than 50% of new, even after basic care.
- Persistent electric smell, smoke, or sparking from the motor.
- Major loss of torque or speed despite fully charged batteries.
- Repeated electrical faults or trigger failures.
Dispose of batteries according to local regulations—never throw lithium-ion cells in household trash.
Pro Tips: Accessories and Upgrades for Hassle-Free Maintenance
- Magnetic Bit Holders: Keep bits organized and reduce debris around the chuck.
- Dust Extraction Attachments: Minimize cleaning time and protect vents.
- High-Quality Storage Cases: Offer better protection than fabric bags, especially in damp environments.
- Digital Battery Testers: Monitor battery health and catch failing cells before they leave you stranded.
Conclusion: Make Drill Maintenance Part of Your DIY Routine
Taking care of your cordless drill doesn’t require advanced skills or expensive tools—just a few minutes of attention after each project and a willingness to perform simple, regular checks. By cleaning dust and debris, practicing smart battery care, lubricating moving parts, tightening loose screws, and storing your tool properly, you’ll dramatically extend your drill’s usable life and ensure every job goes smoother. These habits pay off in consistent performance, fewer costly breakdowns, and safer, more enjoyable DIY experiences.
Remember, even the best drills are only as reliable as the care they receive. Don’t wait for a breakdown to start maintaining your tools. Make these best practices part of your routine, and your cordless drill will reward you with years of dependable service—helping you tackle repairs, upgrades, and creative projects with confidence. If you ever feel uncertain about a repair or encounter persistent issues, don’t hesitate to consult a professional or contact the manufacturer for guidance. Your tools are investments in your home and your skills—treat them well, and they’ll serve you faithfully project after project.

You mention lithium-ion and NiMH batteries for cordless drills. Is there a difference in how I should maintain or store each type to avoid damaging them or reducing their lifespan?
Yes, there are differences in maintaining lithium-ion and NiMH batteries. Lithium-ion batteries should be stored partially charged (around 40-60%), in a cool, dry place, and should not be fully discharged. NiMH batteries can be stored either charged or partially discharged, but they can suffer from self-discharge, so charging them before use is important. Avoid extreme temperatures for both types, but lithium-ion batteries are more sensitive to heat.