

Introduction: Why Water Leak Detection Should Be Every DIYer’s Priority
Water damage is one of the most costly and disruptive problems homeowners face, often striking without warning and causing extensive repairs. Unlike more obvious issues like broken windows or failed appliances, water leaks can remain hidden for months, quietly damaging floors, walls, and even the foundation. Insurance claims for water damage frequently exceed $10,000, and many policies have strict requirements for proof of maintenance and detection. Fortunately, advances in home technology and the availability of affordable DIY tools have made leak detection more accessible than ever. This comprehensive guide will walk you through the process of selecting, installing, and maintaining your own home water leak detection system. Whether you’re protecting a basement laundry, monitoring under-sink plumbing, or keeping an eye on your water heater, you’ll find practical advice and step-by-step instructions to help you avoid beginner mistakes and keep your home dry, safe, and secure.
Understanding the Risks: Where and Why Leaks Happen
Common Leak Sources in the Home
- Water Heaters: Aging tanks and connections are notorious for slow leaks.
- Toilets and Sinks: Faulty supply lines, valves, and seals often go unnoticed until floors or cabinets are damaged.
- Washing Machines: Hoses can burst or loosen, especially in older setups.
- Dishwashers: Hidden leaks under cabinetry cause gradual, unseen rot.
- Refrigerators with Ice Makers: Small supply lines can develop pinhole leaks.
- Basements and Crawl Spaces: Groundwater intrusion and foundation cracks allow moisture in.
The Cost of Undetected Leaks
Even a slow drip can waste thousands of gallons of water annually, spike utility bills, and foster mold growth. Early detection is critical—not just for stopping leaks, but for documenting proper maintenance in case you ever need to file an insurance claim.
Types of DIY Leak Detection Tools: What Works Best?
Passive Leak Detectors
These budget-friendly devices sound an alarm when water contacts the sensor. They’re battery-operated, require no Wi-Fi, and are ideal for high-risk areas like under sinks or water heaters. However, they only alert you if you’re home to hear the alarm.
- Pros: Inexpensive, easy to use, no setup beyond placement.
- Cons: No remote alerts, batteries need periodic checking.
Smart Leak Sensors
Smart sensors connect to your home Wi-Fi or a hub, sending instant notifications to your phone if a leak is detected. Many offer integration with home automation systems and can trigger shutoff valves or other devices.
- Pros: Remote alerts, integrate with smart home setups, often include temperature/humidity monitoring.
- Cons: Higher upfront cost, requires Wi-Fi or a hub, periodic maintenance for connectivity.
Water Flow Monitors and Shutoff Valves
Installed directly on your home’s main water line, these systems track water usage patterns and detect unusual flow that may indicate a leak. Some can automatically shut off water to prevent major damage.
- Pros: Whole-home protection, automatic shutoff, detailed usage reports.
- Cons: Higher cost, requires plumbing work (often DIY-friendly but can be complex), may need professional installation for some models.
Comparing Popular Models
- Honeywell Lyric: Reliable Wi-Fi sensor, integrates with smart home hubs, battery-powered.
- Flo by Moen: Inline flow monitor with automatic shutoff, app alerts, and detailed analytics.
- D-Link Water Sensor: Affordable, easy Wi-Fi setup, simple app notifications.
- Basement Watchdog: Loud local alarm, no smart features, ideal for high-risk standalone areas.
Step-by-Step Setup: Installing Leak Detectors Where It Matters
Step 1: Identify High-Risk Locations
Walk through your home and list all water-connected appliances and vulnerable areas. Focus on places with limited visibility or access, such as behind appliances or inside cabinets. Use this checklist:
- Water heater base
- Under bathroom and kitchen sinks
- Behind washing machines and dishwashers
- Near basement sump pumps or low points
- Under fridge with water line
- Attic HVAC units (if applicable)
Step 2: Prepare the Area
Remove any clutter or items that could block the sensor. Ensure the sensor’s contacts can touch the floor surface—water will pool here first. Clean the area for reliable detection and test for levelness to avoid false alarms from condensation or humidity.
Step 3: Place Passive Sensors
For battery-powered alarms, simply set the device flat on the floor near plumbing connections. Test each by placing a damp cloth or a few drops of water on the sensor to ensure the alarm sounds. Mark installation dates to track battery changes.
Step 4: Install Smart Sensors
Follow the manufacturer’s app instructions to connect each sensor to your Wi-Fi or smart hub. Custom-name each location (e.g., “Laundry Sink Leak Sensor”) in the app for easy identification. Test alerts by moistening the sensor’s contacts and confirming you receive notifications on your phone.
Step 5: Adding Flow Monitors and Shutoff Valves
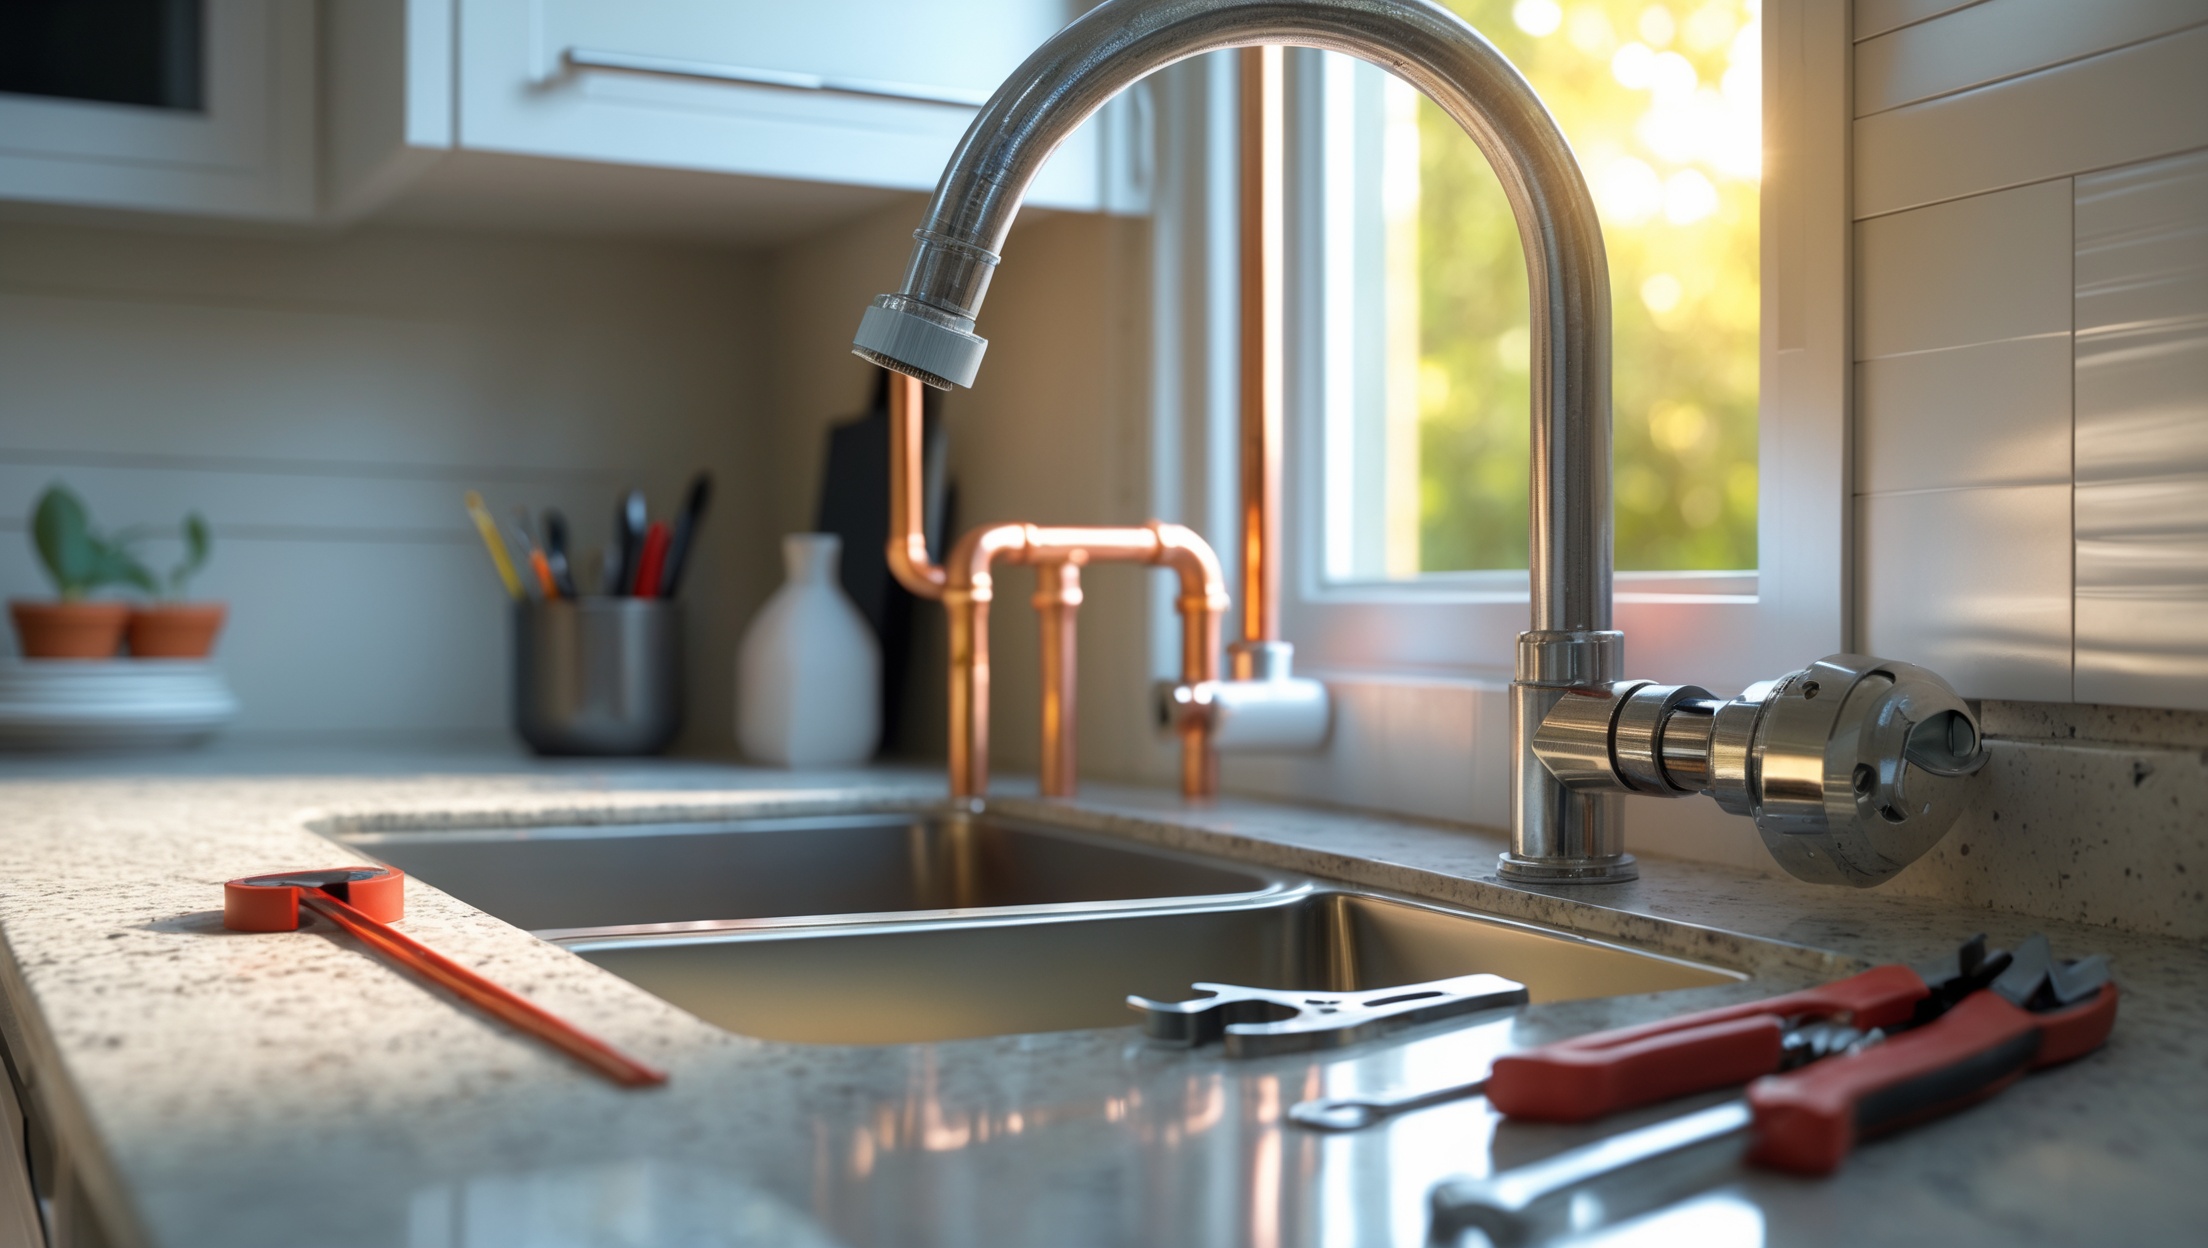
Shut off your home’s main water supply and relieve system pressure. Follow the device instructions to cut a section of pipe (PEX, copper, or PVC as appropriate), insert the flow monitor, and secure with the recommended couplings. Connect to power if required, and use the app to calibrate flow detection. Test by running a faucet and simulating a small leak (e.g., slowly opening a valve) to ensure accurate alerts and automatic shutoff if available. If you’re uncomfortable with plumbing, consider hiring a professional for this stage.
DIY Budgeting: What to Expect and Where to Save
Cost Breakdown by Solution
- Passive Sensors: $10–$30 each. Most homes need 4–8 for basic coverage.
- Smart Sensors: $30–$60 each. Hubs (if required) range $50–$100.
- Flow Monitors & Shutoff Valves: $200–$600. Installation supplies (pipe, fittings, tools) may add $30–$80.
Where to Invest
- Prioritize smart sensors in areas where leaks would be catastrophic or go unnoticed (vacation homes, finished basements).
- Use passive sensors for visible, high-traffic areas where you’ll hear an alarm.
- Consider a flow monitor if you travel often or have older plumbing.
DIY Savings Tips
- Shop for multipacks of sensors to reduce per-unit cost.
- Combine with smart home bundles—some systems offer discounts when purchased with other devices like cameras or thermostats.
- Install yourself unless local code or insurance requires professional work (main line monitors especially).
Maintenance Best Practices: Keeping Your Leak Detection Reliable
Monthly Checklist
- Test each sensor with a small amount of water.
- Check batteries and replace as needed (set calendar reminders).
- Verify Wi-Fi connectivity and update device firmware via app.
- Inspect for dust or debris that could insulate the sensor’s contacts.
Annual Review
- Inspect all plumbing connections for visible corrosion or loose fittings.
- Clean behind and under appliances.
- Update your sensor’s location names in the app if you’ve moved devices.
- Check manufacturer support for recall or software updates.
Responding to Alerts
If you receive a leak alert, act immediately. Turn off the water supply and investigate the source. Document any damage with photos for insurance purposes. Clean and dry the area thoroughly before resetting the sensor. For repeated false alarms, check for condensation, humidity, or sensor misplacement.
Compliance and Insurance: What Homeowners Need to Know
Insurance Policy Requirements
Some insurers offer discounts for professionally installed leak detection systems, but many accept DIY solutions if you can prove regular testing and maintenance. Keep a digital log (photos, dates) of your sensor tests and placements.
Permits and DIY Installations
Installing basic leak sensors typically does not require a permit. Inline shutoff valves or major plumbing modifications may, depending on your municipality. Always check with your local building department before cutting into main water lines.
Case Study: Preventing Catastrophe in a Finished Basement
Consider the example of a homeowner in the Midwest with a finished basement laundry. After installing a $40 smart leak sensor under the washing machine, they received an alert on their phone while at work. The sensor detected a slow leak from a failing hose connection. Thanks to the early warning, they shut off the water remotely (via a Wi-Fi valve) and returned home to a dry basement. The only repair needed was a $15 hose replacement—avoiding thousands in water damage and insurance headaches. This real-world scenario shows how a small investment in DIY leak detection can deliver massive peace of mind and financial savings.
Common DIY Mistakes and How to Avoid Them
- Forgetting to Test Sensors Regularly: Schedule monthly checks. An untested sensor is as bad as no sensor.
- Poor Placement: Sensors must be in the lowest point where water will collect—not just near the appliance.
- Ignoring Battery Life: Replace batteries on schedule even if the low-battery alert hasn’t sounded.
- Overlooking Connectivity: Wi-Fi sensors should be within range and updated with the latest firmware for reliable alerts.
- Not Reading the Manual: Each model has quirks; follow installation steps closely for accurate detection.
Advanced Tips: Integrating Leak Detection with Your Smart Home
- Connect sensors with smart speakers for voice alerts.
- Set up automations—trigger lights to flash or send alerts to multiple users in your household.
- Integrate with your home security system for comprehensive protection and potential insurance discounts.
- Use IFTTT or similar services to trigger custom actions, like messaging a neighbor or turning off HVAC in case of a major leak.
Conclusion: Proactive Leak Detection Is Smart, Simple, and Essential
Water leaks are an inevitable risk for homeowners, but with today’s range of affordable and effective DIY detection tools, you no longer have to wait for disaster to strike. By understanding where leaks are most likely to occur, choosing the right combination of passive and smart sensors, and following best practices for installation and maintenance, you can protect your home, save on costly repairs, and gain peace of mind. The initial investment in leak detection is minor compared to the potential cost of water damage—not to mention the disruption and stress of major cleanup and insurance claims. Don’t overlook the importance of regular testing and keeping your system up to date; a proactive approach ensures you’ll catch problems early and respond quickly. Whether you’re a seasoned DIYer or new to home maintenance, setting up your own leak detection network is one of the smartest upgrades you can make. Start today, and safeguard your home from one of the most common and expensive hazards—before it ever becomes a problem.


You mention that insurance companies often require proof of maintenance and detection for water damage claims. What are the best ways to document my DIY leak detection setup so I have proper records if I need to file a claim?
To document your DIY leak detection setup, take clear photos of each installed sensor, the main shut-off system, and their locations around your home. Keep a record of installation dates, receipts for equipment, and any maintenance you perform. If your system has an app or log feature, export or screenshot activation alerts or regular status checks. Store all this information together, either digitally or in a physical folder, for easy access if you need to file a claim.