
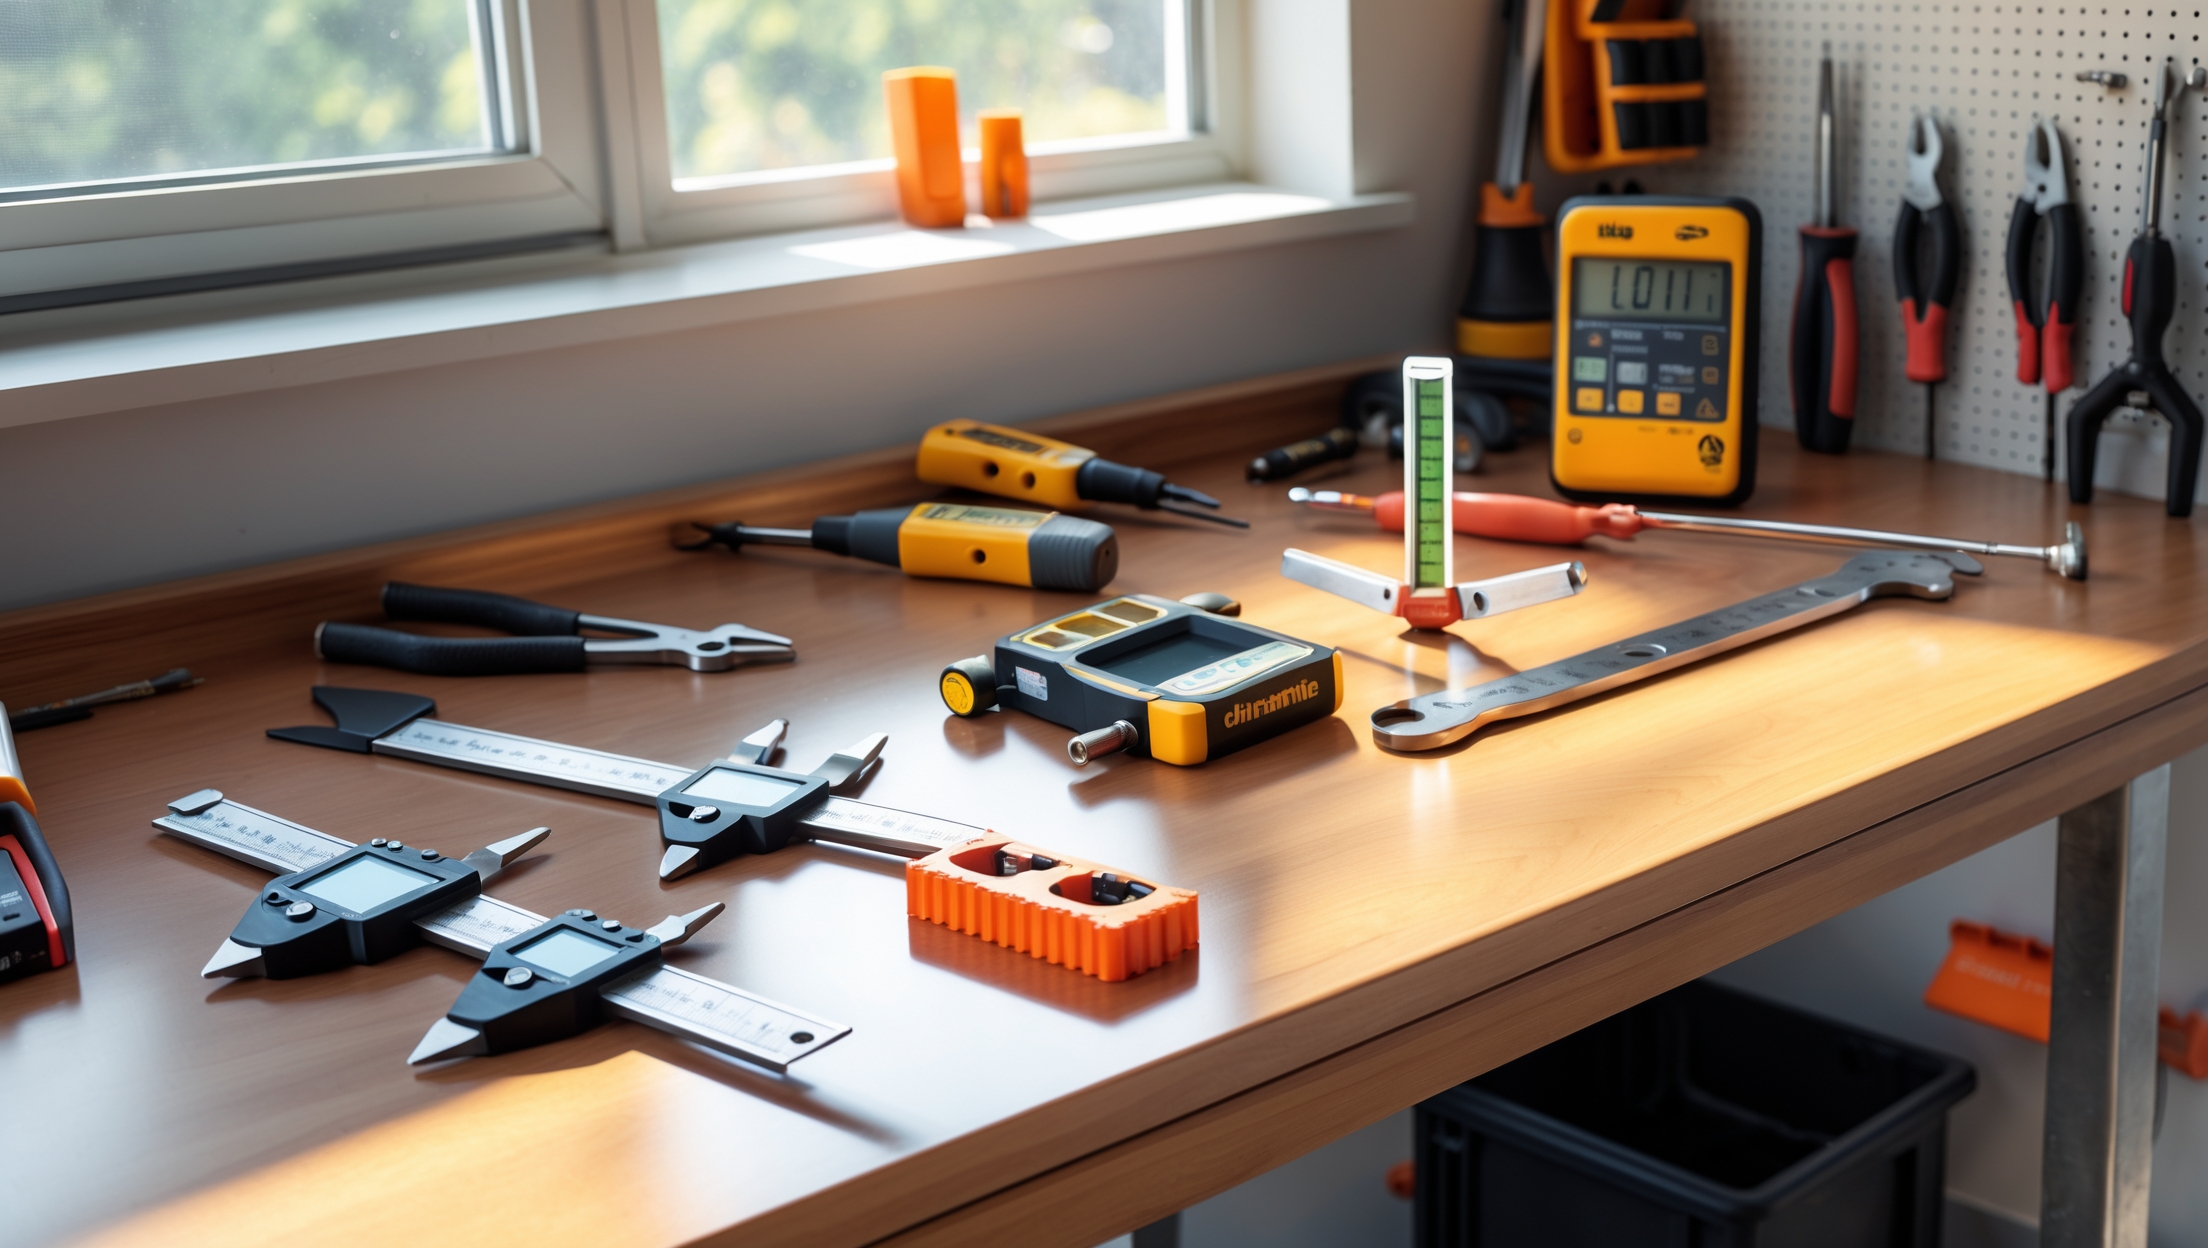
Introduction: Why DIY Tool Calibration Matters
Whether you’re a weekend warrior or a seasoned DIY enthusiast, one thing is certain: the accuracy of your tools directly affects the quality, safety, and success of every home project. From torpedo levels to torque wrenches, even the best tools can drift out of calibration with regular use. This leads to misaligned shelves, leaky joints, and electrical diagnostics gone awry. Yet, many homeowners overlook the importance of regular tool calibration, often assuming their favorite tape measure or multimeter is “close enough.” In reality, precise calibration isn’t just for professionals—creating a dedicated calibration station at home can save you from costly errors, boost project confidence, and extend the lifespan of your valuable equipment. In this comprehensive guide, you’ll learn step-by-step how to set up a DIY tool calibration station, what essential gear you’ll need, how to calibrate common household tools, and simple best practices to keep everything running true. Let’s dive into the world of accuracy and start building your home’s new secret weapon: the calibration station.
Understanding Calibration: The Basics Every DIYer Should Know
What Is Calibration?
Calibration is the process of adjusting a tool so its measurements match a known standard. This ensures that when you measure, cut, or test, the results are as accurate as possible. For example, a level should show true horizontal or vertical, and a multimeter should display the correct voltage or resistance.
Why Do Tools Lose Calibration?
- Wear and Tear: Repeated use, drops, and knocks can shift internal mechanisms.
- Environmental Factors: Humidity, temperature, and dust can affect sensitive instruments.
- Age: Over time, springs, gears, or electronic components drift from their original settings.
Tools That Benefit Most from Calibration
- Levels (spirit, laser, digital)
- Measuring tapes and rulers
- Torque wrenches
- Multimeters and voltage testers
- Moisture meters
- Thermometers and hygrometers
- Calipers and micrometers
Planning Your Calibration Station: Space, Budget, and Safety
Choosing the Right Location
- Stable Surface: A sturdy workbench or heavy desk is ideal.
- Minimal Vibration: Avoid areas near washers, dryers, or heavy foot traffic.
- Controlled Environment: Choose a dry, temperature-stable spot away from direct sunlight and moisture.
Budgeting for Your Station
- Entry Level: $50–$100 for basic calibration tools (reference ruler, bubble level, test battery, simple weights).
- Mid-Range: $150–$300 for precision standards, digital calipers, calibration weights, and a test block.
- Professional Grade: $400+ for certified reference tools, digital multimeter calibrators, and environmental sensors.
Safety Considerations
- Use insulated mats for electrical tool calibration.
- Wear safety glasses when working with weights or mechanical tools.
- Keep hazardous chemicals (like cleaning fluids) stored safely and clearly labeled.
- Always unplug electronic tools before calibration.
Essential Gear for a DIY Calibration Station
- Certified Reference Ruler: Preferably steel, with NIST (National Institute of Standards and Technology) traceability.
- Calibration Weights: For calibrating scales, torque wrenches, and other force/weight tools.
- Precision Spirit Level: For checking the accuracy of other levels.
- Digital Caliper: To verify small measurements and calibrate other measuring tools.
- Multimeter Calibrator or Test Battery: For checking voltage and resistance accuracy.
- Flat Test Block or Glass Plate: Used as a reference plane for levels.
- Check Plugs/Blocks: For calibrating micrometers and calipers.
- Documented Standards: Keep manuals and data sheets for each tool.
Step-by-Step Setup: Building Your Home Calibration Station
Step 1: Prepare the Work Surface
Start by clearing and cleaning your workspace. Wipe down the bench, remove dust, and ensure the area is free of clutter. Lay down a non-slip mat for delicate instruments.
Step 2: Organize Calibration Tools
- Install a pegboard or magnetic strip to hang reference rulers and levels.
- Add small drawers or bins for calibration weights and check blocks.
- Label each storage area for quick tool retrieval.
Step 3: Set Up a Calibration Log
Dedicate a notebook or digital spreadsheet to track calibration dates, results, and any adjustments made. Note the tool, calibration method, reference standard, and outcome. This ensures you remember when each item was last checked and helps spot tools that drift frequently.
Step 4: Establish Environmental Controls
- Use a thermometer and hygrometer to monitor temperature and humidity.
- If calibrating sensitive electronic tools, avoid calibrating during extreme temperature swings.
- Consider a small dehumidifier in damp basements or garages.
How to Calibrate Common DIY Tools: Practical Tutorials
Calibrating a Spirit or Bubble Level
- Place the level on a flat, reference surface (glass plate or test block).
- Note the bubble position.
- Rotate the level 180 degrees and place it in the same spot.
- If the bubble stays centered, your level is accurate. If not, adjust or replace.
Calibrating a Measuring Tape or Ruler
- Lay the tool alongside the certified reference ruler.
- Check the zero point and several marks along the length.
- For minor discrepancies, mark the error on the tape for future reference.
- If the error is significant, replace the tool.
Calibrating a Digital Caliper or Micrometer
- Close the jaws and ensure the display reads zero.
- Use check plugs or calibration blocks of known measurements.
- Insert the block between the jaws and note the reading.
- Adjust according to the manufacturer’s instructions, if needed.
Calibrating a Torque Wrench
- Secure the wrench in a vise with the handle horizontal.
- Attach a known weight at a measured distance from the pivot point to apply a calculated torque.
- Pull gently until the wrench clicks or signals.
- Compare the applied torque with the wrench’s setting. Adjust as required.
Calibrating a Multimeter
- Insert a test battery (with known voltage) and measure with the multimeter.
- Compare the reading to the battery’s rated output.
- Use a resistor or calibration device to check resistance and continuity accuracy.
- If discrepancies persist, replace the multimeter or send for professional calibration.
Calibration Frequency: How Often Should You Check Your Tools?
- High-use Tools: Every 3–6 months.
- Occasional-use Tools: Annually.
- After Drops or Major Projects: Immediately check calibration.
- Before Critical Jobs: Always verify accuracy before precision tasks (e.g., plumbing, electrical).
DIY vs. Professional Calibration: When to Call in the Experts
For most hand tools and home gadgets, DIY calibration is accurate enough for repair, maintenance, and upgrade projects. However, certain situations call for professional calibration or certification:
- Tools used for safety-critical work (e.g., gas detectors, high-voltage testers)
- Equipment with manufacturer warranties requiring certified calibration
- Precision instruments with persistent errors after DIY adjustment
Professional calibration labs offer traceable certification and may be required for insurance or compliance in some cases. For day-to-day home projects, your DIY station will keep you more accurate than the average homeowner.
Maintenance Best Practices for Your Calibration Station
- Clean calibration surfaces and tools after every use.
- Store sensitive instruments in protective cases.
- Replace damaged or worn reference standards promptly.
- Keep your calibration log up to date.
- Periodically verify your reference tools against trusted standards (e.g., re-check your reference ruler at a hardware store with NIST tools).
Cost-Saving Tips and Budget-Friendly Calibration Hacks
- Share calibration blocks or weights with neighbors or friends.
- DIY test blocks: Use thick glass or marble tiles as flat reference surfaces.
- Use coins or small weights with known values for simple scale calibration.
- Look for used or surplus calibration gear online (ensure it’s not damaged).
- Download calibration log templates or use free apps for record-keeping.
Common Calibration Myths Debunked
- “New tools don’t need calibration.” Many new tools can arrive slightly out of spec due to shipping and manufacturing tolerances. Always check before first use.
- “DIY calibration isn’t accurate enough.” With the right reference standards and careful technique, home calibration is sufficiently precise for most DIY tasks.
- “Digital tools never drift.” Electronics are prone to drift and should be checked regularly.
- “Calibration is expensive and time-consuming.” Once your station is set up, most calibrations take just a few minutes.
Conclusion: Unlocking Precision and Confidence in Your Home Projects
Setting up a dedicated calibration station is an investment in the accuracy, safety, and efficiency of every home repair, maintenance, or upgrade you tackle. With a few key reference tools and a structured workflow, you can take control of your tool’s precision, avoid frustrating mistakes, and save money by extending the lifespan of your gear. No more second-guessing whether your shelf is truly level or your multimeter is reading true—your home calibration station empowers you to work smarter, not harder.
Remember, precision pays dividends across all DIY disciplines: accurate measurements lead to better fits, safer installations, and professional-looking results. The time and resources you dedicate to building and maintaining your calibration setup will pay off with every straight cut, tight joint, and reliable reading. Whether you’re a novice or a seasoned DIYer, embracing calibration will set your work apart and build confidence in every project. Make tool calibration a habit, and you’ll quickly see how a little accuracy goes a long way in transforming your home improvement experience.
Ready to unlock the full potential of your home toolkit? Start building your DIY calibration station today and watch your projects reach a new level of precision.
I run a small woodworking shop from my garage, and I’m curious if there are any affordable calibration tools or standards you’d recommend for someone setting up a station at home, rather than buying expensive pro equipment?
For a home woodworking setup, you don’t need to buy expensive calibration gear. Consider using a reliable steel ruler or engineer’s square for checking squareness and measurements. Feeler gauges and inexpensive digital calipers are useful for checking thickness and distances. For flatness, a straightedge or even a known-flat glass plate works well. These items are affordable, widely available, and provide good accuracy for most woodworking applications.
I’m curious about calibration for cheaper measuring tapes and levels. Is it really worth trying to calibrate these, or do you recommend replacing them when accuracy seems off?
For inexpensive measuring tapes and levels, minor calibration can help if they’re only slightly off—like checking tape accuracy against a reliable ruler or using a known flat surface for levels. However, if you notice significant inaccuracies or damage, it’s usually best to replace them. Cheaper tools may not stay accurate for long even after calibration, so investing in replacements often saves time and trouble in the long run.
If I only have a couple of tools that really need calibration, like a multimeter and a torque wrench, is it worth going through the whole process of setting up a dedicated calibration area, or are there simpler alternatives for occasional use?
If you only need to calibrate a multimeter and a torque wrench occasionally, you probably don’t need a permanent calibration station. For occasional use, you can temporarily clear a stable, well-lit workspace and use the required reference tools when needed. Just make sure your workspace is clean and free from distractions during calibration for accurate results.