




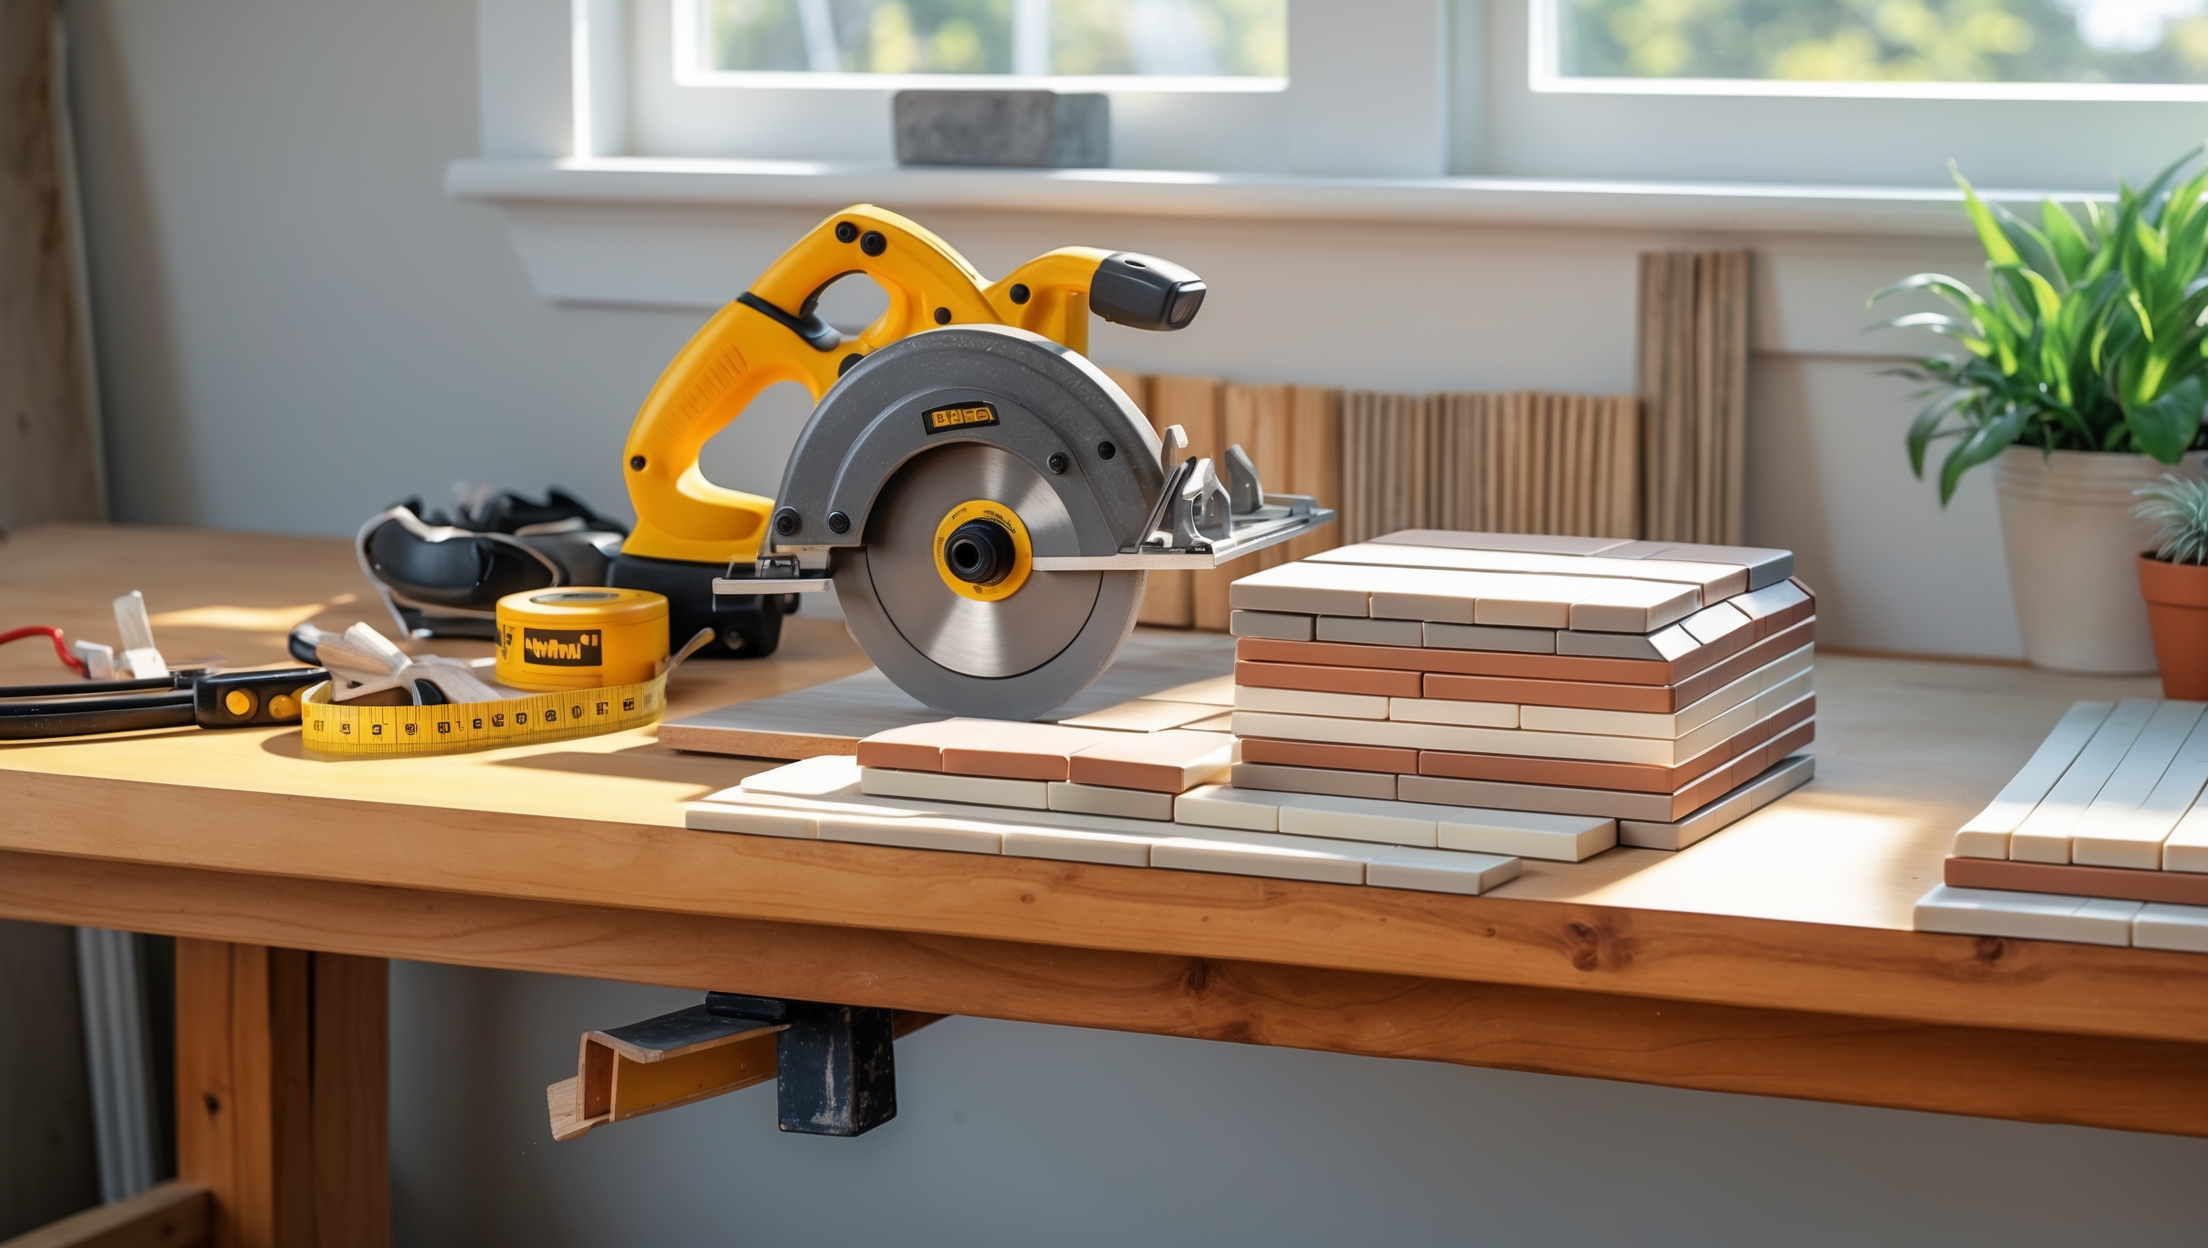
Introduction: Why Accurate Tile Cutting is Essential for DIY Success
Upgrading floors, backsplashes, or bathroom walls with fresh tile can dramatically boost your home’s look and value. Yet, many DIYers discover too late that tile cutting is where projects either shine or stumble. A single bad cut wastes expensive material, creates unsightly gaps, and can even compromise waterproofing or structural integrity. With tile prices and material delivery costs on the rise, minimizing mistakes is more important than ever. Fortunately, with the right tools, accuracy techniques, and a repeatable workflow, even first-timers can achieve crisp, professional results without costly do-overs.
This guide dives deep into the most frequent tile cutting mistakes homeowners make, the pros and cons of key cutting tools, and proven tips for accurate, frustration-free cutting. Whether you’re tackling a kitchen backsplash, a bathroom renovation, or a basement floor, you’ll find step-by-step instructions and troubleshooting advice to make your DIY tiling project a success from start to finish.
Common Tile Cutting Mistakes and How to Avoid Them
1. Using the Wrong Tool for the Tile Material
Not all tiles are created equal—ceramic, porcelain, glass, and natural stone each require different cutting approaches. A common mistake is using a manual snap cutter on porcelain or stone, resulting in ragged edges or shattered tiles. Always match your tool to the tile type:
- Ceramic: Manual snap cutter, tile nippers, or wet saw.
- Porcelain: Wet saw with a diamond blade for best results; snap cutters only for thin tiles.
- Glass: Glass tile cutter or wet saw with a glass-specific blade.
- Natural Stone (marble, slate, granite): Wet saw only.
2. Skipping Accurate Measurements
“Measure twice, cut once” is cliché for a reason. Rushing measurements or failing to account for grout lines and tile spacing leads to tiles that are too short, too long, or misaligned. Use a quality measuring tape, mark cut lines with a pencil or wax pencil, and double-check against your layout before cutting.
3. Poor Support During Cutting
Cutting tiles without stable support causes breakage, jagged edges, or uneven cuts. Always use a sturdy workbench or table, and ensure both sides of the tile are supported before and after the cut. For wet saws, keep the tile flat and move it slowly through the blade.
4. Neglecting Blade Maintenance
Dull blades chip tile edges and increase the risk of injury. Clean and inspect your blade before every session. For wet saws, ensure the water reservoir is full to keep the blade cool and minimize dust.
5. Forgetting Safety Precautions
Tile dust can harm lungs, and sharp edges can cut skin. Always wear safety goggles, a dust mask, and gloves. If using a wet saw, be mindful of water and electricity proximity—use GFCI outlets and keep cords dry.
Choosing the Right Tile Cutting Tools: Pros, Cons, and Practical Recommendations
Manual Snap Cutter
- Best for: Straight cuts on ceramic, some porcelain tiles (up to 10mm thick).
- Pros: Fast, dust-free, easy setup, budget-friendly.
- Cons: Limited to straight cuts; struggles with thick, hard tiles; not suitable for natural stone or glass.
Wet Tile Saw
- Best for: Straight and angled cuts on ceramic, porcelain, glass, and natural stone.
- Pros: Clean, precise cuts; handles hard and thick tiles; can do miters and L-cuts.
- Cons: Higher cost; setup and cleanup are messier; requires water and electricity.
Tile Nippers
- Best for: Small notches, curves, or irregular shapes in ceramic and some porcelain tiles.
- Pros: Inexpensive; perfect for fine adjustments and outlets/pipes.
- Cons: Not for long straight cuts; edges may need smoothing.
Rotary Tool with Diamond Wheel
- Best for: Small holes, detailed curves, and intricate cuts.
- Pros: Highly versatile; ideal for mosaic or custom designs.
- Cons: Slow for long cuts; generates dust; requires a steady hand.
Glass Tile Cutter
- Best for: Straight cuts on glass tiles.
- Pros: Clean, chip-free results on glass; simple operation.
- Cons: Not suitable for other materials; limited to straight lines.
Cost Breakdown: Buying vs. Renting Tile Cutting Tools
Tool costs can add up fast, especially for one-time projects. Here’s a realistic breakdown to help you budget smartly:
- Manual Snap Cutter: $30–$120 to buy; $10–$25/day to rent.
- Wet Tile Saw: $100–$500+ to buy; $35–$60/day to rent.
- Tile Nippers: $10–$25 to buy; rarely available to rent.
- Rotary Tool: $40–$200 to buy; $15–$25/day to rent.
- Blades (Diamond/Glass): $10–$40 each; replacement cost if worn during project.
If you’re tiling a single small room, renting a wet saw and buying a snap cutter is often the most cost-effective solution. For larger or recurring projects, investing in quality tools pays off. Don’t forget to budget for safety gear (goggles, dust mask, gloves) and cleanup supplies.
Step-by-Step Guide: Cutting Tiles Like a Pro
Step 1: Prep Your Workspace
- Clear a stable, level surface near your tiling zone.
- Lay down a drop cloth or tarp to catch dust and debris.
- Set up lighting so you can clearly see your cut lines.
- Have safety gear on hand.
Step 2: Measure and Mark
- Use a measuring tape and mark the back of the tile with a pencil or wax pencil.
- For awkward cuts (around outlets, corners), create a paper template and transfer it to the tile.
- Double-check your marks with your tile layout and spacers in place.
Step 3: Select the Right Tool
- For straight ceramic cuts, use a manual snap cutter.
- For porcelain, glass, or natural stone, or for L-cuts, use a wet saw with the correct blade.
- For curves or notches, use tile nippers or a rotary tool.
Step 4: Make the Cut
- Snap Cutter: Place tile, score firmly along the line, and apply even pressure to snap.
- Wet Saw: Fill reservoir, turn on saw, wait for blade to spin up. Slowly push tile through blade, keeping hands clear.
- Tile Nippers: Gently nibble away small sections along the marked line.
- Rotary Tool: Secure tile, use light pressure, and let the wheel do the work.
Step 5: Smooth and Finish Edges
- Use a rubbing stone, sanding block, or diamond pad to smooth rough edges.
- For exposed edges, bevel slightly for a professional look.
Step 6: Test Fit and Adjust
- Dry-fit each cut tile in its intended spot before applying adhesive.
- Trim or smooth further if needed.
Accuracy Tips for Flawless Results
- Always cut tiles slightly large and sand down for a snug fit.
- Use painter’s tape on the cut line to reduce chipping, especially with glass or glazed tiles.
- Let the tool do the work—don’t force tiles through blades or snap cutters.
- Keep your workspace clean to prevent grit from scratching tiles.
- Replace or sharpen blades regularly for clean edges.
- Practice on a scrap tile before your first real cut.
Maintenance Best Practices: Prolonging Tool Life and Performance
- Clean all tools after each session; remove tile dust and debris.
- Lubricate moving parts on snap cutters per manufacturer instructions.
- For wet saws, flush the water reservoir and check for buildup or rust.
- Store blades and tools in a dry, protected place. Damp environments dull blades and corrode parts.
- Inspect power cords, guards, and switches before each use.
Troubleshooting: Fixing Common Cutting Issues
- Chipped Edges: Use painter’s tape, cut more slowly, or switch to a finer blade.
- Uneven Cuts: Check tile and tool alignment; use guides or fences if available.
- Cracked Tiles: Score deeper (for snap cutters), apply even pressure, or switch to a wet saw.
- Glazed Surface Splintering: Cut with the glazed side up on snap cutters and wet saws.
- Blade Binding: Slow down feed rate, don’t force the tile, and ensure water is flowing on wet saws.
Conclusion: Set Yourself Up for Tiling Success
Mastering tile cutting is a gateway skill for countless home upgrades, from elegant backsplashes to spa-like bathrooms and durable flooring. By understanding the strengths and limitations of each tool, taking the time to measure accurately, and following a disciplined workflow, you’ll avoid the most frustrating and expensive mistakes that plague DIYers. Remember, professional-looking results aren’t about speed—they’re about preparation, precision, and the patience to test-fit every cut.
Don’t be intimidated by specialty tools like wet saws; many home improvement stores offer affordable rentals, and the investment in safety gear and quality blades quickly pays off in saved material and beautiful results. Build confidence by starting with scrap tiles, and don’t hesitate to pause and recalibrate if you notice inconsistent cuts or excessive chipping. With each successful cut, you’ll gain the experience and know-how to tackle bigger, more complex projects.
Ready to transform your space? Approach tile cutting with the same care as your tile layout and adhesive work, and you’ll enjoy a finished project that looks—and lasts—as good as any pro installation. Happy tiling!





If I accidentally chip the edge of a tile when cutting, is there a recommended way to smooth it out or fix it, or is it better to just start over with a new tile to avoid visible flaws?
If the chip is small and will be hidden by grout or trim, you can gently smooth the edge with a rubbing stone or fine-grit sandpaper to minimize sharpness and improve appearance. For larger or visible chips, it’s usually best to cut a new tile for a clean, professional look. Always check if the chipped edge will be exposed before deciding.
For someone doing a bathroom renovation with both ceramic and porcelain tiles, could you clarify if it’s possible to use the same wet saw and just swap out blades, or do I need separate saws or additional attachments for each material?
You can use the same wet saw for both ceramic and porcelain tiles; you don’t need separate saws. The key is to use the correct blade for each material. Generally, a high-quality diamond blade suitable for porcelain will also work well on ceramic tiles. Just make sure the blade you choose is rated for the hardest material you’ll be cutting, which is usually porcelain.
Could you clarify how to tell when a manual snap cutter will work for porcelain tiles versus when it’s necessary to use a wet saw? I sometimes see thin porcelain tiles labeled as compatible with both tools, but I worry about getting clean cuts.
Manual snap cutters can handle most standard porcelain tiles, especially if they’re thin and not textured. However, if the porcelain is particularly thick, extra hard, or you need to make curved or L-shaped cuts, a wet saw will give you cleaner and more precise results. For clean straight cuts on thin tiles, a high-quality snap cutter should work, but for intricate cuts or thicker tiles, opt for a wet saw to avoid chipping.
For a small kitchen backsplash job, is investing in a wet saw really necessary, or can a manual snap cutter do the job if I’m only working with basic ceramic tiles? I’m trying to keep costs reasonable but want to avoid the most common mistakes.
For a small backsplash using standard ceramic tiles, a manual snap cutter should be sufficient and is much more budget-friendly than a wet saw. Just make sure to measure and mark your tiles carefully before cutting. For any detailed cuts, like around outlets or corners, a tile nipper can help. Take your time with each cut to avoid chipping, and you’ll get precise results without the extra expense.
Could you explain more about measuring for grout lines before cutting? I want to avoid cutting my tiles too short, so do I add the grout width to my measurement, or is there a better method to make sure everything lines up right?
To ensure your tiles fit properly, you should always include the grout line width in your measurements before cutting. Measure the space where your tile will go, then subtract the width of the grout joint you plan to use—usually about 1/8 inch or 3 mm—from your tile measurement. Mark and cut the tile based on this adjusted size so that, once installed with grout, everything lines up correctly and you won’t have gaps or short tiles.