


Introduction: Why Home Air Quality Monitoring Matters
Air quality isn’t just a concern for cities—indoor air can be even more polluted than outdoor air. From volatile organic compounds (VOCs) released by paints and cleaning products, to particulate matter from cooking or dust, your home’s air can quietly impact your health every day. Symptoms like headaches, fatigue, allergies, and even long-term respiratory problems can often be traced back to poor air quality. That’s why more homeowners are turning to air quality monitors as essential gadgets for modern living. But with a range of monitors available—measuring everything from carbon dioxide and radon to humidity and VOCs—choosing, installing, and maintaining the right one can be daunting.
This detailed guide is designed to demystify the process for DIYers. We’ll walk you through the different types of home air quality monitors, key features worth investing in, the essential tools you’ll need, step-by-step installation instructions, and practical maintenance tips to ensure your device stays accurate. Whether you’re a first-time buyer or looking to upgrade your setup, you’ll gain actionable knowledge to improve your home’s air and safeguard your family’s health.
Understanding Home Air Quality Monitors
What Do Air Quality Monitors Detect?
Not all air quality monitors are created equal. Here’s a breakdown of the most common pollutants and conditions these devices can measure:
- Particulate Matter (PM2.5/PM10): Tiny particles from dust, smoke, and pollen that can penetrate deep into the lungs.
- Volatile Organic Compounds (VOCs): Chemicals emitted from paints, cleaning agents, and furnishings.
- Carbon Dioxide (CO2): High indoor levels can cause drowsiness and reduced concentration.
- Carbon Monoxide (CO): A colorless, odorless gas that is dangerous even at low levels.
- Radon: A radioactive gas that increases the risk of lung cancer; varies by region.
- Humidity: High or low humidity can encourage mold growth or dry out respiratory passages.
- Temperature: Some monitors include this for context and comfort.
Types of Home Air Quality Monitors
- Single-Parameter Monitors: Focused on one pollutant, such as radon or CO.
- Multi-Parameter Monitors: Measure several pollutants and often include app connectivity.
- Smart Monitors: Wi-Fi enabled, send notifications, integrate with smart home systems.
Choosing the Right Air Quality Monitor for Your Needs
Factors to Consider
- Pollutants of Concern: Assess your priorities. For example, old homes might need radon detection; urban homes may focus on particulates and VOCs.
- Accuracy and Calibration: Look for monitors with third-party certifications or calibration options.
- Data Access: Do you want real-time readings on a display, or historical data via a smartphone app?
- Connectivity: Wi-Fi and Bluetooth features offer remote alerts and integration with other devices (like air purifiers or HVAC systems).
- Power Source: Battery-operated units offer flexibility, while plug-in models don’t require recharging.
- Maintenance Requirements: Consider sensor lifespan and filter replacement (where applicable).
- Budget: Prices range from around $50 for basic models to $300+ for advanced, connected systems.
Popular Air Quality Monitor Brands and Models
- Airthings Wave Plus: Excellent for radon, CO2, VOCs, humidity, and temperature; smart home compatible.
- Awair Element: Tracks VOCs, PM2.5, CO2, temperature, and humidity; app-enabled.
- IQAir AirVisual Pro: Highly accurate for PM2.5, CO2, and more; color display and app integration.
- Eve Room: Compact, focuses on VOCs, temperature, and humidity; HomeKit compatible.
- Kaiterra Laser Egg: Accurate particulate monitoring; Wi-Fi enabled.
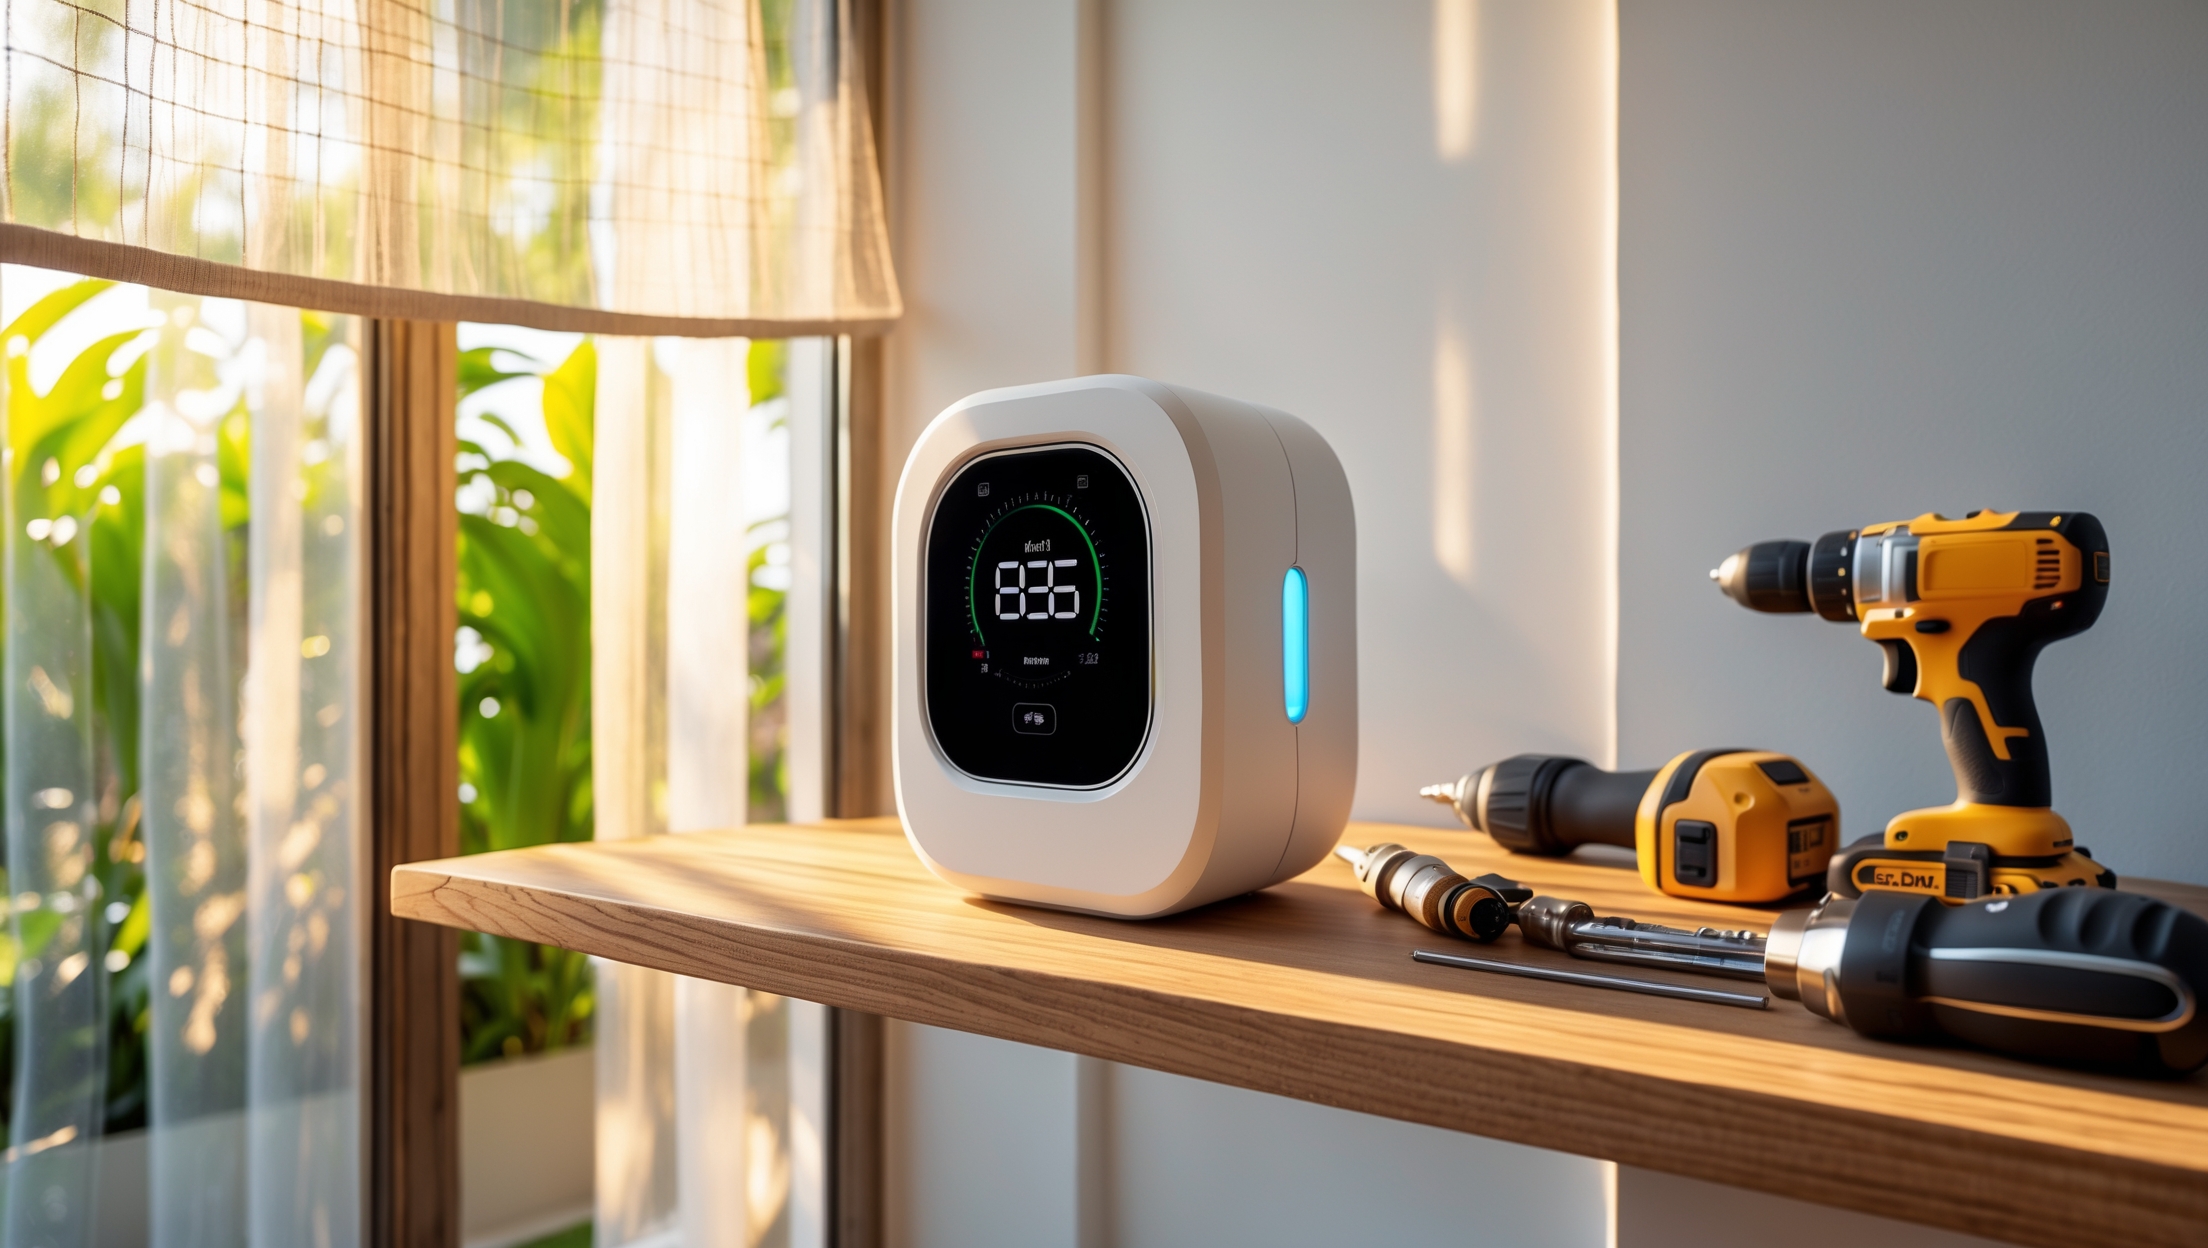
Essential Tools and Supplies for DIY Installation
What You’ll Need
- Phillips and Flathead Screwdrivers: For mounting brackets or opening battery compartments.
- Drill and Drill Bits: If wall-mounting is required.
- Level: Ensures the monitor is straight when mounted on a wall.
- Measuring Tape: To determine optimal placement height and distance from vents or windows.
- Step Ladder: For installs above eye level.
- Pencil: Marking drill or screw locations.
- Wall Anchors and Screws: If mounting on drywall or masonry.
- Batteries: If your monitor is not rechargeable or plug-in.
- Smartphone or Tablet: For setting up app-connected models.
Optional but Helpful Extras
- Extension Cord: For plug-in models far from outlets.
- Cable Clips: Manage power cords neatly along walls.
- Microfiber Cloth: To clean the monitor’s sensors and screen.
Step-by-Step Setup Tutorial: Installing Your Air Quality Monitor
1. Choose the Optimal Placement
- Height: Place the monitor at breathing level—typically 3–6 feet above the floor.
- Avoid: Direct sunlight, near windows or doors, directly above air vents, or next to electronics that emit heat.
- Room Selection: Prioritize bedrooms, living areas, and any space of special concern (like a basement for radon).
2. Prepare the Mounting Area
- Use a level and pencil to mark where the monitor will go on the wall.
- If using screws and anchors, drill pilot holes at your marks.
3. Mount the Device or Place on a Flat Surface
- If wall-mounting, insert anchors (if needed) and screw the mounting bracket securely.
- Attach the monitor to the bracket, or simply place it on a stable shelf away from obstructions.
4. Power Up and Initial Setup
- Insert batteries or plug in the monitor.
- Follow the manufacturer’s instructions to power on.
- For smart monitors, download the companion app and follow pairing instructions—usually involves connecting to Wi-Fi or Bluetooth and registering the device.
5. Calibration and Testing
- Some monitors auto-calibrate upon first use; others may require manual calibration (refer to the user manual).
- Allow the monitor to run in place for at least 24 hours before relying on the data.
- Test notifications and data logging features via the app.
Cost Breakdown: What to Expect When Budgeting
Device Costs
- Entry-Level: $50–$100 (basic VOC or PM monitors, limited connectivity).
- Mid-Range: $100–$200 (multi-parameter, app-enabled models).
- Premium: $200–$350+ (high-accuracy, Wi-Fi, smart home integration, color displays).
Installation and Setup Supplies
- Tools: Most homeowners own basic tools; otherwise, expect $20–$60 for a starter set.
- Wall Anchors, Screws, Cable Clips: $5–$15 depending on quantity and quality.
- Batteries: $3–$10 for a pack of quality AA or AAA batteries.
Maintenance Costs
- Replacement Sensors: Some advanced models require sensor replacement every 1–3 years ($25–$70, if available).
- Cleaning Supplies: Minimal—use what you have for electronics cleaning.
Maintenance Best Practices for Reliable Results
Routine Cleaning
- Wipe the unit with a microfiber cloth monthly to prevent dust buildup on sensors.
- Carefully clean any air intakes or outlets as specified in the manual.
Software Updates
- Check the manufacturer’s app for firmware updates every few months, which can improve accuracy or add features.
Sensor and Battery Replacement
- Follow the manufacturer’s interval for sensor replacement if applicable.
- Replace batteries as needed; most monitors alert you when power is low.
Accuracy Checks
- If readings seem unusual, move the monitor to a different location for a few days to compare results.
- Consider a side-by-side comparison with another monitor annually to check consistency.
Interpreting and Using Your Air Quality Data
Common Air Quality Thresholds
- PM2.5: 35 (unhealthy)
- CO2: 2,000 (poor)
- VOCs: 1.0 (high)
- Humidity: 30–50% (optimal)
- Radon: < 4.0 pCi/L (safe, per EPA)
Responding to Alerts
- High Particulates: Run HEPA air purifiers, ventilate, reduce activities like burning candles.
- High CO2: Open windows, use exhaust fans, check HVAC systems.
- High VOCs: Remove sources (cleaners, paints), increase ventilation, use carbon filters.
- High Humidity: Use dehumidifiers or increase AC use.
- High Radon: Contact a radon mitigation specialist.
Common DIY Mistakes and How to Avoid Them
- Poor Placement: Don’t install near vents, windows, or heat sources—skews readings.
- Ignoring Calibration: Always follow initial calibration or burn-in procedures.
- Neglecting Maintenance: Dust, outdated firmware, or old batteries can all cause inaccurate readings.
- Overlooking Notifications: Set up alerts and check data regularly to catch problems early.
- Assuming All Monitors Are Equal: Match the monitor’s strengths to your specific needs; don’t rely on a VOC-only device for CO or radon detection.
Advanced Tips: Integrating Air Quality Monitors with Smart Home Systems
- IFTTT and Smart Home Hubs: Automate air purifiers, fans, or HVAC based on real-time readings.
- Voice Assistants: Ask Alexa, Google Assistant, or Siri for current air quality stats.
- Data Logging: Export historical data to track trends and identify recurring issues.
- Shared Access: Give family members or roommates access to the app for collaborative monitoring.
Conclusion: Breathing Easier Starts with Smart DIY Choices
Investing in a home air quality monitor is more than just adding a gadget to your shelf—it’s a proactive step to protect your family’s health and well-being. With the right research, tools, and setup, you can gain valuable insights into your indoor environment and take practical actions to improve it. Remember, the most effective monitor is the one that’s correctly installed, regularly maintained, and actively used. By avoiding common DIY mistakes, following the maintenance best practices outlined above, and responding promptly to alerts, you can ensure your device remains a reliable guardian of your indoor air.
Don’t be discouraged by the range of options or the technical jargon. Start with the pollutants that matter most in your home, select a monitor that offers accurate readings and the features you’ll actually use, and follow the setup steps carefully. In just a few hours, you can go from uncertainty about your air quality to having actionable data at your fingertips. Over time, you’ll not only notice fewer allergy or asthma flare-ups, but also enjoy the peace of mind that comes with a healthier home.
Ready to take control? With a thoughtful DIY approach, cleaner indoor air is well within reach—one smart tool and a bit of know-how at a time.


You mention that some monitors can detect radon, but with so many types of pollutants and devices out there, how can I figure out which ones are truly important for my region and home? Are there certain features I shouldn’t skip if I want to protect my kids?
To focus on the right features, start by checking your region for common air quality concerns—many local health departments list prevalent pollutants like pollen, radon, or wildfire smoke. For most families, it’s wise to choose a monitor that detects particulate matter (PM2.5), VOCs, carbon monoxide, and radon if your area is prone to it. Also, prioritize devices with real-time alerts, historical data tracking, and child safety certifications for extra peace of mind.
When it comes to maintenance, how often should I expect to calibrate or replace parts in a typical DIY air quality monitor setup to ensure it stays accurate? Are there common signs that a monitor might not be reading correctly anymore?
Most DIY air quality monitors need calibration every 6 to 12 months, depending on the sensors used. Some gas and particulate sensors may also require replacement every 1 to 2 years for best accuracy. Common signs your monitor isn’t reading correctly include wildly fluctuating values, readings stuck at the same number, or obvious discrepancies compared to outdoor air reports. If you notice these, try recalibrating or checking for sensor dust buildup.
I noticed the article talks about both particulate matter and VOCs as common pollutants. If I can only afford one monitor right now, is it better to start with a device that tracks just VOCs or one focused on particulate matter for a typical US home?
For most typical US homes, starting with a monitor that tracks particulate matter is often more useful. Particulate matter, like dust, smoke, or allergens, can significantly affect indoor air quality and is more commonly an issue in many homes. VOCs are also important, but particulate matter tends to be a bigger concern unless you have specific sources of VOCs, such as heavy use of cleaning products or paint.
You covered a lot about what air quality monitors measure, but how often should I expect to calibrate or replace the sensors to keep the readings accurate? Is there a typical maintenance schedule for DIY units?
For DIY air quality monitors, calibration is generally recommended every 6 to 12 months, depending on the sensor type and usage environment. Some sensors may need replacing every 1 to 3 years, especially for gases like CO2 or VOCs, since their sensitivity can fade over time. Routine maintenance, such as gently cleaning dust from sensors monthly and checking for firmware updates, will also help keep readings accurate.
I’m curious about budget options. For someone just starting out and mainly concerned about cooking-related pollutants like PM2.5 and VOCs, would a basic monitor cover these needs, or is it really necessary to spend more on an advanced device with additional features?
A basic air quality monitor that specifically measures PM2.5 and VOCs is usually enough for tracking cooking-related pollutants. Many budget-friendly models reliably detect these particles and gases. Advanced features like app connectivity, CO2 sensors, or historical data logs can be useful, but they aren’t essential if your main goal is to monitor indoor air during and after cooking.