


Introduction: Why Stud Finders Matter for Every Home DIYer
Mounting shelves, TVs, or cabinets on drywall? Planning to hang heavy mirrors or install grab bars in the bathroom? Behind every secure wall installation is the humble stud finder—a tool often underestimated until a wall anchor fails or a hidden pipe is struck. Whether you’re a seasoned DIY enthusiast or setting up your first toolbox, knowing how to select and use a stud finder can save you from costly mistakes, unnecessary wall damage, and potential safety hazards. Yet, not all stud finders are created equal, and using them effectively requires more than simply sliding the device across your wall. In this comprehensive guide, we’ll break down the main types of stud finders, compare their strengths and weaknesses, walk you through accuracy-boosting tips, and highlight common mistakes beginners make (and how to avoid them). By the end, you’ll have the confidence to choose the right stud finder for your needs—and know how to get the most accurate results every time.
Understanding Wall Construction: Why Stud Finding Is Tricky
Before diving into stud finder types, it’s crucial to understand what’s inside your walls. Most modern homes use wooden or metal studs—vertical framing members—spaced 16 or 24 inches apart behind drywall or plaster. Between these studs run electrical wires, plumbing pipes, and sometimes insulation or HVAC ducts. Locating studs accurately is vital for safe, load-bearing installations.
- Wood Studs: Most common in residential construction; usually 1.5 inches wide.
- Metal Studs: Found in newer or commercial buildings; slightly different detection profile.
- Obstacles: Pipes, wires, and fire blocks can interfere with detection.
- Wall Coverings: Plaster, tile, and textured surfaces can affect stud finder accuracy.
Main Types of Stud Finders Explained
Stud finders come in three main varieties: magnetic, electronic, and advanced multi-sensor models. Each has unique strengths and limitations. Here’s what you need to know before buying.
1. Magnetic Stud Finders
These simple devices use magnets to detect screws or nails securing drywall to studs.
- Pros: No batteries needed; affordable; durable; never false-positive from wires or pipes.
- Cons: Only locates metal fasteners (not the actual stud center); slow to use; limited on thick walls or with deep fasteners.
2. Electronic Stud Finders
Electronic models sense changes in wall density to pinpoint stud edges or centers.
- Pros: Faster; can indicate stud edges or centers; some models have deep-scan or live wire warning features.
- Cons: Require batteries; can produce false readings on textured or lath-and-plaster walls; sensitive to user technique.
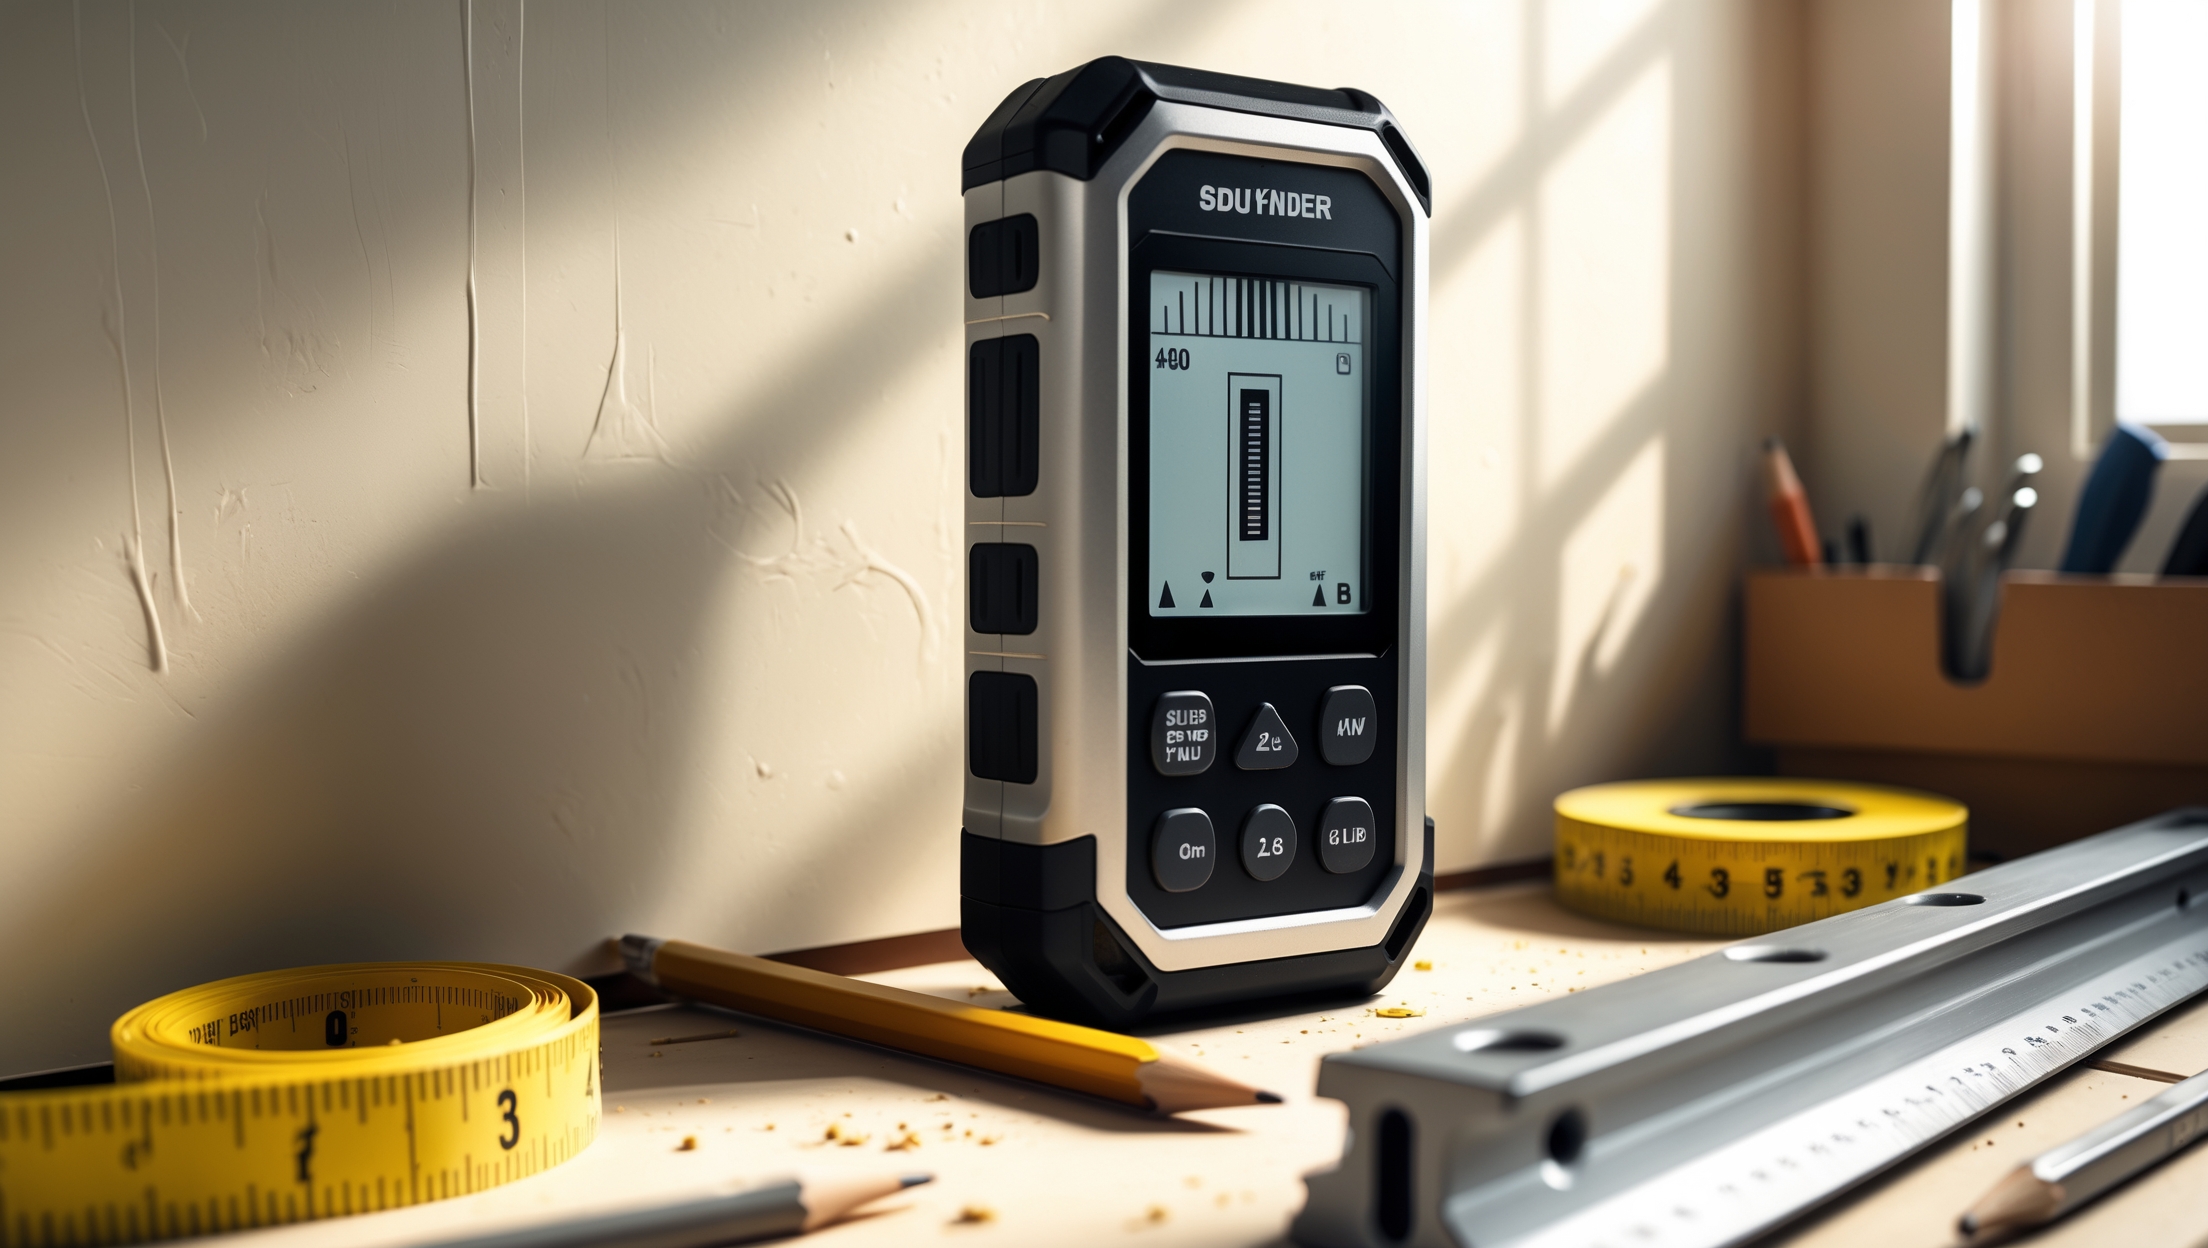
3. Advanced Multi-Sensor and Imaging Stud Finders
These high-end tools use multiple sensors or radar-like imaging to map studs, pipes, and wires in real time.
- Pros: Accurate; can detect multiple objects (studs, pipes, wires, rebar); best for complex wall builds.
- Cons: Expensive; steeper learning curve; may require calibration.
Key Features to Look For in a Stud Finder
When shopping for a stud finder, consider these features based on your needs and budget:
- Detection Depth: Standard is 0.75-1.5 inches; deeper modes (up to 2 inches) are useful for thick or double drywall.
- Edge vs. Center Finding: Center-finding models save time and reduce error when mounting heavy items.
- Wire Warning: Live AC detection helps prevent electrical accidents.
- LCD Display: Clear screens help identify stud position and warnings.
- Calibration: Auto-calibrating units reduce setup time and mistakes.
- Wall Material Compatibility: Some models are rated for plaster, tile, or textured walls.
Step-by-Step: How to Use Each Stud Finder Type Accurately
Getting accurate results depends on both the tool and your technique. Here’s how to use each main type:
Magnetic Stud Finder Usage
- Start at a logical height: Begin near baseboards or where drywall meets framing, as fasteners are often closer to edges.
- Slowly sweep horizontally: Move the stud finder in small circles or horizontally until it sticks to a fastener.
- Mark detected locations: Mark each spot where the magnet catches; studs are usually 16 or 24 inches apart.
- Double-check pattern: Repeat at multiple heights to confirm stud alignment.
Electronic Stud Finder Usage
- Calibrate against the wall: Hold the device flat and still while pressing the calibration button (usually for 1-2 seconds).
- Slide slowly: Move the finder horizontally; mark each stud edge as indicated.
- Find the center: If your model supports center finding, mark both edges and split the difference.
- Check for wires: If your finder has AC detection, pay attention to any live wire alerts.
Multi-Sensor/Imaging Stud Finder Usage
- Follow manufacturer instructions: These models often require specific calibration or app setup.
- Scan area in a grid pattern: Slowly cover the section you plan to use, watching for visual maps or beeps indicating stud, pipe, or wire locations.
- Verify findings: Cross-reference with other detection methods for maximum safety.
Common Mistakes DIYers Make with Stud Finders (and How to Avoid Them)
- Not calibrating correctly: Failing to start with a clean, flat section of wall can throw off readings.
- Going too fast: Rapid movements can cause missed or false positives, especially with electronic models.
- Ignoring wall obstacles: Pipes, fire blocks, and double studs can confuse basic finders; always scan above and below your target area.
- Misreading edge vs. center: Mark both edges and measure the midpoint for heavy-duty installations.
- Not checking for wires or pipes: Only advanced models detect wires—always use a secondary detector for safety if mounting in bathrooms or kitchens.
- Relying only on one reading: Scan at multiple heights and angles to confirm stud runs vertically.
- Assuming all studs are spaced evenly: Renovations, repairs, or custom framing can throw off standard spacing.
Stud Finder Recommendations: Best Picks by Project and Budget
Here are top-rated stud finders for different use cases, with features and value notes:
For Occasional Use and Tight Budgets
- Zircon Magnetic StudSensor: Reliable, under $15, great for basic drywall.
- CH Hanson 03040 Magnetic: Compact, no batteries, includes level.
For Frequent DIYers
- Zircon StudSensor e50: Affordable electronic option, edge finding, basic wire warning.
- Franklin Sensors ProSensor 710: Multi-sensor, instant mapping, accurate for wide walls.
For Pros or Complex Walls
- Walabot DIY Plus: Smartphone-powered imaging, sees pipes, wires, studs, up to 4 inches deep.
- Bosch GMS120: Professional-grade, detects wood, metal, and live wires; works on thick plaster.
DIY Calibration and Testing: How to Confirm Your Stud Finder Works
Before using your stud finder on a critical project, test its accuracy:
- Practice on exposed framing: If possible, use a section of unfinished wall or garage to learn your tool’s behavior.
- Test with known fasteners: Place screws behind a test board and see if your finder locates them.
- Check battery life: Low batteries can cause erratic readings in electronic models.
- Verify against multiple tools: Use both a magnetic and electronic finder for confirmation, especially for heavy mounts.
Advanced Tips: Getting the Most Accurate Results
- Work in good lighting: Helps you see marks and device indicators clearly.
- Scan in both directions: Move left-to-right and right-to-left to verify consistency.
- Mind wall texture: On textured or plaster walls, use slow, steady pressure and scan at different heights.
- Use painter’s tape: Apply a strip to the wall before marking to keep surfaces clean.
- Double-check with a small nail: If safe, use a thin finishing nail in a non-visible spot to verify stud presence before drilling large holes.
Safety Checklist: Wall Mounting Without Surprises
- Always turn off power at the breaker if drilling near outlets or switches.
- Use a wire detector in addition to a stud finder for bathrooms, kitchens, or exterior walls.
- Wear eye protection when drilling or nailing.
- Have a plan for patching small test holes if needed.
Maintaining Your Stud Finder: Longevity Tips
- Store in a dry, dust-free place to prevent sensor damage.
- Replace batteries before they run flat to avoid corrosion and erratic operation.
- Clean sensors gently with a microfiber cloth; avoid harsh chemicals.
- Check calibration regularly, especially after drops or temperature changes.
Frequently Asked Questions
Can stud finders detect pipes and wires?
Basic magnetic and electronic models usually cannot; advanced multi-sensor or imaging finders can, but always confirm with a dedicated pipe/wire detector for safety.
Will a stud finder work on plaster walls?
Magnetic finders are more reliable on lath-and-plaster, as electronic models may get confused by uneven density. Look for finders rated for plaster if your home is older.
How do I find studs behind tile or thick wall coverings?
Use professional-grade imaging models (like Walabot or Bosch) or consult a pro if accuracy is critical.
Conclusion: Confident, Safe, and Accurate Wall Mounting Starts Here
Mastering the humble stud finder may feel like a small win, but its impact on your DIY projects is enormous. By choosing the right type for your wall construction, learning to calibrate and scan carefully, and avoiding the most common mistakes, you ensure every wall-mounted shelf, TV bracket, or picture frame is secure—and your home’s hidden utilities stay undisturbed. Don’t let a low-cost device or quick scan put your repairs or upgrades at risk. Instead, treat stud finding with the same care as any precision tool: test it, trust but verify, and stay alert to the nuances of your home’s construction. As you gain experience, you’ll spot patterns in stud spacing, develop a feel for your finder’s quirks, and approach each project with professional-level confidence. Whether you’re mounting a simple coat hook or embarking on a major room transformation, the right stud finder—and the right know-how—turns what could be guesswork into safe, satisfying results every time.


Can you explain how well stud finders work on older walls with plaster instead of drywall? I live in an older home and have struggled to get accurate readings in the past, especially with thicker wall coverings.
Stud finders can be less reliable on older plaster walls, especially if they contain lath, wire mesh, or are quite thick. These materials can confuse electronic stud finders or block their sensors. Magnetic stud finders may work better since they detect nails in the lath, but readings can still be inconsistent. For best results, scan slowly, try both types of stud finders, and if possible, confirm results by measuring between studs or looking for visual cues like electrical outlets.
I’m worried about mistakenly drilling into hidden wires or plumbing. Does the guide recommend any affordable stud finder models that reliably differentiate between studs and other obstacles like pipes or wires?
The guide suggests looking for multi-scanner stud finders, which are affordable and can detect wood studs, metal pipes, and live wires. It specifically mentions models like the Zircon MultiScanner E50 and Franklin Sensors ProSensor 710 as reliable options for distinguishing between different materials behind walls. Using these types helps minimize the risk of drilling into hidden hazards.
Could you clarify how well stud finders actually work on older plaster walls versus regular drywall? I have a 1950s house and always seem to get mixed signals from my tool, so I’m wondering if there’s a specific type that’s more reliable for tricky wall coverings.
Stud finders often struggle with older plaster walls, especially those built before the 1960s, because the lath and varying wall thickness can confuse electronic sensors. Magnetic stud finders may have better luck, since they detect nails or screws in the lath, but even these can be inconsistent. For plaster walls, a deep-scanning electronic stud finder or a high-powered magnetic model is usually more reliable than a basic one. You might also try tapping and listening for solid spots, as an extra check.
After reading about the different stud finder types, I’m wondering if it’s worth investing in one of the advanced multi-sensor models for occasional home projects. Do the added features make a big difference for non-pros, or is a basic electronic model usually good enough?
For occasional home projects, a basic electronic stud finder is usually sufficient and much more budget-friendly. The advanced multi-sensor models do offer extra features like better detection and fewer false positives, but most homeowners don’t need those for simple tasks like hanging shelves or pictures. Unless you’re working on projects with tricky walls or need extra precision, a basic model should do the job well.
How can I avoid accidentally detecting pipes or electrical wires instead of studs? I noticed you mentioned that obstacles like these could interfere with detection, and I’d really hate to hit a pipe when installing bathroom grab bars. Are there reliable ways to distinguish between a stud and something else behind the wall?
To help avoid hitting pipes or wires, try using a multi-sensor stud finder that can distinguish between metal, live wires, and wood. Move the tool slowly and mark where you get readings—if the ‘stud’ seems unusually narrow, wide, or changes shape, it could be a pipe or wire. Double-check with the electrical or metal scanning mode, and avoid drilling directly above or below outlets or switches, as wires often run there.
You mention that pipes, wires, and fire blocks can interfere with stud finders. How can I tell the difference between hitting a stud versus accidentally detecting a pipe or wire, especially with electronic stud finders?
When using electronic stud finders, pay attention to the width and consistency of the reading. Studs are typically 1.5 inches wide and run vertically, so if the detected area is much narrower or doesn’t run from floor to ceiling, it could be a pipe or wire. Some stud finders have wire warning features—use these if available. If unsure, confirm with a small nail or check blueprints before drilling.
I’ve run into surprise electrical wires before when trying to find studs. How reliable are electronic versus magnetic stud finders at avoiding pipes and wires, and are there warning signs I should look for to avoid hitting something dangerous inside the wall?
Electronic stud finders are generally more reliable than magnetic ones for detecting wires and pipes, since many models have a live wire detection feature. However, they’re not foolproof, so always double-check by looking for warning signs like outlets, switches, or unusual wall patterns, which can indicate wiring or plumbing behind. If you suspect wires or pipes, proceed slowly and consider turning off power in the area before drilling.
If there are electrical wires or pipes close to the studs behind my drywall, how can I make sure my stud finder doesn’t mistake those for the actual studs? Are certain models better at avoiding those errors, or is it mostly down to user technique?
Some stud finders, especially advanced electronic or multi-sensor models, have settings that help distinguish between wood, metal, and live electrical wiring. Look for models with dedicated wire detection or ‘deep scan’ features. Regardless of the tool, moving the finder slowly and scanning horizontally and vertically can help you confirm stud locations. Always double-check by marking multiple points and, if possible, use both visual cues (like electrical outlet placement) and your stud finder for the most reliable results.